The do's and don'ts of DIY Drain repair
When your clogged or broken drain needs plumbing repairs, it’s not always necessary to call a professional right away. There are DIY tricks you can try before a pro is needed – all of which may save time and money on plumbing repair costs.
All it takes is proper preparation and awareness for a DIY project to be successful.
What DIY drain repair plumbing steps can I take without calling a professional?
When faced with plumbing challenges such as a clogged kitchen drain or bathroom toilet/tub mishap, try these easy fixes.
To unclog a bathtub or sink without chemicals
These three simple non-chemical ingredients (which are most likely already sitting in your kitchen cupboard) may do the trick for a minor clogged drain: baking soda, salt and vinegar.
- Remove as much water from the clogged area as possible.
- Pour one cup of baking soda down the drain.
- Follow with one cup of salt.
- Then add one cup of vinegar.
- Wait 10 minutes (it will bubble up, so don’t be alarmed), then flush with boiling water.
- This common fix is often successful for minor clogged drains.
To replace a shower drain cover
It’s a good idea to replace your shower drain cover – it can show real wear and tear over time and can be full of collected bacterial debris.
- Unscrew the drain cover and take it to a hardware store to find the exact size replacement.
- Use a chemical or non-chemical (baking soda is good here, too) abrasive cleaner with a hard bristle brush and rag to clean the drain base before replacing the cover. Be sure not to scrub too hard or you may damage the surrounding sink/tub finish.
- Screw in the new cover.
To replace the drain assembly
Many drains come with a “pop-up” assembly that allows you to open or close for water to fill or drain. Over the years, this assembly can sometimes malfunction, causing water to leak when you want it to fill or it shows difficulty draining.
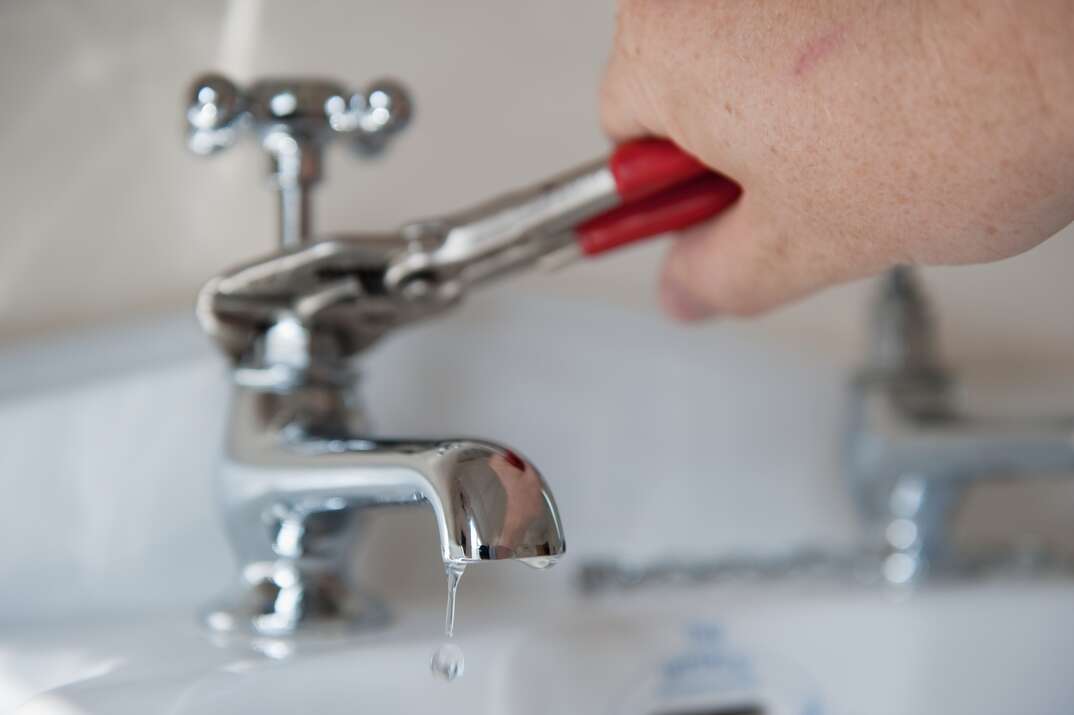
- First loosen and remove the trap (attached underneath the sink) using channel-type pliers (also called a monkey wrench).
- Remove the old pop-up assembly by removing the mounting nut from the old drain tailpiece, then lift the drain assembly clear of the sink.
- Clean the entire area and let it dry while you take the old unit to a hardware store for an exact match.
- Replace with the new drain following instructions on the package.
What are some safety precautions that can be taken before performing any DIY drain repair work?
Obviously, safety is the first issue to tackle before you start your plumbing drain repair. Whether you’re a veteran DIYer or it’s your first DIY project, make sure to adhere to safety basics before your home plumbing repair mission.
Warning Labels
When working with various products, take the time to peruse the warning labels. Sometimes, if you’re using a power tool or chemical plumbing drainage formula, one wrong move can really set you back. Protect your belongings and, most of all, your health when tackling a DIY drain repair.
Ear and Eye Protection
Wear protective goggles to protect your eyes. All it takes is one drop of a chemical making contact with your eyes and you’ve got a big problem.
Wear ear plugs or headphones to protect your ears. Irreversible damage can occur to your ears when in close proximity to any high-pitched tool sounds.
Face Mask
Wear a face mask to keep your lungs safe from harmful particles emitted by plumbing drainage chemicals and volatile organic compounds.
Gloves
Wearing gloves is one of the easiest ways to avoid skin damage from hot water, chemicals and tool mishaps. You have one set of hands, don’t take them for granted.
Pipe Maps
It’s essential to research your plumbing layout, particularly where your shut-off valves are, before you start tinkering. Learn what type of pipes you have in your home and where the pipes and shut-off valves are located so you can quickly access them if needed.
Overall
Keep an easy-to-view list of emergency phone numbers on hand.
Be mindful of electricity when working near water and a power source.
If you encounter a bigger problem such as a burst pipe, don’t panic. Shut off the water supply and give a professional a call.
One of the major “don’ts” of home plumbing repair is not knowing when to stop and hand it over to a home repair pro.
Plans from HomeServe include:
- Exterior water service lines
- Interior plumbing and drainage
- Exterior sewer/septic lines
- Water heater
- Cooling system
- Heating system
- Gas line
- Heating system preventative maintenance
- Interior/exterior electrical wiring
For more information on plans from HomeServe available in your area, enter your ZIP Code here.


