Winter Exterior Home Maintenance Checklist: 6 Things to Do to Prepare Your House for Winter
Winter Home Maintenance at a Glance
- Prepare your roof
- Check gutters
- Trim branches
- Inspect attic
- Protect plumbing
- Cover air conditioner
- Perform regular indoor maintenance
For those living in parts of the world that experience all four seasons, winter is always coming. With it comes snow and ice that can do some serious damage to your home. However, much of that damage is avoidable as long as you make certain repairs and take precautions before that first storm blows in.
This May Also Interest You: Digging Out: 6 Things Homeowners Should Do Right After a Blizzard
Even if your part of the world doesn’t receive winter weather of cold, ice and snowstorms, there are some tips on this checklist that would be a good idea to keep your home’s exterior in tip-top shape all year round. Read on to learn more about some seasonal chores that need to be done outside your home to prepare it for this season.
1. Prepare Your Roof
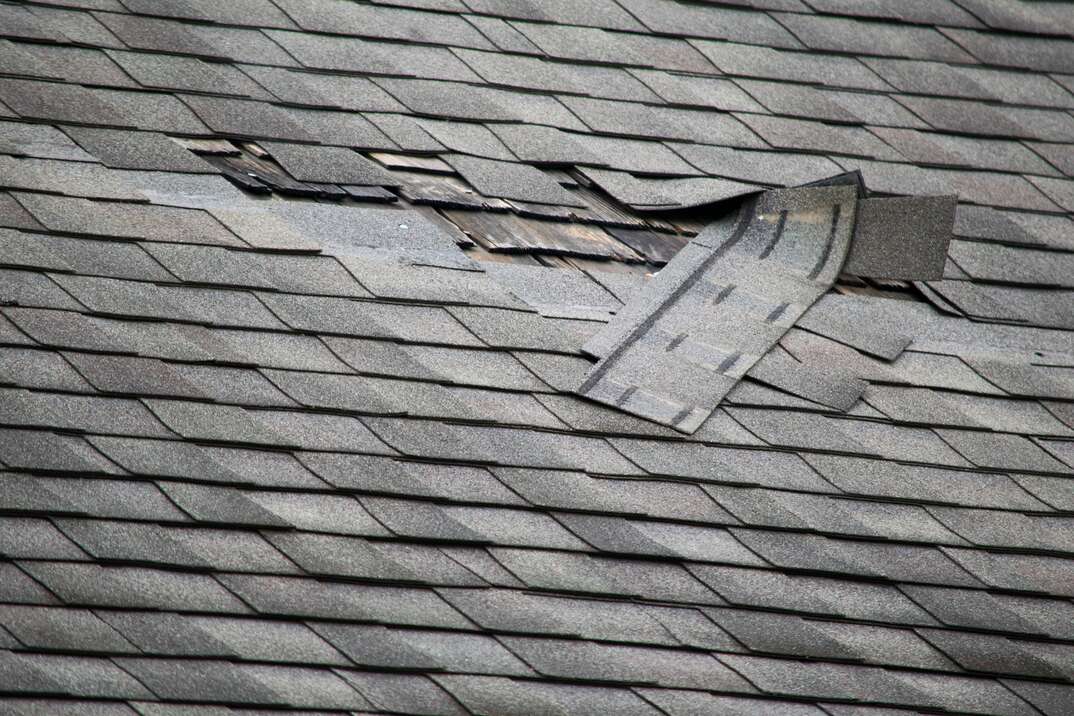
Keeping an eye on your roof is something every homeowner should do, no matter the season or where they live. First, do a visual check. Walk around the perimeter of your home and check the roofline. Is it straight, or is it sagging or dipping anywhere? A sagging roof could indicate a weak spot, and that weak spot might not be able to stand up to heavy snowfall, rain or wind. If you notice a curve in your roofline, it’s best to call in a roofing professional to help you safely and securely straighten out the situation.
Now it’s time to clean off the roof. Leaves and other debris may have accumulated up there over the summer and fall. Leaving the debris on the roof could be dangerous. If the leaves get wet, they won’t blow off the roof, and they'll become heavier. Piles of heavy, wet leaves left on your roof for a few months could lead to water damage. In the winter, they can get even heavier as temperatures drop and ice forms. It's best to safely climb up on the roof on a dry, late-autumn day and remove the leaves with a leaf blower, broom or even your hands.
While you are up there, do a more thorough inspection of the roof. Are there any shingles that look worn or are curling? Worse, are there any that are broken or missing? Fix or replace these before winter arrives. Check the flashing and vent pipes for rust or cracked caulking and repair as needed.
2. Check the Gutters
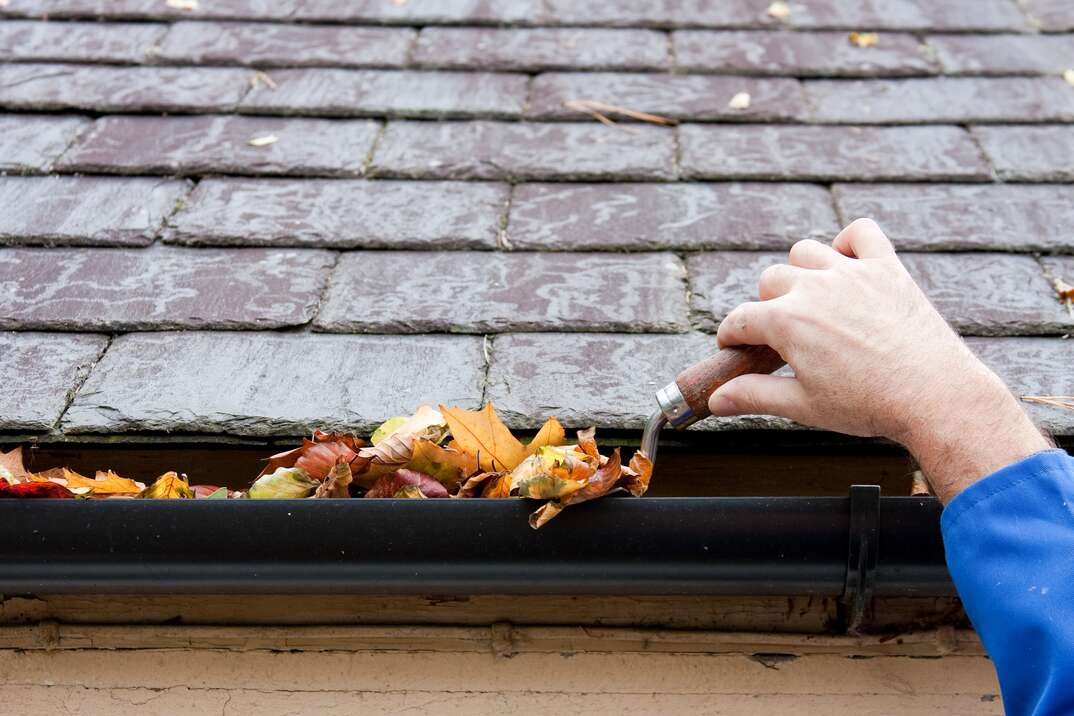
This is also an excellent time to get all of those fall leaves out of your gutters. If your gutters are clogged, they will hold water instead of funneling it away from your home. Then, when that water turns to ice in the chilly months, you could be dealing with gutters that rip off your home, causing damage best avoided.
3. Trim Branches
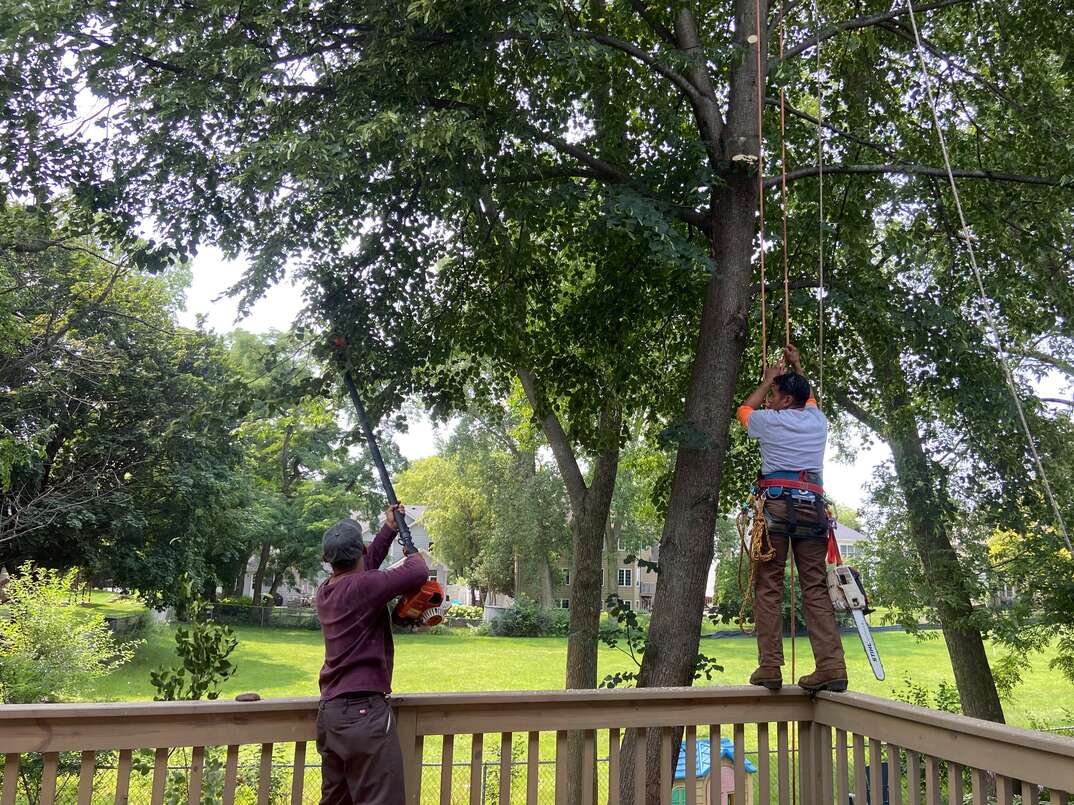
After you’ve raked up the leaves you’ve just removed from the roof, it’s time to do some trimming. Walk around the house and trim or cut off any low-hanging branches. Snow and ice buildup can cause these branches to snap and cause damage if they land heavily on your roof. If you have large branches that stretch over your roof, it might be wise to call in a professional tree trimmer to cut them down.
4. Inspect Your Attic
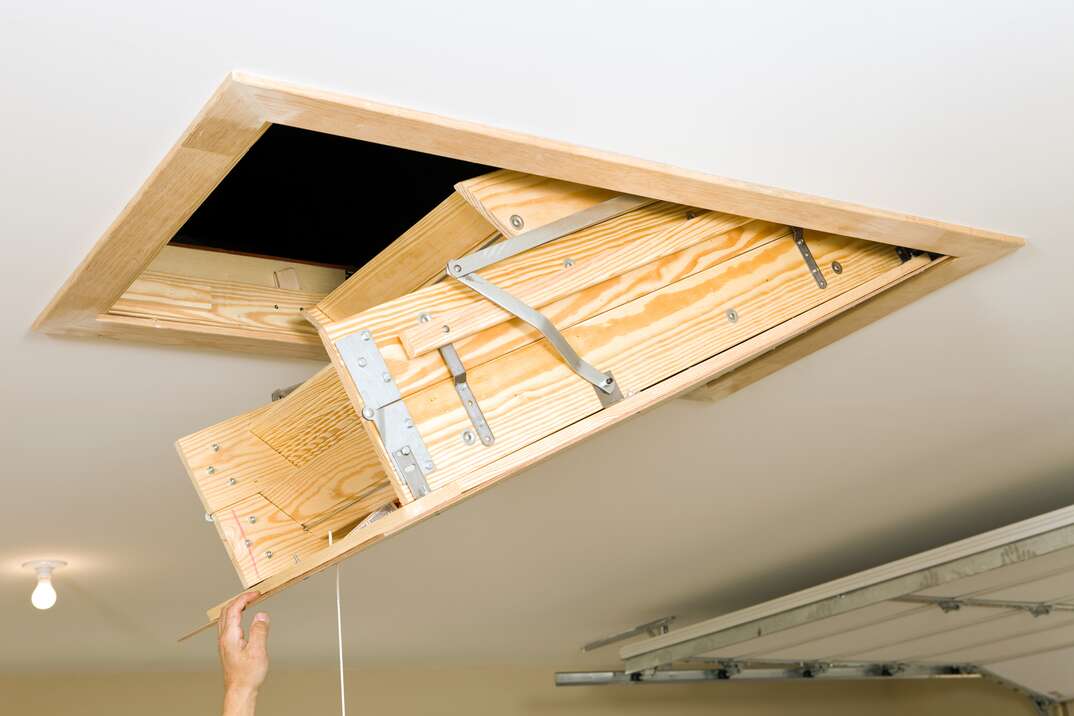
Next stop, the attic. Yes, this is technically indoors, but if your roof is leaking, signs of it will probably first appear here. Look for wet walls, puddles on the floor or a damp ceiling. If you notice any of this, schedule a roof inspection. Water damage can be serious, and you want the problem taken care of before winter hits.
If you are unsure of any part of your roof, or if it hasn’t been inspected in a few years, schedule a consultation. It’s better to find out and fix any roofing problems before winter strikes.
5. Keep Outdoor Plumbing From Freezing
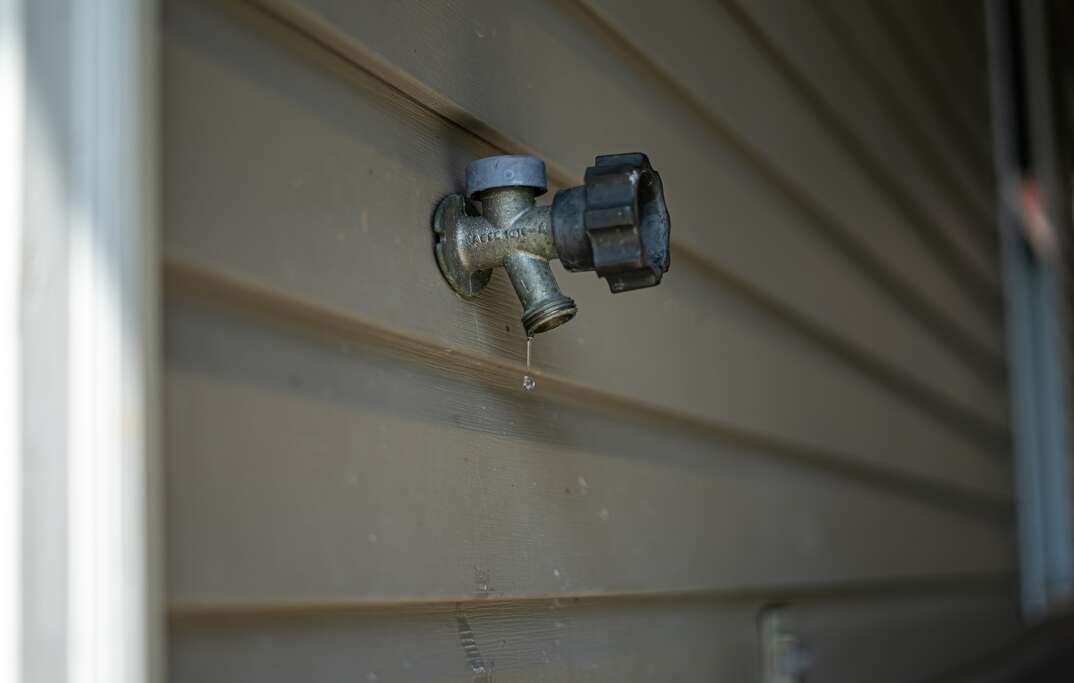
Now that the roof is secure, let’s move to the ground surrounding the house and look at the pipes. A frozen pipe can burst, and that’s not something you want to deal with. Walk around the house and see how many pipes are outside. If you have a crawl space accessible from the outside, check there, too. Count and measure the exposed piping, both the length and diameter. Next, head to the home improvement store to purchase polyethylene insulation and duct tape. Check the length of the insulation on the package against your measurements to ensure you buy enough. The polyethylene insulation is precut, so you should be able to easily wrap it around the pipes, but it can be cut with scissors too.
Wrap up each pipe and secure the insulation with duct tape. You don’t want the insulation to slip or fall off during the winter. It’s best to do this when the pipes are still warm. Cold pipes will take longer to insulate.
If you have pipes that are exterior only, turn off the water and drain them. This will prevent freezing and bursting. Do the same if you have a lawn irrigation system. Also, roll up any hoses or other outdoor lawn equipment and safely store them for the winter.
Another way to protect your outdoor pipes is by keeping the heat on in your home. You don’t need it tropical, but warm walls will keep the indoor parts of the pipe warm, which means the outdoor part will have a harder time freezing.
More Related Articles:
- How to Insulate Windows
- 5 Reasons to Remove Your Window Screens for Winter
- How to Winterize a House: Your No-Chill Checklist
- 5 Tips for Fresher Indoor Air This Winter
- How Much Is Too Much? Here’s a Guide to How Much Snow Your Roof or Deck Can Hold
6. Cover Your Air Conditioner
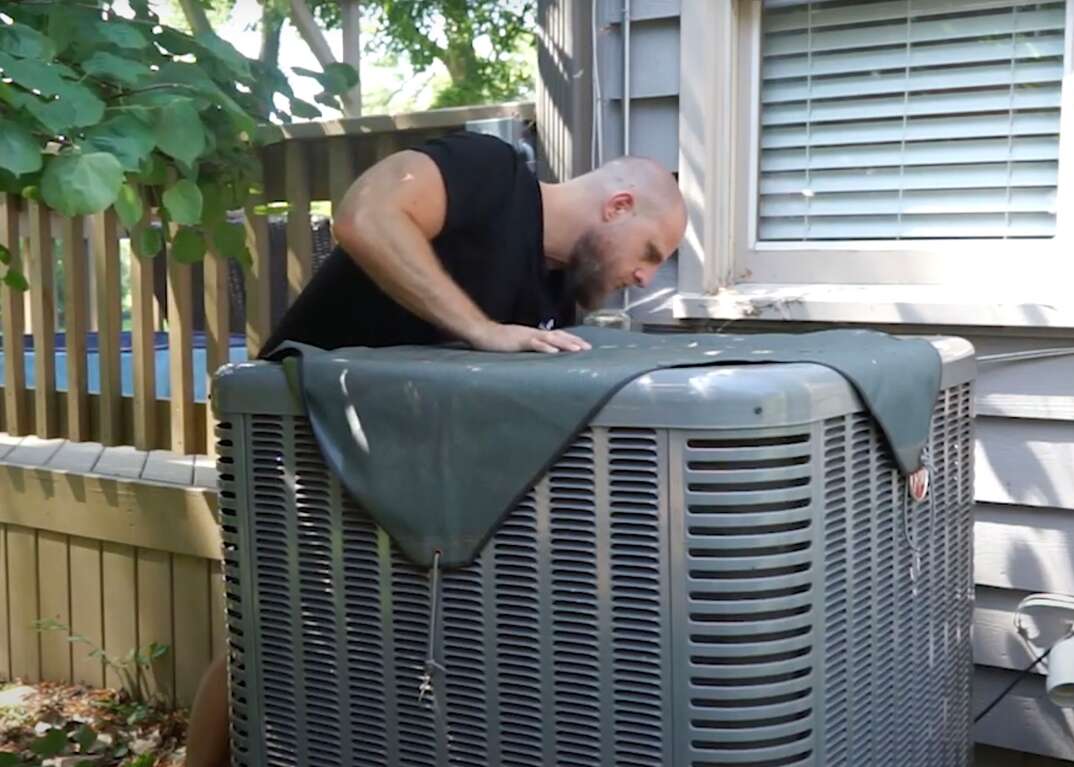
Many people cover their air conditioners in the winter. Is this necessary? Maybe, maybe not. In general, your air conditioner’s housing is built to withstand rain, snow and ice. However, leaves and other debris can get into the air conditioner, which can cause problems. Leaves stuck inside the air conditioner can cause a buildup of moisture, which can lead to corrosion. In general, it’s better to cover your air conditioner in the fall because that’s when leaves are most likely to blow in. Don’t cover your AC unit completely — only the top. Covering it completely could trap moisture inside, which, again, would lead to corrosion.
Only use an air conditioner cover in the fall and winter months when the AC isn’t running. However, if you live in an area with high humidity or a lot of rain, it’s best not to cover your air conditioner at all. Moisture can easily sneak in, and it won’t be able to evaporate under the cover leading to rust. If a big storm is rolling in, you can cover your air conditioner for the duration of the storm and then uncover it after.
If you live in a hot, dry climate, you may have more of an issue with leaves and dust getting stuck in your air conditioner, and that’s a reason to cover it. When choosing a cover, pick one made from a breathable material, as plastic will trap the moisture. Alternatively, use a piece of plywood to simply cover the top to prevent debris from getting into the machine's coils and components.
Bonus: Indoor Maintenance Tasks
Now that your home’s exterior is prepped for winter, there are a few quick chores you can do inside as well. First, reverse your ceiling fans so they turn in a clockwise direction. This will push warm air down toward you rather than letting it rise to the ceiling. Next, check the batteries in your smoke alarms and carbon monoxide detectors. Finally, clean or replace the air filter in your furnace. These three easy things will make your winter a breeze.

