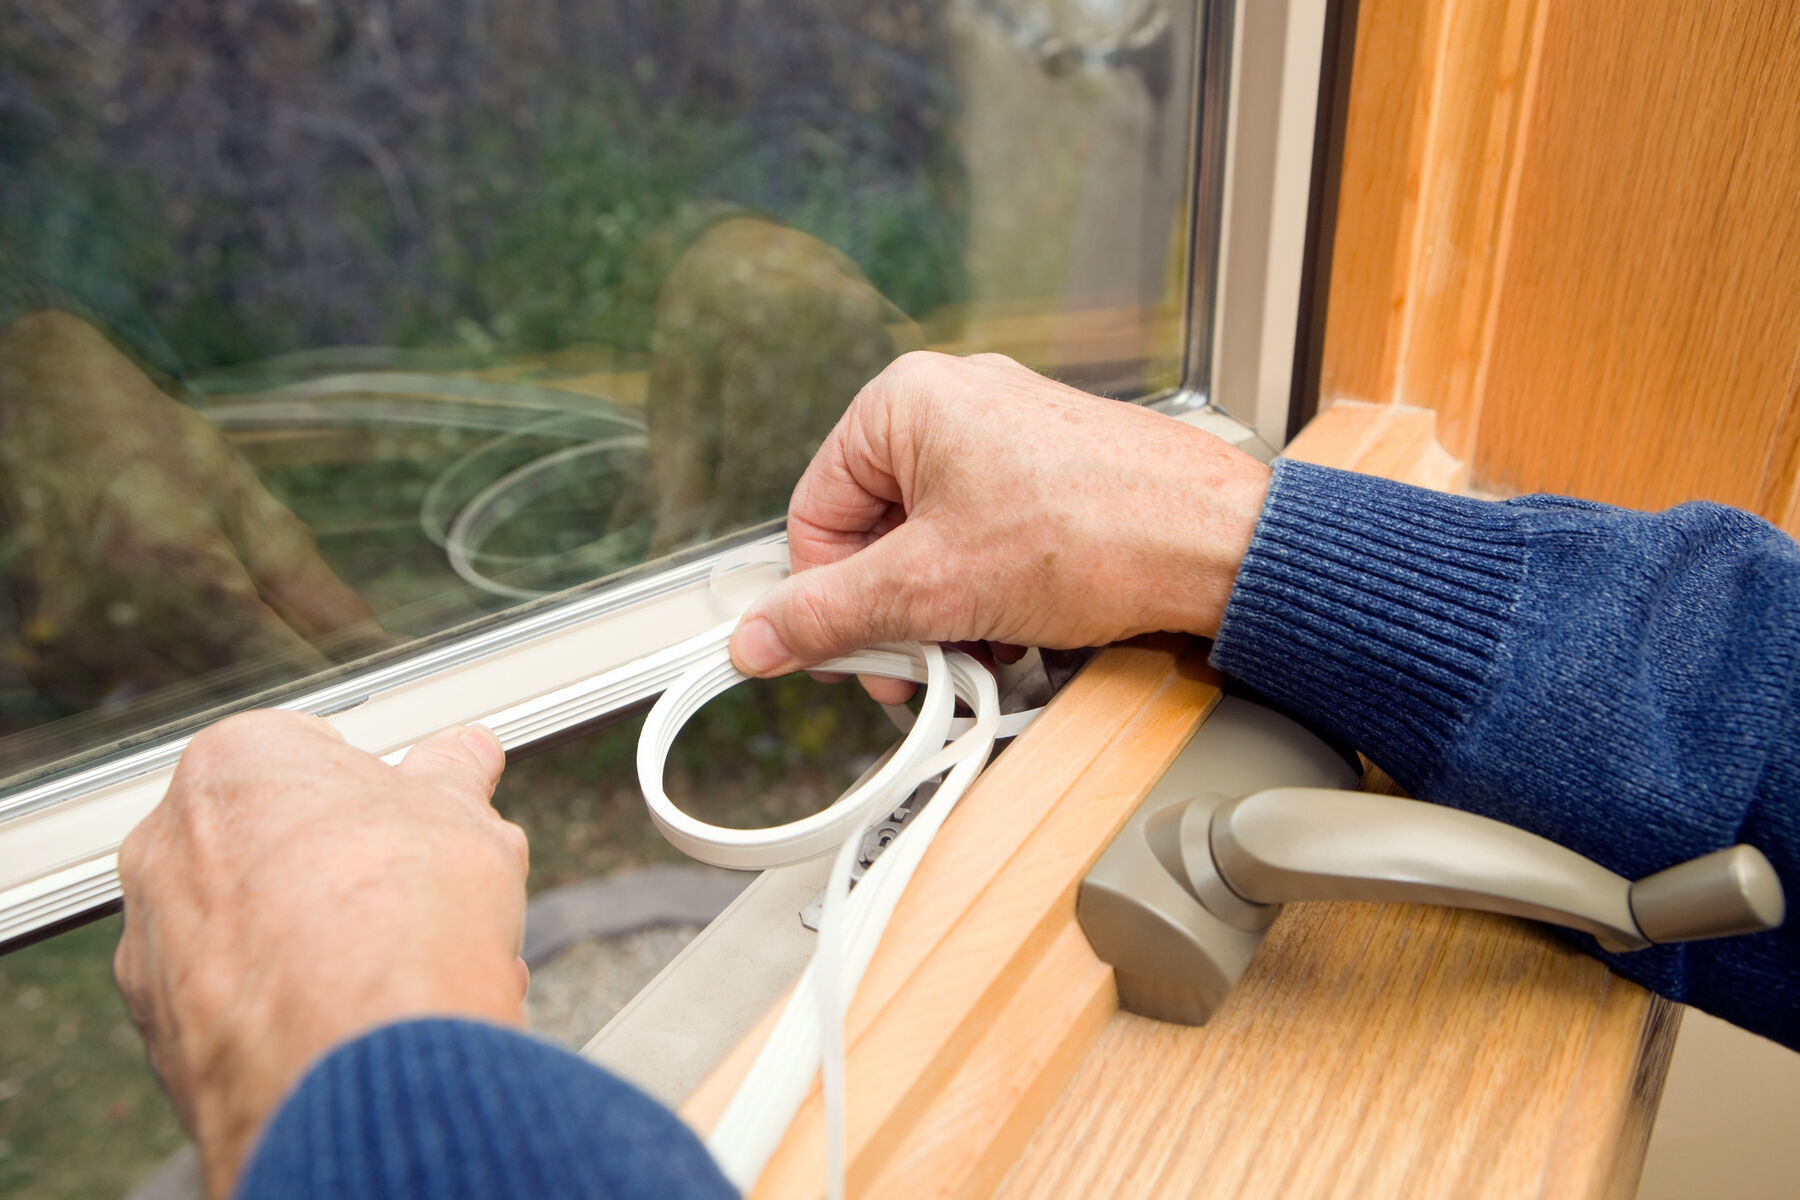
How to Apply Weatherstripping to Doors and Windows to Keep Drafts Out

Doors and windows can be major sources of chilly drafts in the winter. Weatherstripping adds a barrier that can minimize or completely stop those drafts, making your home more comfortable.
This May Also Interest You: How to Draft-Proof Your Home
It can also improve energy efficiency, so your HVAC system doesn't have to work as hard to keep your home at your desired temperature. Learn how to install weather stripping on doors and windows to improve your home.
How Do You Apply Weatherstripping to Doors?
Adding door weather stripping is a relatively simple process that can make a big impact on your home. Blocking drafts around doors usually involves foam tape or felt weather stripping on the sides and top, as well as a door sweep along the bottom edge. Follow these steps to complete the job:
Things You'll Need
- Weatherstripping
- Door sweep
- Tape measure
- Utility knife
- Tin snips or saw
- Screwdriver
Step 1: Tighten the Door Hinges
Tightening the hinges helps the door hang correctly, which can help correct some draft issues. It also helps the weather stripping cover the gap better. If the hinges feel loose, tighten the screws.
Step 2: Remove Old Weather Stripping
If your door already had a door seal strip on it, remove that first, and make sure all the old adhesive is gone. Wait until the surface is completely dry before putting the new one in place.
Step 3: Clean the Frame
If your door doesn't have any type of seal on it, wipe the frame with soapy water to remove dirt and grime. This helps the stripping adhere better.
Step 4: Measure Your Door
You'll need to measure all edges of the door where you're applying the weather stripping.
Step 5: Cut the Weather Stripping to Length
Verify your measurements before cutting to ensure each piece is long enough. You can always trim them if they come out a little long, but a piece that's too short won't provide effective draft protection.
Step 6: Apply the Weather Stripping
Remove the backing to reveal the adhesive surface a little at a time to help you apply it precisely. Continue removing the backing as you press the weather stripping in place.
Step 7: Cut the Door Sweep
Cut the door sweep to length to fit the bottom edge of the door. Screw it into place with the door closed. It should cover the space at the bottom of the door, but it shouldn't scrape along your floor.
Step 8: Check Your Work
Open and close the door a few times to make sure it still works properly. Make changes as necessary to get a proper fit.
More Related Articles:
- How to Insulate Windows
- How to Insulate Your Attic in 7 Steps
- Here’s How to Apply Plastic Film to Insulate Your Windows
- How Much Does an Insulated Garage Door Cost?
- How to Insulate Your Garage Door
How Do You Apply Weatherstripping to Windows?
You can also keep your home warmer by adding weather stripping to your windows. It's a similar project to weatherstripping doors. The following steps can help you weatherstrip your windows:
Things You'll Need
- Foam weather stripping
- V-channel weather stripping
- Utility knife
- Hammer
- Finishing nails
Step 1: Take Off the Old Weather Stripping
If there's any residue left, clean it off well, so you can get a good seal with the new material.
Step 2: Wipe Down the Surfaces
Use soapy water to remove any debris that could keep the weather stripping from adhering fully. Wipe it down, and make sure it's completely dry before moving on.
Step 3: Apply Foam Weather Stripping
Foam is ideal for the top and bottom sashes. Pull off a little bit of the backing at a time to show the adhesive surface. Press it firmly to keep it in place.
Step 4: Install V-Channel on the Sides of the Windows
Remove the backing and press it into the area between the jamb and sash stiles.
Step 5: Secure It With Finishing Nails
Pound finishing nails into the weather stripping as extra security.
Step 6: Test the Window
Open and close the window a few times to make sure it works smoothly.
Adding weather stripping to your doors and windows is a relatively straightforward process, but you can also hire a handyman service to complete the work for you if you aren't comfortable doing it yourself.


