How to Install Blinds: 5 Simple Steps
Installing blinds is an affordable and effective way to add light control, decorative flare and insulation value to your windows.
This May Also Interest You: How Much Do Window Treatments Cost?
As an added bonus, they can be quickly and easily installed with minimal tools and know-how. We’ve got all the details below.
Choosing Your Blinds
Blinds can be installed in two different ways: inside the window jamb (inside-mount blinds) or on the wall above your window (outside-mount blinds).
Inside-mount blinds are often preferred because they have a cleaner look, don’t conceal any decorative trim around your window, and offer greater insulation value. However, an inside-mount installation may not be possible if the window jamb is too shallow to accommodate the blinds. On the other hand, outside-mount blinds may be preferable if you want to conceal unsightly trim around your windows or block more light coming through the window.
In addition to selecting between inside- and outside-mount blinds, there are several material options to choose from with distinct appearances and price tags, including:
Vinyl
This is one of the most common materials, since it’s easy to clean and inexpensive.
Aluminum
Affordable and durable, aluminum blinds are an excellent way to complement contemporary decor and design styles.
Wood
Wood is rugged and capable of giving your windows rustic appeal. The primary disadvantage is that natural wood blinds are often the most expensive.
Faux Wood
Faux wood offers the aesthetic value of natural wood without the higher price tag. Faux wood is also easier to clean and more moisture-resistant.
How to Install Blinds
Things You’ll Need
- Tape measure
- Pencil
- Electric drill
- Drill bits
- Ladder or step stool (if necessary)
- Spirit level (for outside-mount blinds)
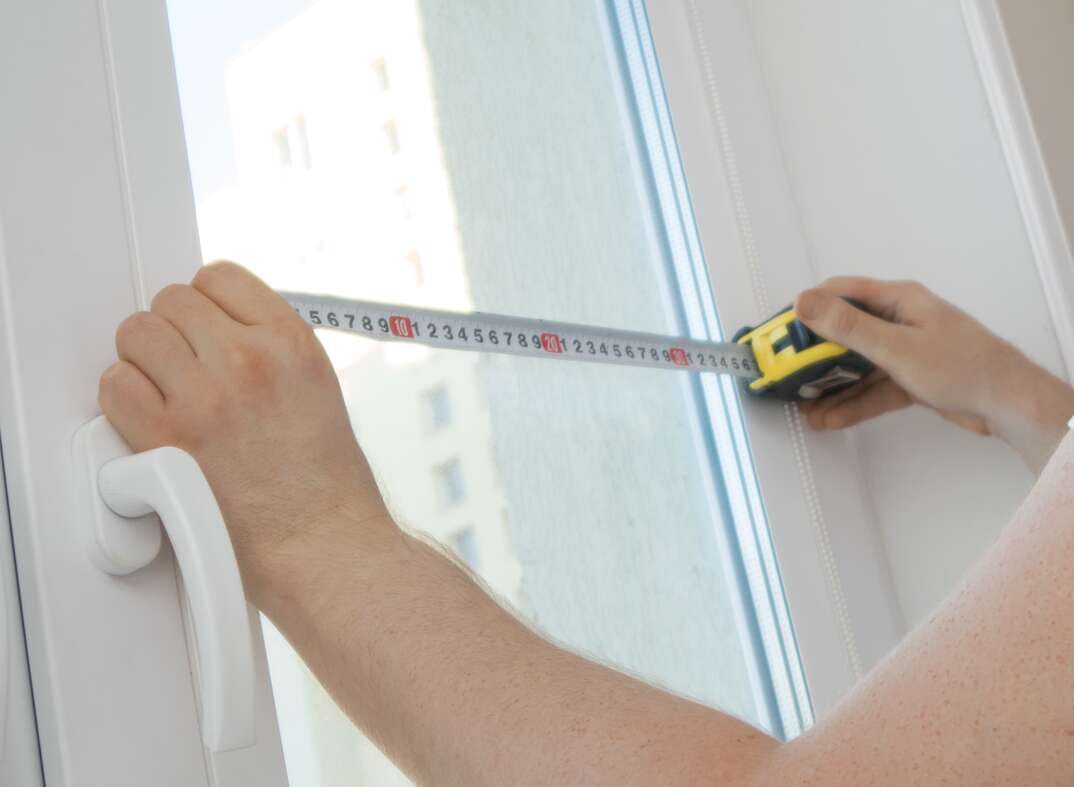
Step 1: Measure Your Window Frame
Taking accurate measurements is essential for purchasing blinds that will fit and function correctly in your window.
To measure for inside-mount blinds:
- Measure the inside width of the window frame at the top, middle and bottom
- Measure the height of the window frame on the left side, middle and right side.
- Take the smallest width and height measurements and round them down to the nearest 1/8 inch.
To measure for outside-mount blinds:
- Measure the outside width of the window. If you want to maximize the amount of light the blinds will block, add 8 inches to the total measurement, or 4 inches to each side.
- Measure the desired length of your blinds. It’s often recommended to install outside-mount blinds 3 inches above the window trim, so add 3 inches to the overall height of your window or area you want to cover.
More Related Articles:
- Bust the Dust: How to Clean Dirty Blinds
- How to Fix a Broken String on Your Blinds
- Keep Children Safe Around Blinds: Go Cordless
- Don’t Cry! Here’s How to Clean Your Windows’ Weep Holes
- Make Sure Your Window Wells Are Well Maintained With This Checklist
Step 2: Install the Mounting Brackets
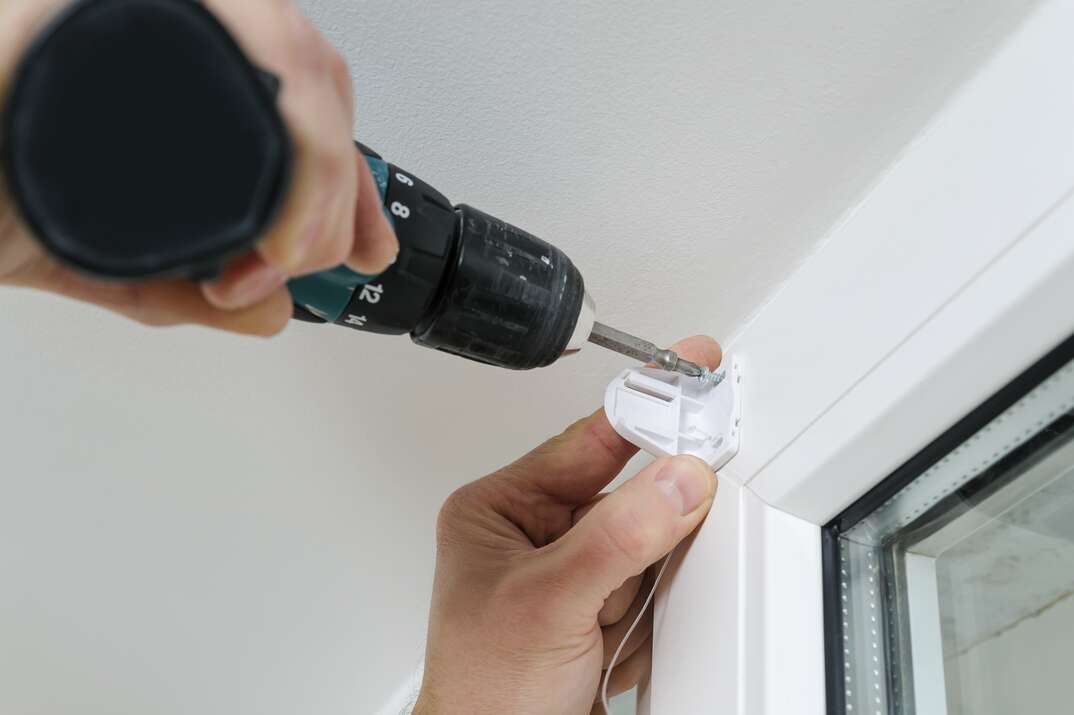
The mounting brackets are what secure the blind to your wall or window jamb. At a minimum, you will need to install two brackets for the left and right sides of the blind, but some blinds may have additional brackets for the middle of the blind as well.
To install the mounting brackets for inside-mount blinds, hold the front edge of one of the mounting brackets flush with the front of the window jamb and mark the screw hole locations with a pencil.
Attach a drill bit that’s slightly smaller than the diameter of the mounting bracket screws (or the size indicated in the installation instructions) and drill pilot holes in each of the screw hole marks. Align the bracket’s screw holes with the pilot holes and drive the mounting screws through the bracket into the jamb or wall. Repeat these steps for each bracket.
For outside-mount blinds, measure and mark the recommended distance above the window trim (often 3 inches). Hold a spirit level up to that measurement and mark a light level line across the wall to represent the bottom of the blind.
Next, measure and mark the center of the blind’s headrail and the center of the window opening. Place the mounting brackets onto the ends of the headrail and hold it up against the level mark while aligning the center mark on the blind with the center mark on the window. Mark the side and bottom of each mounting bracket on the wall.
Remove the mounting brackets from the headrail and set the headrail aside. Place the mounting bracket onto their respective mark on the wall and mark the mounting bracket’s screw hole locations. Drill pilot holes into each mark and install the brackets with the provided screws.
Step 3: Install the Headrail
Slide the headrail into each of the brackets. Close the bracket covers by using your thumbs to press up on the bottom of the bracket while pressing down on the cover with your fingers until the cover snaps into place.
Step 4: Install the Valance
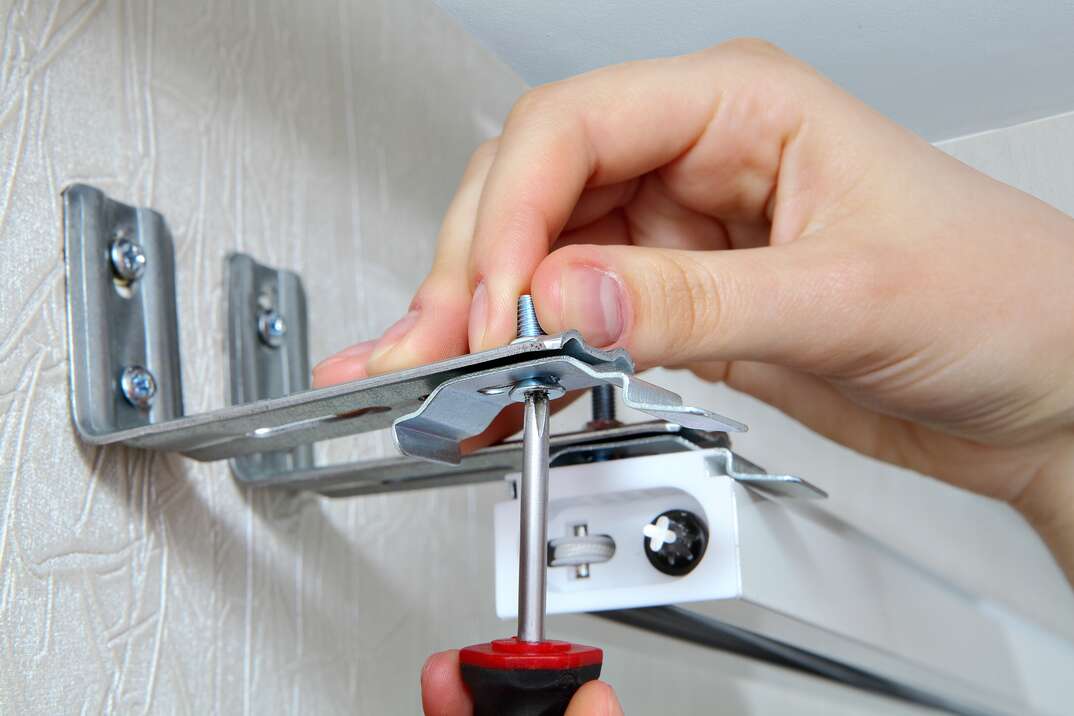
The decorative front piece that covers the headrail (the valence) is usually secured to the headrail with a series of plastic clips that need to be inserted into the top of the headrail before clipping the valence in place. However, some valences have built-in mounting clips that don’t require any additional assembly. In either case, the type of clips and attachment method can vary between blinds, so follow the manufacturer’s instructions to install the valence.
Step 5: Test the Blinds
Finish by testing your blinds to verify they work properly.
Lower the blinds by pulling the cord down and towards the center of the window at a roughly 45-degree angle until the locking wheel releases, then slowly raise the cord until the blind is fully lowered.
Pull down on the cord to raise the blinds. Lock the blinds in place by pulling the cord away from the window at a 45-degree angle until the locking wheel engages.
Attach the tilt wand onto the corresponding hook on the top corner of the headrail. Rotate the wand back and forth to open or close the blinds.
Finally, use an eraser to remove any visible pencil marks on the wall, and enjoy the added privacy, beauty and energy savings of your new blinds.
