How to Build a Retaining Wall Good for Showin' and Erosion
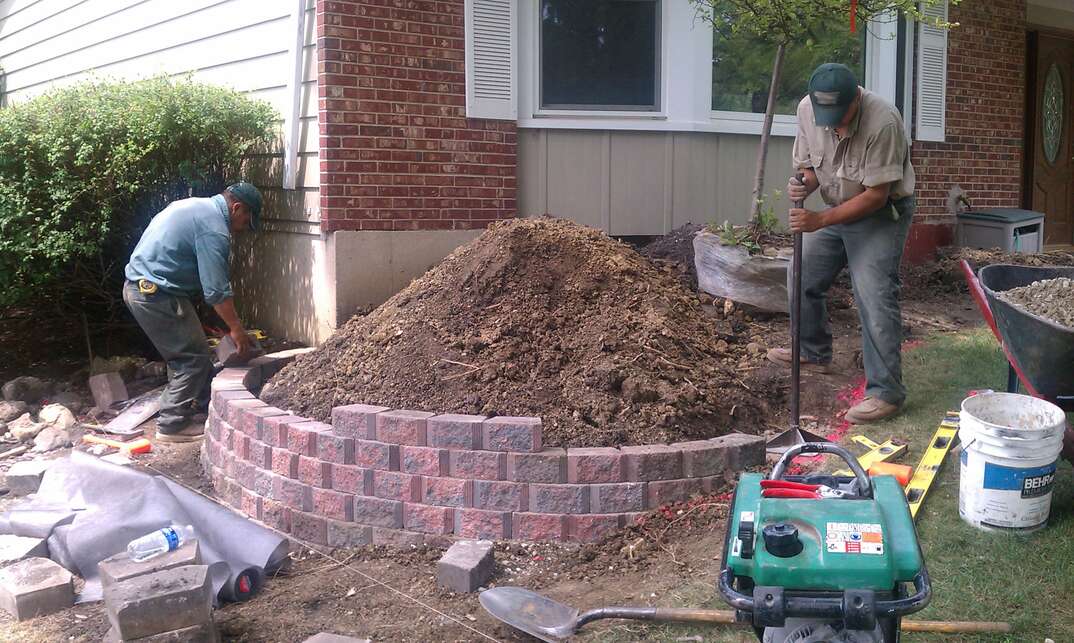
Retaining Wall Installation at a Glance
- Step 1: Dig trench and lay down gravel
- Step 2: Put down first level of landscape blocks
- Step 3: Stack second level of blocks
- Step 4: Install PVC drain line after second level (optional)
- Step 5: Glue down final two layers with landscape block adhesive
- Step 6: Beautify retaining wall with flowers or grass
Retaining walls not only help shore up the soil on a steep grade of your property, but they can actually be an aesthetically pleasing feature of your yard. While there are contractors that specialize in retaining-wall installation, if you're willing to put in the time and sweat o’ the brow, there's likely no reason why you can't complete the project by yourself — especially if you can enlist the help of a friend or family member.
This May Also Interest You: Au Revoir, Standing Water! How to Install a French Drain in 8 Steps
Read on for all the information you need to retain for your retaining wall project.
Preliminary Considerations
Here are some questions to answer for yourself, before you get started:
What Size?
The prime consideration is how long and tall the retaining wall is going to be. That’ll determine the quantity of materials you need for the project. With that said, a 3-foot (or less) retaining wall made with interlocking masonry blocks is the easiest to build.
Will Your Wall Hold Up Under Scrutiny?
You also need to make sure that the retaining block wall you’re planning to build is up to code, as you don’t want the city to ask you to redo all that hard work over a minor infraction — and maybe even slap you with a fine to drive the point home. Furthermore, you should make sure you’re not disturbing any utility lines during your build, so check with the town to find out if there are any lines buried on your property.
Form Over Function?
Lastly, if you're building a retaining wall in an area of your yard more for show than soil preservation, go ahead and follow our guide while letting your creativity flow. If, however, you’re genuinely trying to solve an issue with soil erosion or flooding, you might find it best to hire a professional to get the job done.
Retention Wall Construction: A Step-by-Step Guide
The following steps provide a helpful overview of the steps you should follow in your retention wall construction project.
1. Get in the Trenches!
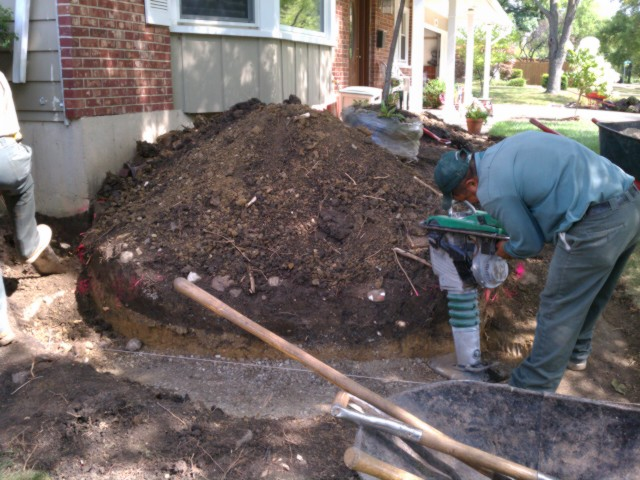
To ensure the retaining wall is strong, you’ll need to have a layer of packed gravel as the base or footing. This is the foundation that will keep the concrete block layer on top sturdy so the wall doesn’t push over. Don't skip this step.
To start, you need to dig a trench (perhaps the most physically demanding part of this project), making sure it’s deep enough so that, when you put your first row of blocks down on top of a bed of 2 inches to 3 inches of gravel, the ground comes about halfway up. Make sure the trench is level, as well.
Now, you’re going to make the trench 20 inches wide so that there’s enough room behind the retaining wall blocks to put 3/4 inch of crushed gravel stone for drainage. Drainage is important because it prevents water pressure from building behind the wall. Of course, the wall will resist it, but when the pressure is too much, its weakest points will eventually give out.
With the trench complete, add packed gravel in 1-inch layers, making sure to spread it out evenly using a rake. After each layer is added, tamp it down using a hand tamper. Continue until you have 2 inches to 3 inches of stone in the trench.
2. Put Down First Level of Blocks
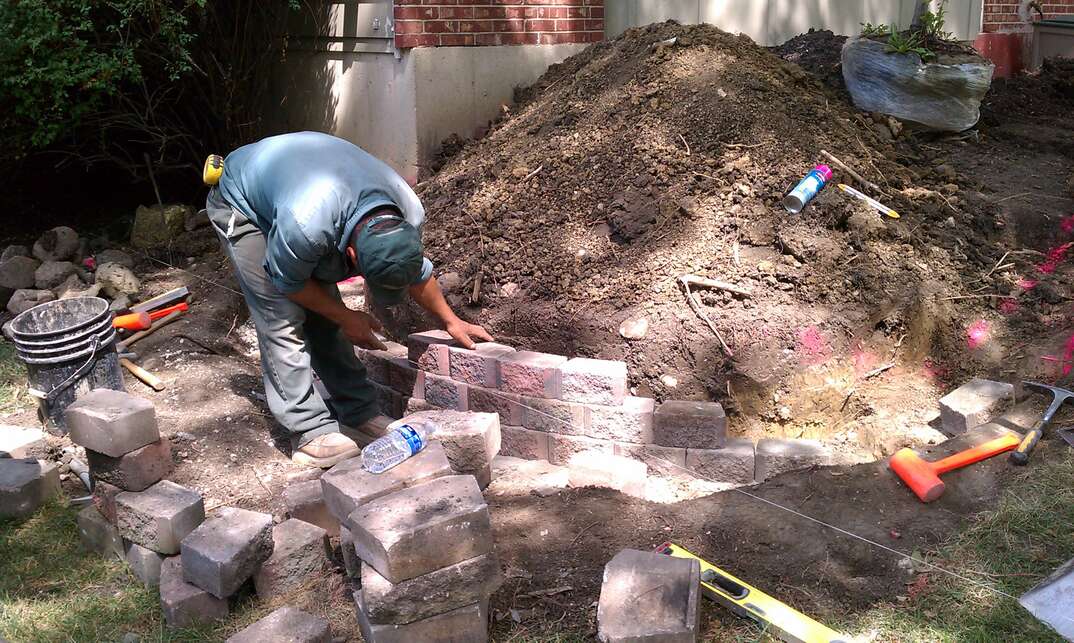
Now it is time to start building the actual wall. Start setting the retaining wall blocks into the trench, using a level to make sure each block is level with the others (this is very important). Once you’re sure all the initial blocks are level with each other, it’s safe to assume that the ones you stack on top will also be the same. With the layer complete, shovel in the crushed stone behind the blocks and tamp it down. Place some dirt in the front to stabilize the blocks and tamp that down, as well.
Pro Tip: Cutting a Concrete Block
You might run into a situation where you need to cut the blocks to make sure they fit the length of your wall. Unless you have a concrete saw with a corundum or diamond blade lying around, you’re going to have to bring out the ol’ hammer and chisel. First, create a score line by chiseling grooves into the block on all sides. Once done, strike the chisel hard a few times until the block comes apart.
3. Take It to the Next Level
With the first level or course of blocks complete, it’s just a matter of repetition. Just lay down the layer and then place crushed stone and dirt behind it, then tamp it all down to pack it all in so the wall doesn’t sag backward.
More Related Articles:
- A Grassroots Effort: How to Lay Sod in 4 Steps
- How Much Does Sod Cost to Install?
- Basic Lawn Care and Maintenance Tips
- How Do You Cut Down a Tree? Axed and Answered...
- How Much Does a French Drain Cost?
4. Install Drain Line (Optional)
Some people choose to install a drain line after building the second course of blocks by placing a rigid or flexible perforated PVC pipe, covered in a drain sleeve, behind them before adding a layer of crushed rock and dirt.
5. Make It Stick
When you get to the final two layers, you’ll want to glue them down using landscape block adhesive so they’re extra-sturdy. Believe it or not, some people will want to sit on top of your masterpiece, and they can easily knock the blocks off by accident. This is generally preferable to putting up a sign that says, “Do not sit here!”
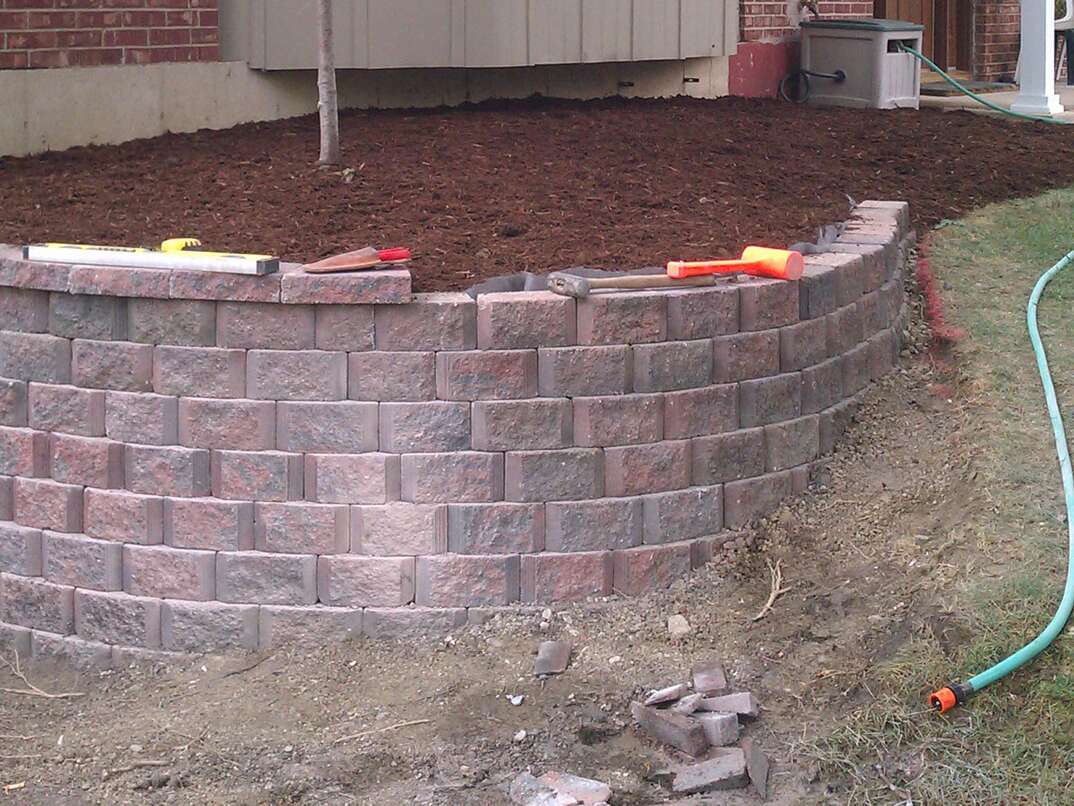
6. Make It Purdy
Congratulations, you’ve built a retaining wall that should stand the test of time. If you did everything right, Mother Nature can try to bring it down, but she won't have much luck. Now, spread some topsoil behind the retaining wall (this is also a good way to hide the gravel layer on top). Then, go ahead and plant some pretty flowers or grass. If you managed to rope someone into helping you with this project, give ’em a high-five and a glass of lemonade.
Building a retaining wall is a job you can likely tackle yourself in a weekend, but not all home projects are as manageable. That's why you might consider being prepared with a plan from HomeServe. When an issue arises, you can call our 24/7 repair hotline, and we will send a local, expert technician to handle repairs, up to the benefitted amount. Learn more about plans from HomeServe today.

