How (and Why) to Clean Your Faucet Aerators
When it comes to maintaining your home, the big systems usually get all the attention. You likely know how important it is to keep your gutters free from leaves, your HVAC filters changed and your outdoor faucets covered during the chilly months, for example.
This May Also Interest You: How to Tighten a Faucet Handle
But how often do you think of the humble aerators found on the faucets around your home? Not that often, you say? Truth be told: Not too many people do. But here's why you might want to include these simple screens in your regular home maintenance routine.
Faucet Aerators: The Basics
First things first: What exactly is an aerator?
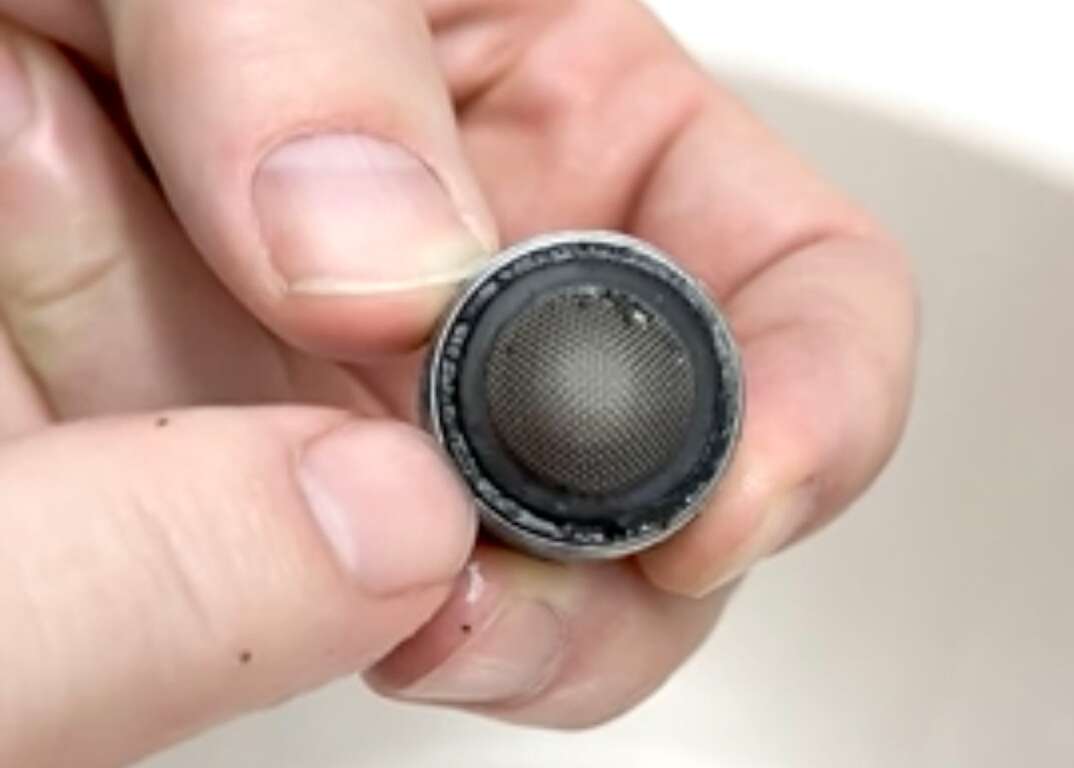
Faucet aerators are round assemblies that screw into the end of your bathroom or kitchen faucets. If you've never removed one, you might simply think of the aerator as part of the faucet itself, but it is, in fact, a separate piece. Aerators employ a screen that injects air into the stream of water to help it flow steadily instead of coming out in a big glug that would splash on the sink basin and go everywhere.
Aerators also typically have a water limiter built in. This is a small disc with a hole in it that restricts the flow of water to save resources. According to the Environmental Protection Agency, faucets or aerators designated as WaterSense appliances could save the average family 700 gallons of water per year, which is the amount of water used over the course of 45 showers.
Why Should You Clean Your Faucet Aerators?
Fortunately (for the most part), cleaning your aerator is a case of "if it ain't broke, don't fix it." If your faucet is working properly, there's really no need to fuss with the aerator. However, if you have noticed reduced water flow or pressure, chances are good that your aerator is getting blocked by debris, and it's time to remove it and give it a good clean.
There are two exceptions to this rule.
One is if you live in a home that has lead pipes or is served by a lead water main. If so, you'll want to clean your aerators about every six months as they can catch tiny particles of lead flaking off the pipes that need to be discarded. The other exception is if you have recently had work done to your plumbing system that might cause debris to build up in the lines. Cleaning out your aerators after such a project is a good preventative step that could head off restricted water flow in the future.
More Related Articles:
- 6 Plumbing Maintenance Tips for New Homeowners
- How to Replace or Install a Bathroom Faucet
- How to Replace or Install Your Kitchen Faucet: A Step-by-Step Guide
- Plumbing Repair Cost Guide
- How Your Home’s Plumbing System Works
How to Clean an Aerator
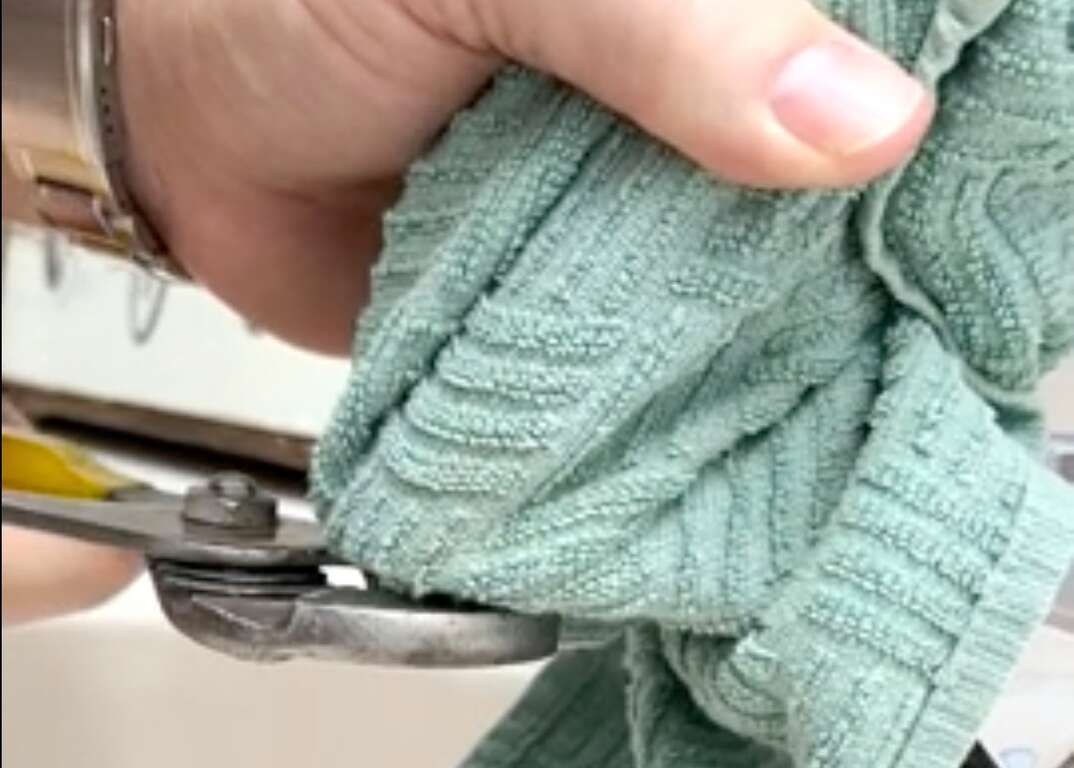
Cleaning a faucet aerator is a relatively simple task. To start, it can be a good idea to lay a towel down in the sink to prevent debris (or important parts of the assembly) from going down the drain. Next, you'll need to unscrew the aerator from the end of your faucet. You can grab most aerators with your fingers and twist counterclockwise (as if you are looking down on the top of the faucet) to get them out. If the aerator won't release with that simply twisting motion, you'll want to use a pair of pliers to break the seal. If that's the case, be sure to use a bit of duct tape or a rag on the outside of the aerator to prevent scratches.
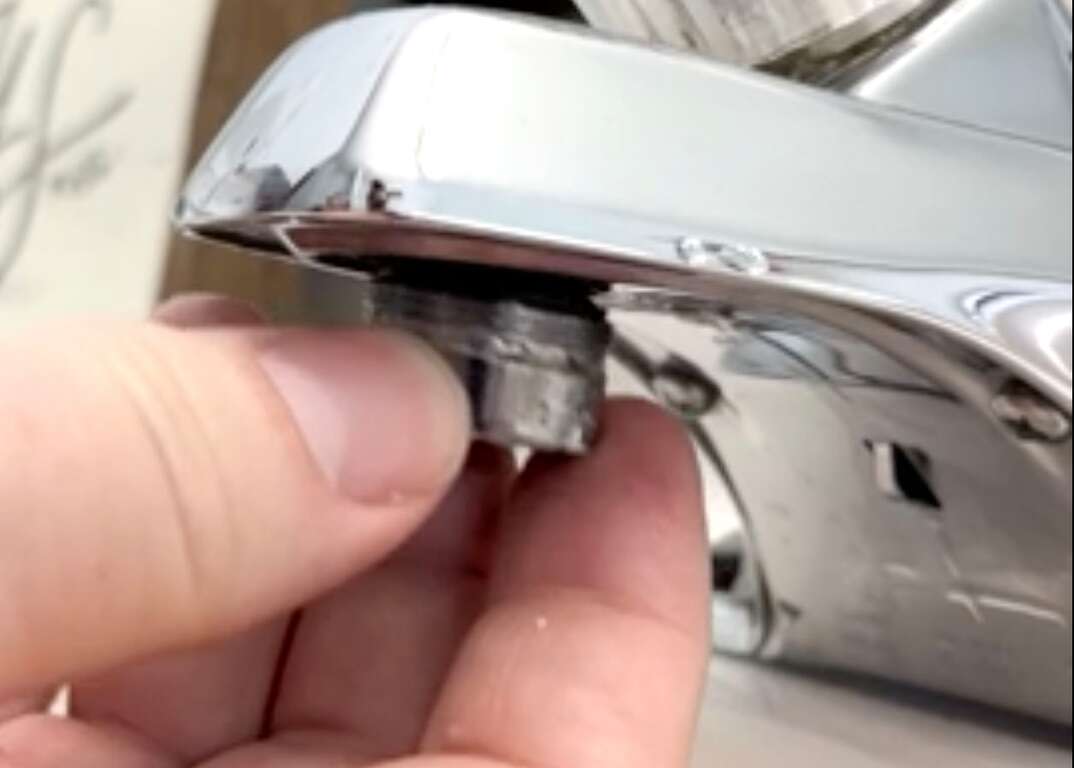
Some aerators are recessed inside the head of the faucet and can't be grabbed with pliers or your fingers. If you have a model like this, you'll need to use the special aerator removal key that came with the faucet. If you no longer have one, you can try contacting the manufacturer for help.
Once the aerator is unscrewed, clear away any visible debris and then take the assembly apart. A toothpick or small screwdriver can be helpful at this stage to lift out the various pieces. You may want to take pictures or a basic video as you take the aerator apart, so that you can be sure to put things back in the right order when you are done. You will frequently encounter a washer, a water limiter and a screen, and it's crucial to put them back correctly for the aerator to work properly.
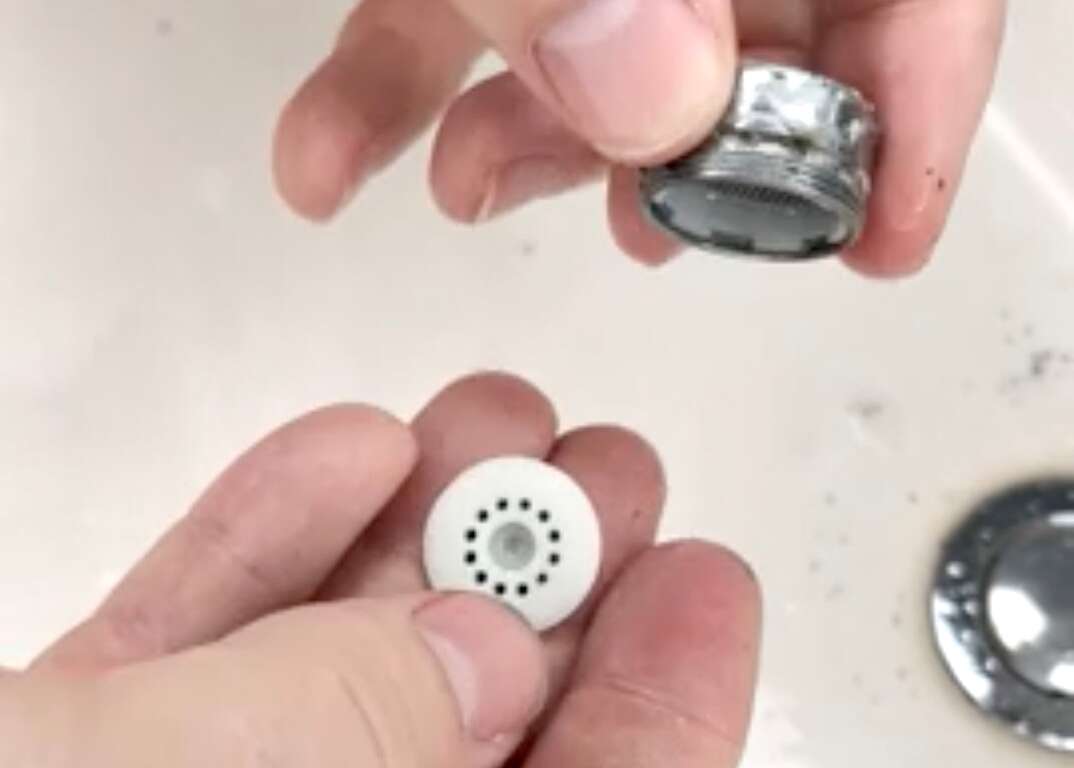
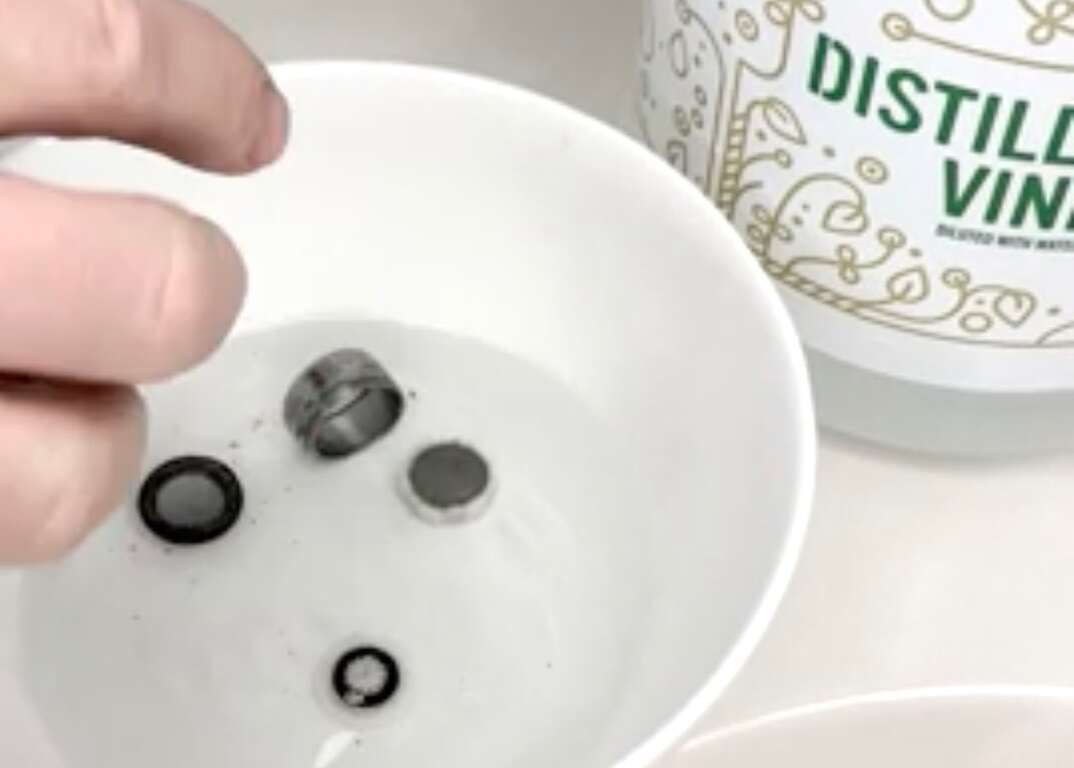
Place the pieces of the aerator in a small bowl of vinegar for a minimum of five minutes or as long as overnight. Then, remove them, give a good scrub with an old toothbrush or use a toothpick to poke out any mineral deposits from the holes.
Then, reassemble the aerator. Screw it back onto the faucet in a clockwise direction, and you'll be good to go. If you notice water flowing from around the aerator instead of straight through it, give it a tighten with a wrench, being careful to brace the faucet itself with your hand to keep from putting pressure on its base.
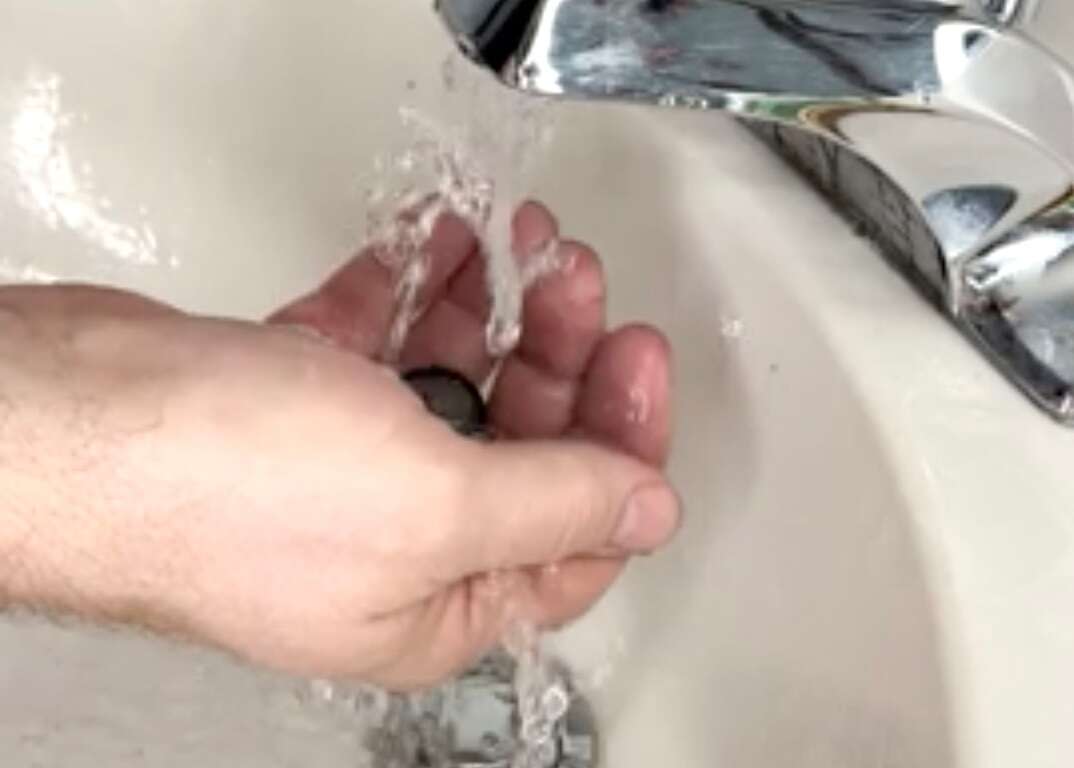
Once everything is back in place, you can go back to ignoring the humble little aerator and enjoying a splash-free, unobstructed flow of water from your faucet each time you turn it on.
