How to Clean an Icemaker

It’s true: Ice cube trays are cheap and easy. And, if your refrigerator has a built-in icemaker, even better; you never need to think about making ice. But even with these two options, a countertop ice machine has a lot of benefits.
This May Also Interest You: No Ice? 5 Reasons Your Icemaker Isn’t Working — and How to Fix It
One of the biggest benefits is speed. Countertop icemakers can make a nice amount of ice in about 10 minutes. Space is another reason. With the ice-making moved to the counter, your freezer will have extra room for frozen food. And don’t worry about it needing a permanent place in your kitchen. Countertop ice machines can be unplugged, left to dry and stored until your next ice-necessary occasion.
But, you still need to clean your countertop ice machine. Here’s how.
Step by Step: How to Clean a Countertop Icemaker
Things You’ll Need
- Vinegar
- Dish soap
- Sponges
- Dish towels
- Bowl
- Old toothbrush
- Spray bottle
Step 1: Turn Off the Icemaker
Unplug it too! If frost has built up, let it defrost thoroughly.
Step 2: Drain the Water
Your icemaker should have a plug or stopper in the back. Move the machine over by the sink, pull out the plug and let the water drain.
Step 3: Make Cleaning Solution No. 1
Into the bowl filled with warm (not hot or boiling) water, add a few drops of dish soap.
Step 4: Clean the Outside of the Machine
Using the soapy water and a sponge, wipe down the outside of the icemaker. Rinse with clean water and dry off.
Step 5: Clean the Scoop and Basket
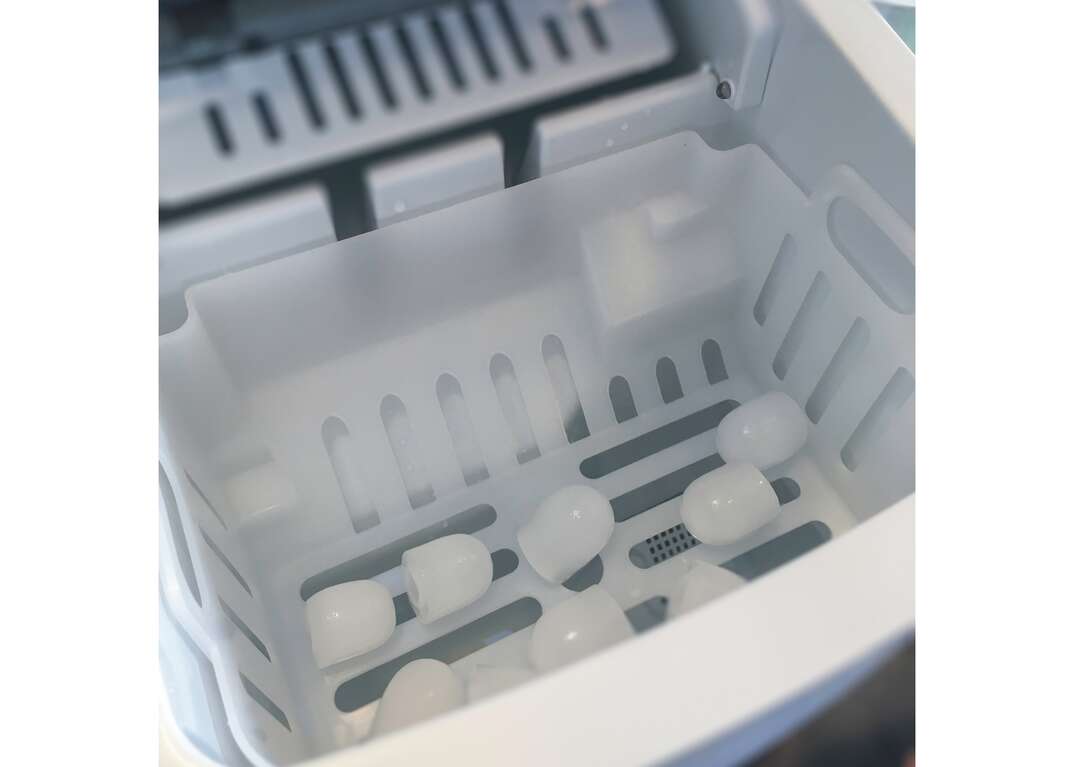
Remove these two parts and clean them using soapy water. If they're particularly dirty or you see black spots, use an old toothbrush to scrub them. Rinse with clean water and replace.
Step 6: Make Cleaning Solution No. 2
Create a 1:1 mixture of vinegar and water. Commercial cleaning products are also available, but make sure you purchase one that specifies it can be used on portable icemakers.
More Related Articles:
- Freezer Not Freezing? Chill Out! Here are 3 Ways to Fix Common Problems
- Every Cost You Need to Know About With Refrigerator Repair
- Defrosting, Demystified: Here’s How Often You Need to Defrost Your Freezer
- How Do I Reset My Samsung Refrigerator?
- Ever Cleaned Your Refrigerator Coils? Sure, We Believe You (But Here’s How, Just in Case)
Step 7: Fill a Spray Bottle With the Vinegar Solution
Spray the insides of your icemaker with the cleaner. Scrub it with either a sponge or a toothbrush. Make sure to get in and around everything, including the bottom and sides of the reservoir and underneath the lid.
Step 8: Wipe the Inside of the Machine
Wipe down the inside of the icemaker using a clean sponge dampened with clean water.
Step 9: Clean the Inner Workings of the Icemaker
Pour your vinegar water solution into the ice machine and run it through a cycle. Get rid of the vinegar ice cubes.
Step 10: Rinse
Run the machine through another cycle, this time using clean water. Don’t use these ice cubes, either. Make a set of fresh cubes after the vinegar and clean water runs. If you feel like the ice still tastes like vinegar, do a third rinse cycle with clean water, again getting rid of the ice that was made.
Step 11: Dry
Take a clean, dry dish towel and dry the machine well. This is especially important if you plan on storing it.
How Often Do I Need to Clean My Icemaker?
You should do a deep clean every six months. You should do a general clean every time you unplug it and put it away — wiping it out and letting it completely dry. You should also clean the machine if you begin to notice mold or mildew in the machine or black spots on your ice. Ice cubes that seem smaller than usual, ice cubes that aren’t freezing well, a device that's not creating or releasing ice or one takes longer than expected to make ice can all indicate that it's time for a good cleanin’.
Don’t use boiling water when cleaning your ice machine. The hot water could melt or damage plastic parts. Also, don’t use any harsh cleaning chemicals. Vinegar should be enough to clean your countertop icemaker.


