How to Clean an Oven: Wipe Away Your Kitchen’s Dirty Secret in 8 Steps

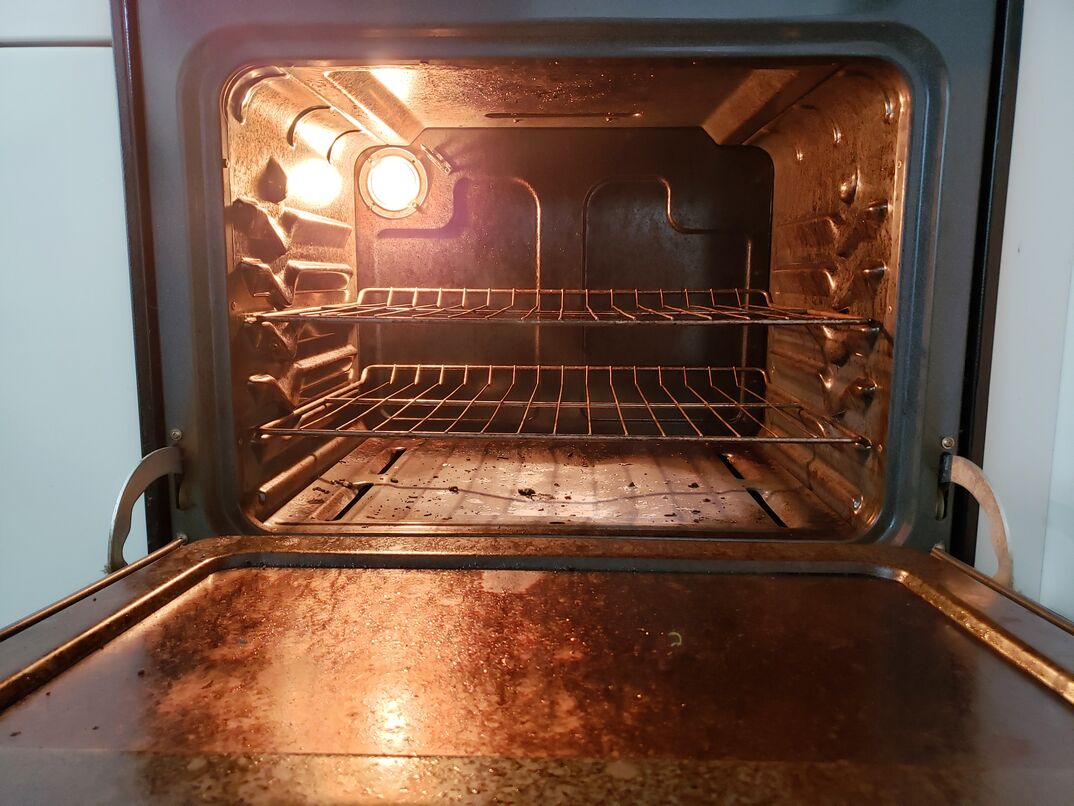
If you let your oven go long enough without cleaning it, the inside winds up resembling something between a horrifying crime scene and one of those Magic Eye 3D paintings at the mall when you were a kid where if you looked close enough you could see a sailboat (it's a schooner!). We've all been negligent at times. We're not proud of it. But now it's time to do something about it — before the '90s shows up and asks for its op art back.
This May Also Interest You: How to Clean an Electric Stove Top
Ready to give your oven some overdue lovin'? Read on to learn how to restore your oven to its O.G. interior glory.
If you're going the manual route, you either A) don't have an oven with a self-clean feature, B) are afraid self-clean's gonna burn the joint down, or C) are a stubborn skeptic who'll never be convinced that some fancified automated feature can do it as good as you and a little elbow grease. Whatever your case may be, rest assured, you've got this!
Here are eight steps to an oven so clean you could eat off it … or, at least feel good about cooking in it:
1. Gather What You'll Need
For this job, you're going to need:
- Latex gloves
- Protective eyewear
- Quality oven cleaner found in most grocery stores
- A bucket lined with a garbage bag
- A pack of nonabrasive scrubbing pads or rags
- Newspapers
2. Prep the Area
Cleaning your oven can be a messy business. Lay down newspapers to protect your floor from falling filth as you clean, and make sure any items you don't want getting dirty are cleared away. (If you don't have newspapers, use old towels you don't mind ruining).
3. Remove the Racks
Take the racks out of the oven and set them aside on your newspaper.
4. Cover It in Cleaner
While wearing the gloves, spray a liberal amount of cleaner inside the oven and on the racks. (If you prefer, you can use baking soda, instead, as it acts as an effective mild abrasive.)
5. Hurry Up and Wait
Follow the manufacturer's instructions on how long you should let the cleaner sit and do its stuff. That's typically going to be 20-30 minutes for a normal amount of buildup. Take care to avoid spraying the burners and electrical elements as much as possible.
6. Start Scrubbin'
After the recommended wait is over, it's time to do the dirty work of scrubbing away the grime using your scrubbing pads. Using non-abrasive scrubbing pads will ensure that grime comes off but your oven's interior remains intact.
7. Wipe It All Away
Use a rag to wipe off excess cleaner until it's all gone. You can toss our soiled rags and newspapers in the bucket as you work your way through the oven, adding fresh newspaper to the floor as needed.
8. Back to the Racks
Repeat the steps for your oven racks if you'd like to clean those, as well, then replace them in the oven when you're through.
And there ya have it: Like it never happened. (We won't tell if you don't.) You may resume baking, broiling and roasting, like the definitely-not-negligent homeowner you are.
Since we're all home now more than ever, being prepared for unexpected home repairs with a plan from HomeServe is important. Having a plan in place gives you the peace of mind knowing that you can simply call our 24/7 repair hotline for covered breakdowns. See what plans are available in your neighborhood.


