Build-A-Bar Workshop: How to Install a DIY Dry Bar
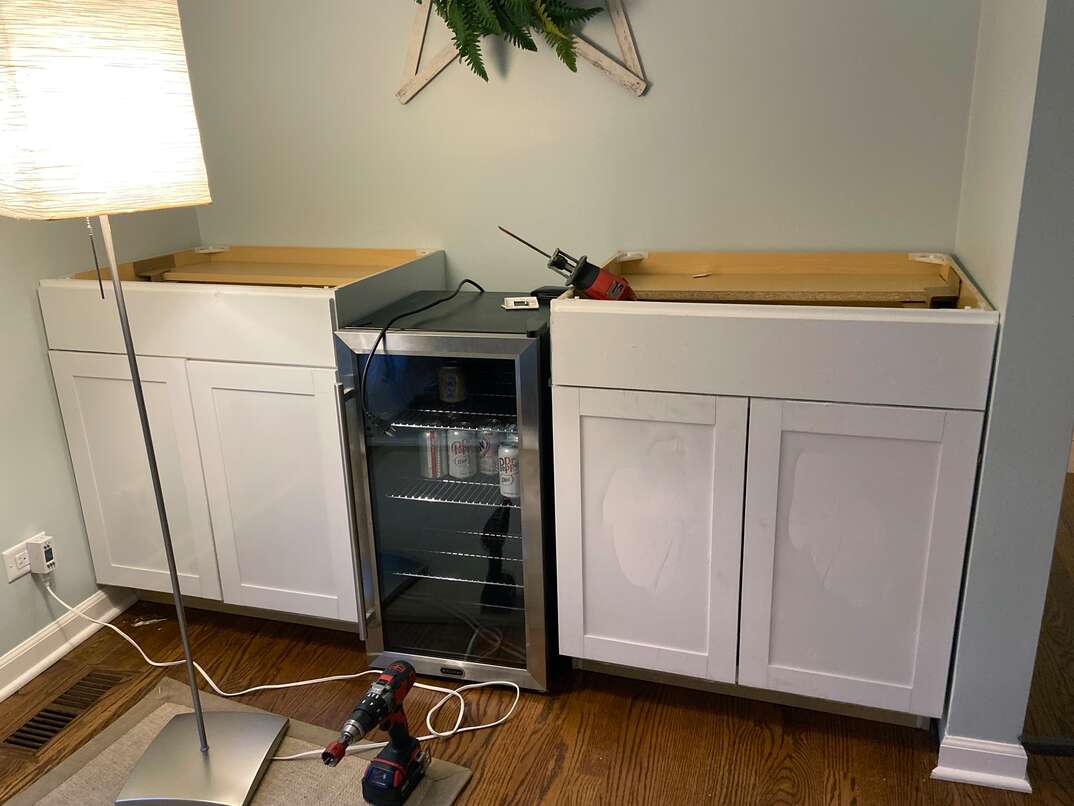
Dry bars are an excellent way to transform a naked wall into a focal point for entertainment. Dry bars share the same basic characteristics of a regular “wet” bar, consisting of cabinets and shelves for storage, a bar top to prepare and service drinks and a mini-fridge to keep the drinks cool. However, they lack plumbing or a sink — making them “dry.”
This May Also Interest You: How Much Does It Cost to Build a DIY Dry Bar in Your Home?
Because of this lack of plumbing, dry bars are significantly easier and cheaper to install than their wet counterparts. This makes them much more suitable for a DIY project, which also allows you to customize the style and features to accommodate your specific needs.
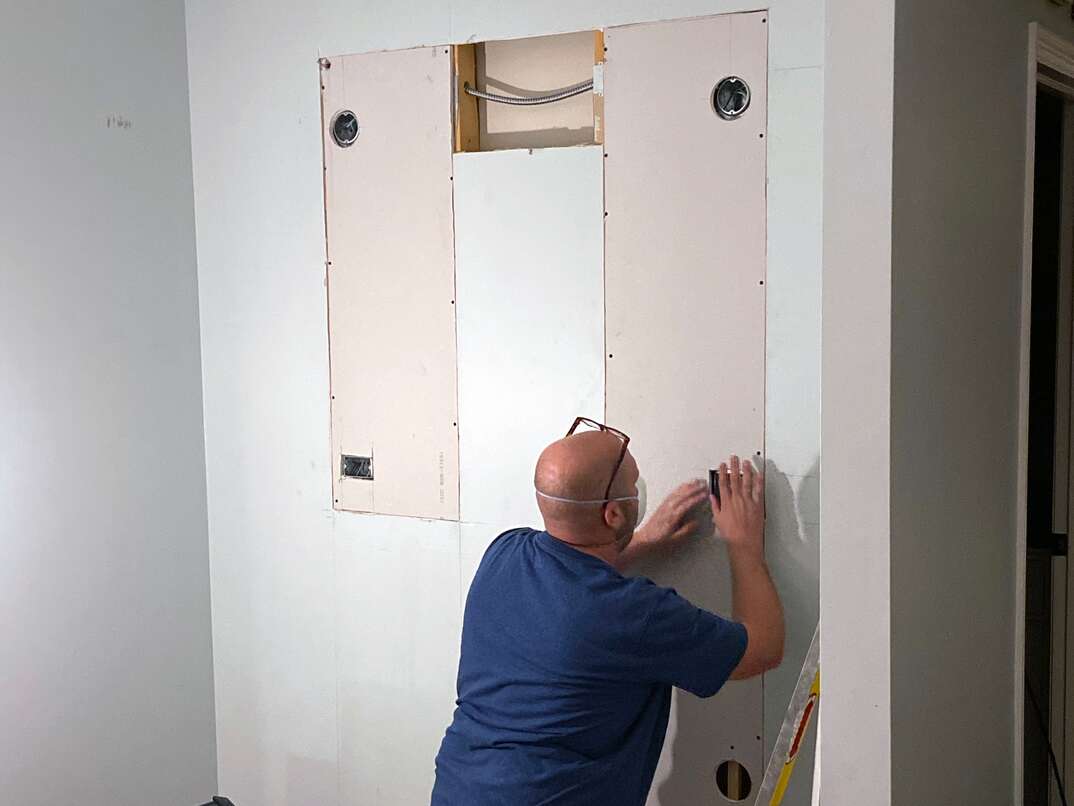
Plan Your Design
A bare-bones dry bar often consists of cabinets, a mini-fridge or beverage cooler and a bar top. However, the sky’s the limit when it comes to any additional features or amenities. Options include:
- Wine racks
- Upper cabinets
- Floating upper shelves
- Living edge bar tops
- Custom bar stools
- Stone or tile backsplashes
If you’re in need of inspiration for your project, there’s a plethora of DIY dry bar examples available for you to explore online.
Installing a DIY Dry Bar: Step by Step
Things You’ll Need
- Cabinets (pre-made or custom)
- Bar top
- Mini-fridge or beverage cooler
- Tape measure
- Random orbital sander or sanding block and 120-grit sandpaper
- Painter’s tape
- Pencil
- Spirit level
- Shims (if necessary)
- 2 1/2-inch deck screws with washers
- Drill bit compatible with deck screws
- Electric drill
- Oscillating saw and pry bar
- Foam roller and paintbrush
- Primer and paint (if necessary)
- Circular saw or miter saw
- 80-grit sandpaper (if necessary)
- Caulking gun
- Construction adhesive
- Cleaning cloth
- 4D finish nails (if necessary)
- Finish hammer (if necessary)
- Brad nailer, air compressor and air hose (optional)
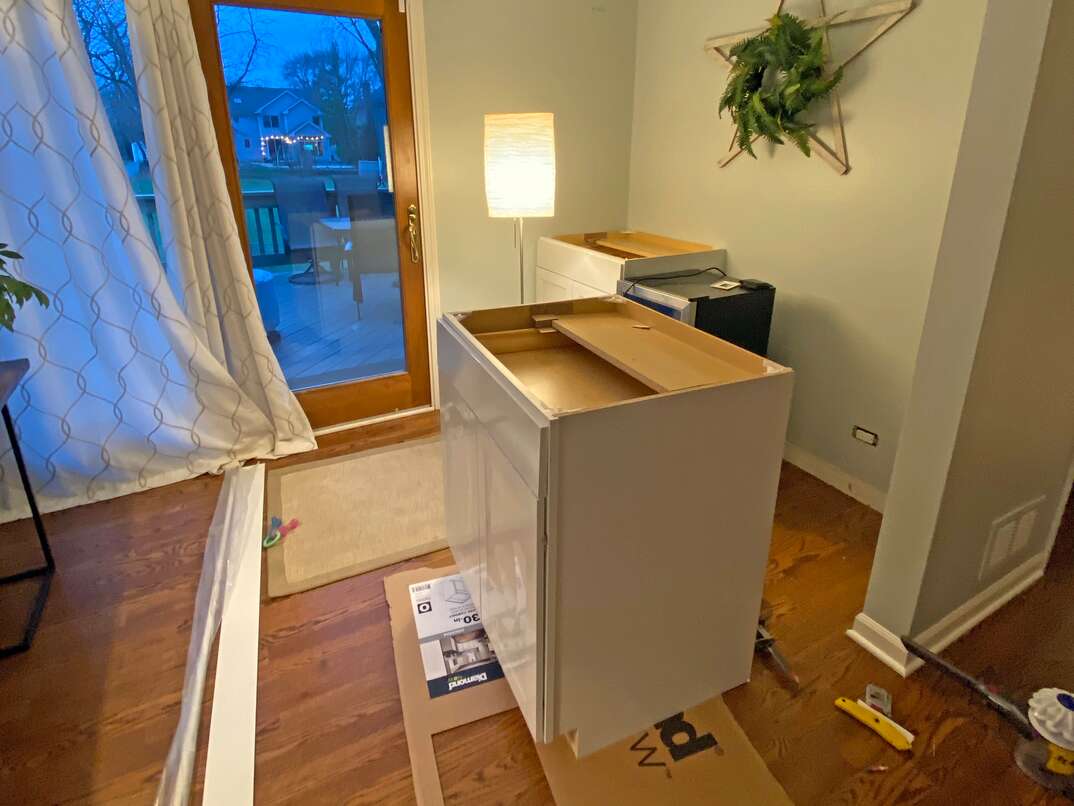
Step 1: Build or Buy Cabinets
Cabinets serve as the base for your dry bar. Depending on your budget, time restraints and skill level, you can either purchase pre-made cabinets or build your own.
Building your own cabinets is an excellent way to customize their dimensions and characteristics to your needs. You can choose exactly what building materials you’re going to use and craft them to fit perfectly inside the space you’ll be installing them. This is especially useful if you’re installing your dry bar into a nook where the bar will be enclosed by walls on three sides, since it can be difficult to find pre-built cabinets that will match the dimensions of your specific space.
Depending on the quality of the materials you choose, building your own cabinets may even be more affordable than buying pre-made ones. However, building cabinets takes a considerable amount of time and expertise, so you should only attempt it if you’re sufficiently skilled and equipped.
If you’ll be purchasing cabinets, shop around to find ones with the dimensions, style and other features that will be most compatible with your space and desired features.
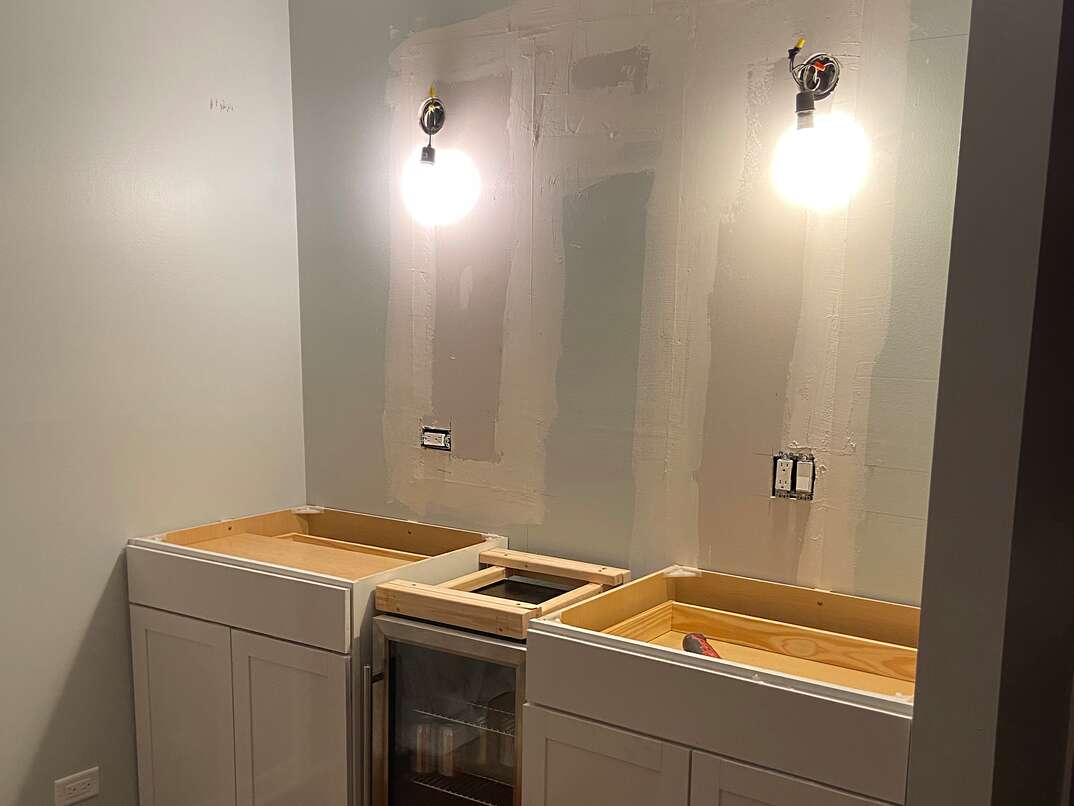
Step 2: Install the Cabinets
With the cabinets either built or purchased, it’s time to install them. Measure the height and width of the back side of your cabinets and transfer those dimensions onto the wall. If you want your cabinets to rest flush against the wall, you’ll need to remove the baseboard with an oscillating saw and pry bar. Along with the baseboard on the back wall, you may also need to remove the baseboard on any sidewalls the cabinets will rest against.
Run a stud finder inside the marked-out section on the wall and mark the wall stud locations. Measure the distance between the mark for the outside edge of the cabinet to the wall stud marks, and transfer those measurements onto the back panel inside of the cabinets.
Set the cabinets into position. It can be helpful to remove the doors and drawers to reduce weight and minimize any risk of damaging them. You may also want to set your mini-fridge or beverage cooler into place and plug its power cord into the nearest electrical outlet prior to installing the cabinets. Doing so may be difficult after the cabinets are set.
Rest a spirit level on top of the cabinet to check for level (horizontally straight) and on the face of the cabinet to check for plumb (vertically straight). If the cabinet is out of level or plumb, adjust it by placing shims between the floor and the bottom of the cabinet or between the wall and back of the cabinet where the wall studs are located.
Use a drill bit that’s slightly smaller in diameter than the 2 1/2-inch deck screws you’ll be using to drill pilot holes through the back of the cabinet and into the wall studs. Place washers onto the 2 1/2-inch deck screws and drive them into each of the pilot holes to secure the cabinets to the wall.
If you need to shim your cabinets, trim off the exposed portions with a utility knife or oscillating saw. If you’ll be adding a toe kick to your cabinet, nail it into place with 4D finish nails. This is easiest to do with a pneumatic brad nailer, but you can also use a finish hammer.
More Related Articles:
- What’s a Home Improvement Loan and How Do You Get One?
- 7 Ways to Save on Your Next Home Renovation Project
- How Much Does a Kitchen Remodel Cost?
- Should You Remodel or Move? Here’s How to Decide
- 5 Finished Basement Ideas for Your Home
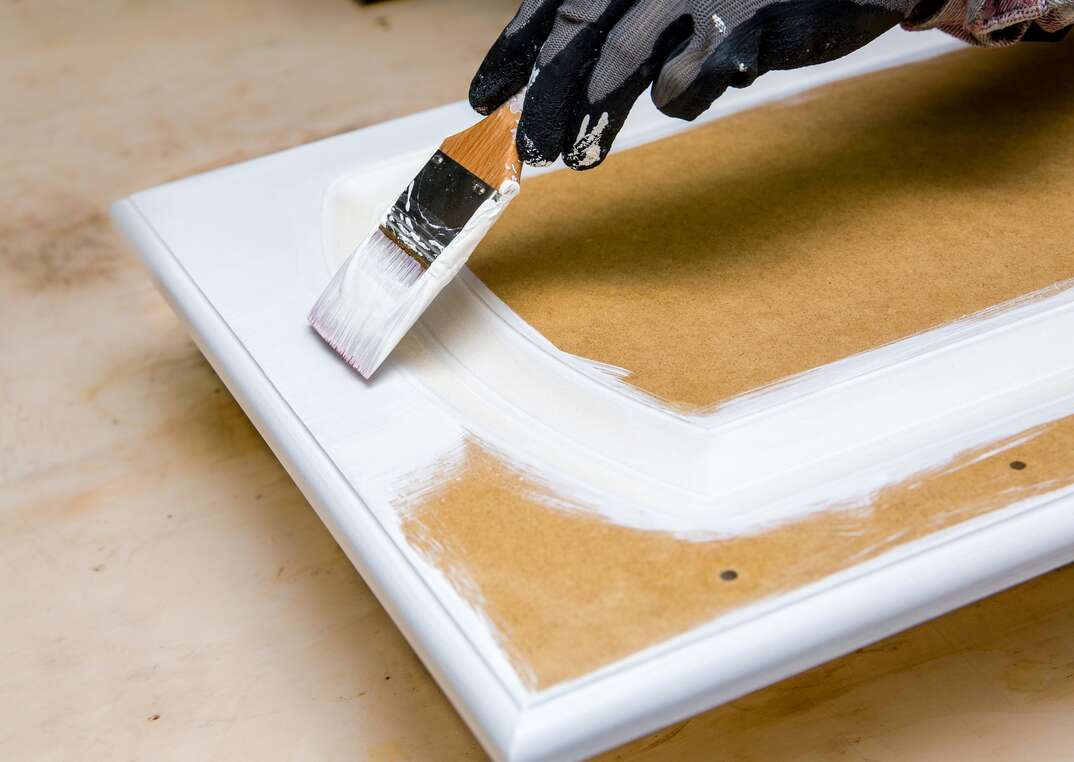
Step 3: Prepare for Paint or Stain
If you purchased new cabinets that are already painted to your liking, you can skip this and the following step. Otherwise, start by removing the handles, pulls, hinges and other hardware from the doors and drawers. Place them into individual bags, label them and set them aside.
Remove the drawers and doors and place them on a flat surface. Sand the doors, drawers and the cabinet’s body with 120-grit sandpaper. It’s best to use an electric sander (like a random orbital sander) for large, flat surfaces and a piece of loose sandpaper to manually sand corners and other awkward areas.
After all the surfaces have been sanded, wipe everything down with a cloth to remove the sanding dust.
Step 4: Prime and Paint
Add a coat of primer to all surfaces. Use a foam roller for large, flat surfaces and a hand brush for corners and other hard-to-reach areas inaccessible to the foam roller. Start with one side of the doors and drawers and wait for them to dry. While you wait, prime the body of the cabinets. Start from the back panel on the inside of the cabinet and work your way out and around. When the first side of the doors and drawers have dried, flip them over and prime the other side. Wait for all of the surfaces to dry completely.
Apply your first coat of paint with a new foam roller and paintbrush. Follow the same steps that you used for priming:
- Paint one side of the doors and drawers.
- While you wait for them to dry, paint the cabinet bodies.
- Flip the doors and drawers over and paint the other side.
- Allow the first coat to dry completely.
Repeat the above steps for a total of three coats of paint.
Step 5: Install the Bar Top
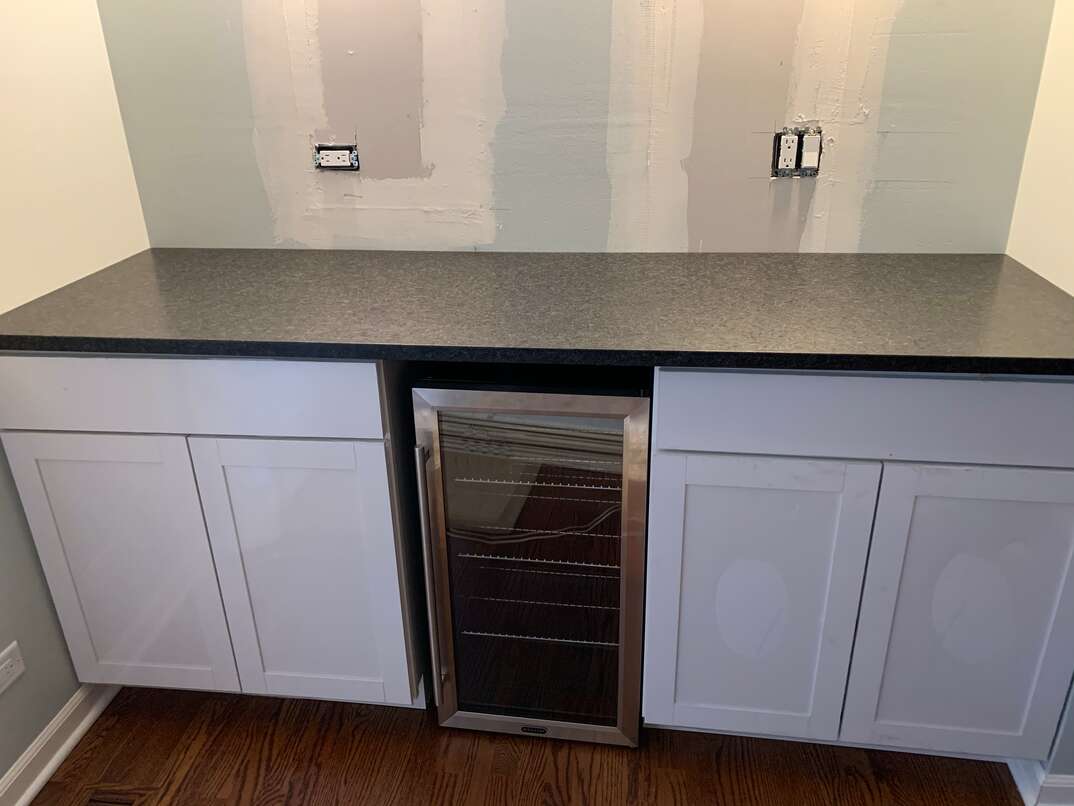
If necessary, cut your bar top to length with a circular saw or miter saw. If your dry bar is installed inside a nook that’s sandwiched between two walls, cut the bar top about ¼” smaller than the distance between the walls. That way, there should be enough wiggle room for you to comfortably set the bar top in place, but it will still be tight enough against the walls so that you can conceal the small gap with a bead of caulking.
If the cut edge of the bar top will be visible (not against a wall), sand the cut edge with 80-grit sandpaper. Slightly round over the top edge so that it matches the round-over on the top, front edge of the bar top. Wipe off the sanding dust with a cloth when finished.
Spread construction adhesive over the top edge of the cabinet where the bar top will rest. Center the bar top onto the cabinet. If desired, place some weights or heavy objects on the bar top to hold it in place while it sets.
Apply a bead of caulk between the gap created between the bar top and any adjoining walls. To make a particularly smooth and clean bead, place strips of painter’s tape on the bar top and wall. Apply the caulking, smooth it with your finger and remove the tape.
Allow the adhesive and caulking to fully cure according to the manufacturer’s instructions.
Step 6: Finishing Touches
Reinstall the hardware onto your doors and drawers and put them back on the cabinet.
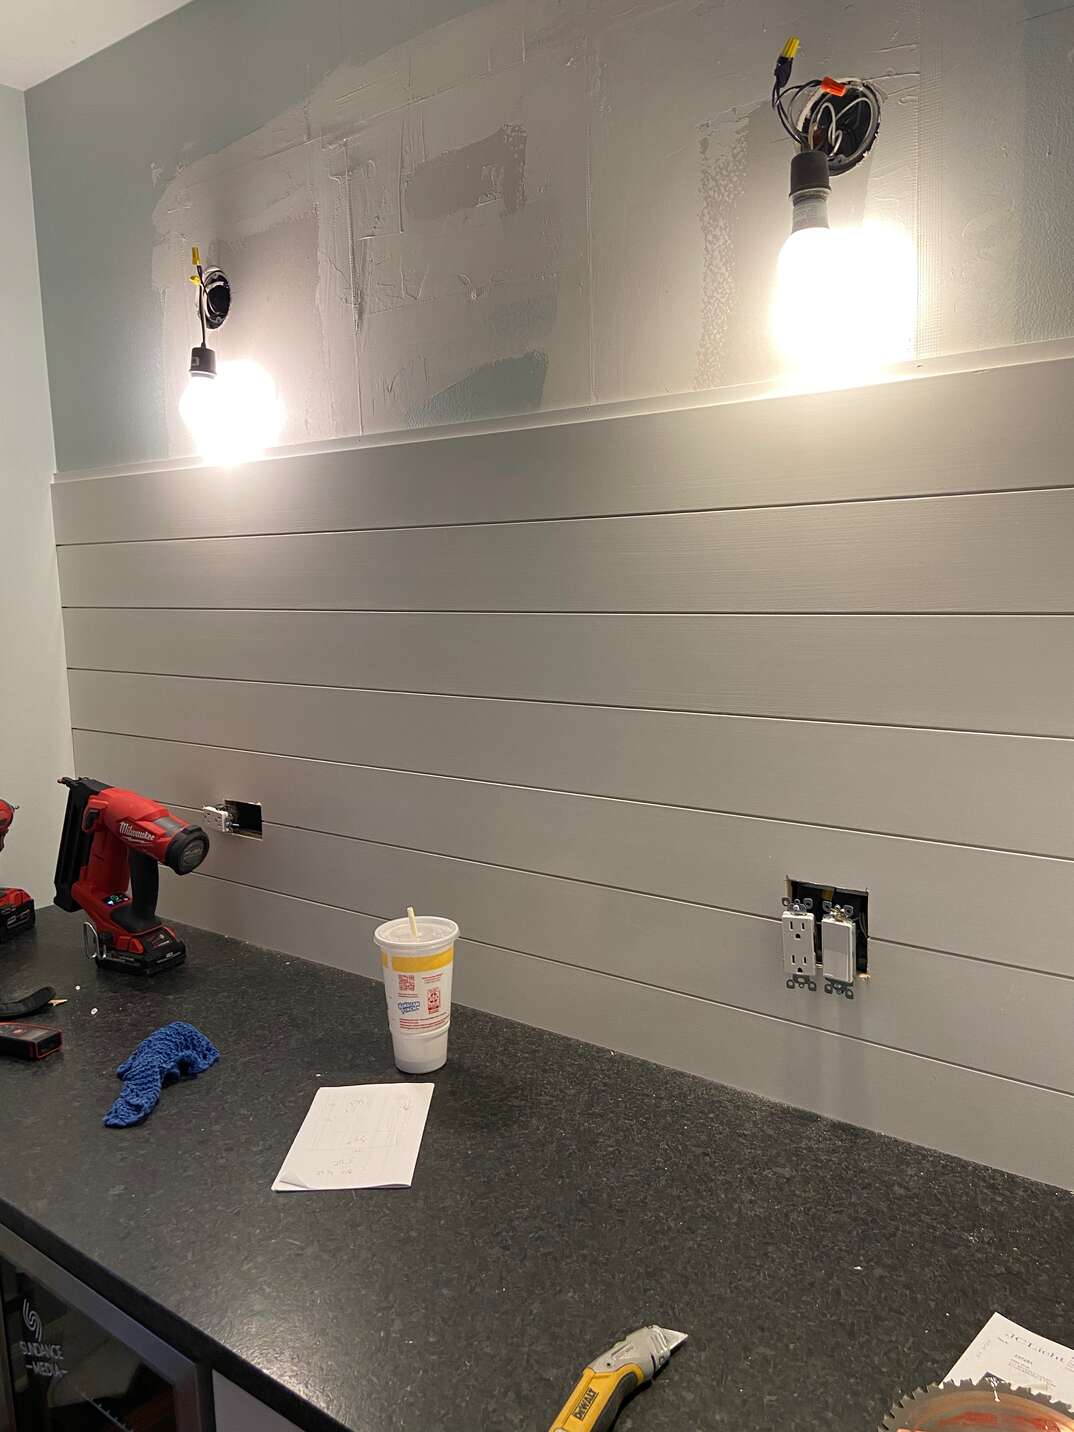
At this point, your dry bar is officially installed. However, there's no end to the additional features and amenities you can add:
- Wine rack
- Upper cabinets
- Floating upper shelves
- Living edge bar top
- Custom bar stools
- Stone or tile backsplash
Regardless of whether you keep the bare-bones design or contribute a personalized touch with the above additions, your new dry bar is sure to make a splash at your next party.
