How to Fix Common Plumbing Leaks

Most people take plumbing for granted. Without plumbing, you wouldn't be able to wash dishes or do laundry, wash your hands, or take showers. It's safe to say most people don't think about plumbing problems until they need plumbing leak repairs.
Most people have been annoyed by a leaky faucet at least once in their lifetime. Leaks aren't just inconvenient, however, as they can lead to higher utility bills. The Environmental Protection Agency suggests that repairing basic household water leaks helps the average household save 10% on their water bills.
To help you tackle the basics of fixing common household plumbing leaks, we’ve compiled the following tips. Always make sure to turn your home's water main off before making any repairs. Forgetting to shut your main water supply off could expose your home to water damage. So turn off the water and get ready to tackle some DIY plumbing projects.
4 Steps to Fix a Leaky Sink
A dripping faucet isn't the only sign of a leaky sink. Cabinets under sinks often harbor signs. Check to see if the cabinets are damp. If they are, you might have a leak on your hands. The most reliable indicators of leaky sinks are wet sink supply lines, pipe joints, and shut-off valves. Since areas below and behind sinks are often dark, use a flashlight to illuminate your work area. Sometimes, water might not be visible to the naked eye. Use a paper towel to wipe down areas under and around your sink. If it gets damp, a leak might be present.
Calcium, lime, and other mineral deposits are also good signs of leaks. Look for crusty green, brown, or white buildup on your faucet, in the sink bowl, and elsewhere around your sink.
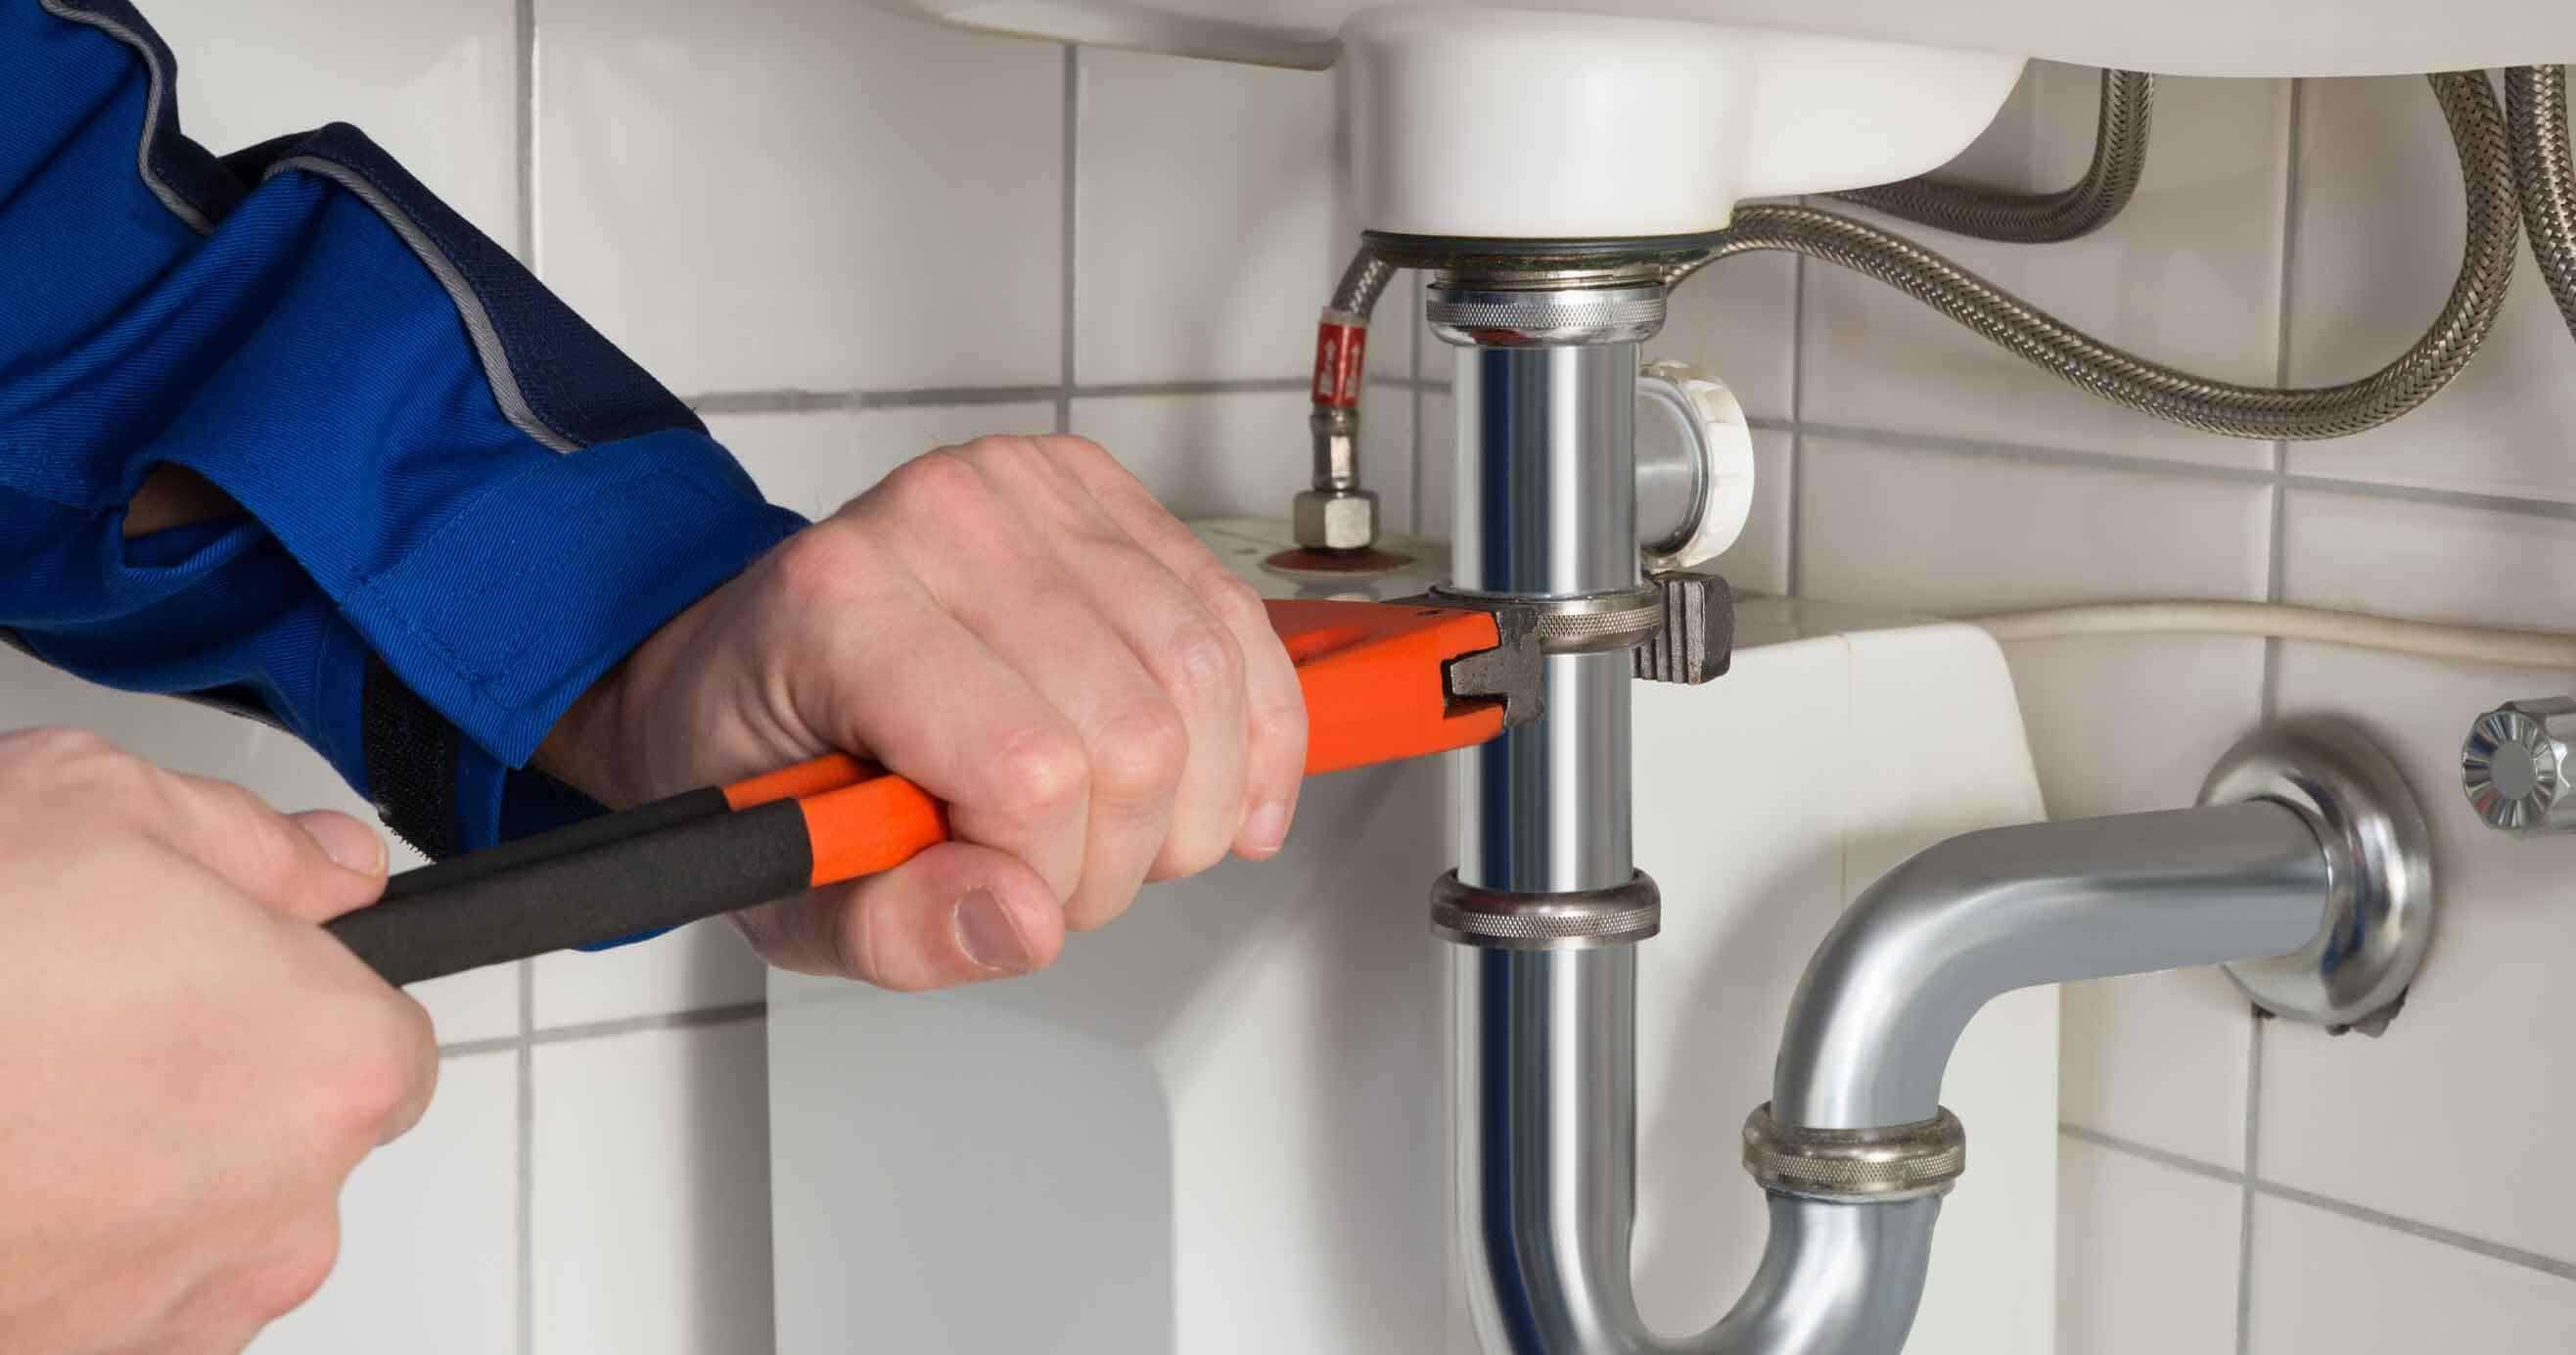
For basic sink fixes, you'll need plumber's tape and an adjustable wrench.
1. Clear Your Cabinets
If your home is like mine, you keep lots of stuff under the sink. Remove objects on top of and underneath your sink. Once you're done, don't put these things back. Although most people have crowded cabinets below their sinks, this can actually cause leaks going forward. Also, you won't be able to recognize leaks or puddles of standing water if your under-sink cabinets are full.
2. Tighten Your Connections
Believe it or not, many leaky sink issues are caused by loose connections. Wherever you see a plumbing connection, tighten it. Clockwise turns will tighten connections and counterclockwise turns will loosen them. Only turn them clockwise.
3. Strengthen the Seals
In some cases, tightening pipe connections isn't enough. Reinforce the seals by carefully wrapping them with plumber's tape. You can also use plumber's putty.
4. Check Them Frequently
Check your sinks for the signs mentioned above on a regular basis. You could prevent tiny, unnoticeable dribbles from turning into major problems down the line.
4 Steps for Fixing Toilet Leaks
Leaky toilets are usually easier to notice than a leaky sink. Pooled water around the base of your toilet, damp walls near your toilet, loose flooring material, and unstable toilets are signs of leaks.
Another type of toilet leak is a leaky tank. This leak will only spill water into your bowl at first. Over time, it could leak externally. To detect a leaky tank, drop some food coloring in your toilet's tank. If the water in your toilet bowl changes after 15 minutes, you have a tank leak.
If you have a wobbly toilet, get toilet shims. If a tank leak is the problem, you'll need a new flapper valve.
1. Remove Your Flapper Valve
Open the tank and set the lid aside. Take the flush chain off the flapper valve. Remove the flapper valve at the bottom of the tank.
2. Visit Your Local Home Improvement Store
Take your used flapper valve inside and find a suitable replacement. Make sure it's the same size.
3. Replacing the Valve
Insert the valve and reattach the flush chain. Put the tank lid back on.
4. Final Fixes
Use toilet shims to fix a wobbly toilet. This will prevent leaks from happening if your toilet isn't sturdy. A replacement wax ring may be necessary if it's already leaking at the base.
3 Steps for Fixing Shower and Bathtub Leaks
The signs of a shower and bathtub leak are pretty simple. Keep an eye peeled for standing water, stains, mold, and mildew.
For these fixes, you'll need a caulk gun, caulk, an adjustable wrench, and plumber's tape. An O-ring might also be necessary.
1. Tighten the Showerhead
Use your adjustable wrench to tighten the showerhead to the pipe stem. If the showerhead's in poor shape, consider removing it and replacing its O-ring.
2. Apply Plumber's Tape
To prevent future leaks, use plumber's tape to seal the fitting between the pipe stem and showerhead. Caulk could also work well.
3. Replace the Seal
If your tub is leaking, use caulk to replace its seal. The caulk should go around the base of the bathtub frame.
Tackling DIY plumbing issues is all well and good, until you realize you’re in over your head as you may not be able to diagnose what is causing the leak. In general, many plumbing fixes are best left in the hands of expert plumbers. That’s why being prepared ahead of time with a plan from HomeServe is a smart strategy. See what plans are available in your area.


