4 Ways to Fix a Leaking Pipe

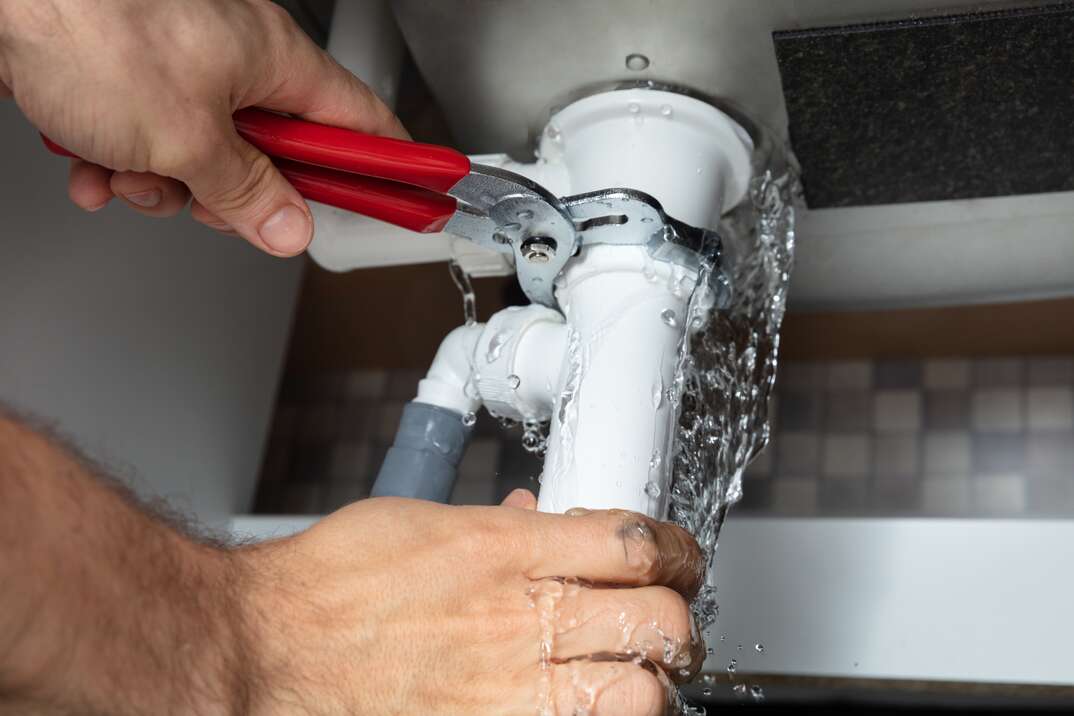
Experiencing a leak is an inevitable aspect of owning a home. No matter how much maintenance time you put in, pipes can still become damaged and, unfortunately, shoot water where it shouldn’t be.
This May Also Interest You: Pipe Burst? Here’s What to Do Next
When a pipe breaks, you’ve got two choices: Call a plumber or try to repair it yourself. If you decide to go with the second option, we’ll get you started with these four simple and effective ways to fix a leaking pipe.
First Things First…
If you’ve got a leaking pipe, the first thing you’ll need to do is drain the water line. Find your water main shutoff valve, usually located in an area like the garage, basement or crawl space. If you don’t have one in your house, there’s one usually located outside by your water meter.
When you find it, rotate the handle counterclockwise to shut off the water. Next, take a moment to flush every toilet in the house and open up your faucets to remove any water and pressure left in the water line. After doing this, your damaged pipe should no longer be leaking.
Try One of These Methods to Fix a Leaking Pipe
1. Use a Fiberglass Tape
Make sure to clean the damaged area of the pipe with a wet cloth before applying the leak tape and wait for about 15 minutes before turning the water on. That gives the resin the opportunity to harden and seal, stopping the leak completely. If you’ve got a small leak, fiberglass tape could offer a lasting solution. Generally speaking, tape repair is only a temporary fix to last until a plumber can come to evaluate the leak. Still, some leaks can be completely repaired using fiberglass tape. It really just depends on the severity of the leak.
2. Use Epoxy Putty
Another quick and easy plumbing leak repair is to use epoxy putty on the damaged pipe. After application, the epoxy putty will harden into a solid surface, effectively sealing a small leak in a pipe, although larger leaks will require a more comprehensive solution. After locating the exact spot where the pipe is leaking, prepare the area by wiping away any residual moisture with a dry towel. Then, take a moment to smooth out any damage or rust around the affected area with sandpaper.
Many brands of epoxy putty will require mixing before its application, although some come ready to use. Be sure to check the manufacturer’s instructions to mix the solution properly. Once the epoxy hits the air, you only have a short amount of time before it starts to harden — so work fast! Quickly shape the putty around the damaged pipe and let it cure for about an hour before turning the valve back on.
More Related Articles:
- Pipe Down: What to Do About Noisy Water Pipes
- How to Thaw Frozen Pipes
- Plumbing Repair Cost Guide
- 9 Times When You Should Call a Professional Plumber
- How Your Home’s Plumbing System Works
3. Use a Repair Sleeve
A pipe repair sleeve consists of a rubber gasket patch and a clamp that works to tightly seal a damaged portion of plumbing. Repair sleeves should be available at any local hardware store, but make sure you purchase the correct size sleeve, making sure that it's as long as your leak. If not, your seal won’t be as tight as it should be, and your leak will persist.
Line up the gasket with the damaged section of the pipe. Then, place it over the hole so that the leak will be entirely covered. Place the clamp around the pipe so that it fits securely over the gasket. Then, similar to a hose clamp, tighten the included bolts on the outside of the clamp. Be sure to tighten the bolts all the way for maximum security.
Pipe clamps can work great for a variety of leaks, but they’re really just a temporary fix until you (or a plumber) can replace the pipe.
4. Use a Slip Coupling
The above-mentioned repair solutions are generally seen as temporary fixes. For a more permanent fix, it’ll require a bit more work by installing a slip coupling on your pipe. Still, this repair is a highly doable DIY project. Slip couplings are watertight connections that connect two pieces of pipe. Before you purchase one, make sure it’s both the same size and diameter as your existing pipe and the same material, like PVC, copper, etc.
Measure the size of the coupling and mark the measurements on your pipe using a marker. Then, use a pipe cutter to remove the damaged area of the pipe. You can use a hacksaw if you don’t have access to a pipe cutter. However, you’ll have a much cleaner and more accurate cut by using a pipe cutter. From there, slide the coupling onto the ends of your pipe. Depending on the type of coupling, you may have to tighten the connections using a wrench; others, like SharkBite fittings or rubber pipe connectors, simply push or snap into place.
Learn How to Fix a Leak
Repairing a leaking pipe is a skill that will come in handy time and time again. While it’s pretty much inevitable that you’ll experience a leaky pipe as a homeowner, paying a plumber to repair it for you doesn’t have to be. So, next time you find that disconcerting puddle of water under your kitchen or bathroom sink, roll up your sleeves and get to work.


