Here's How to Fix a Leaky Faucet

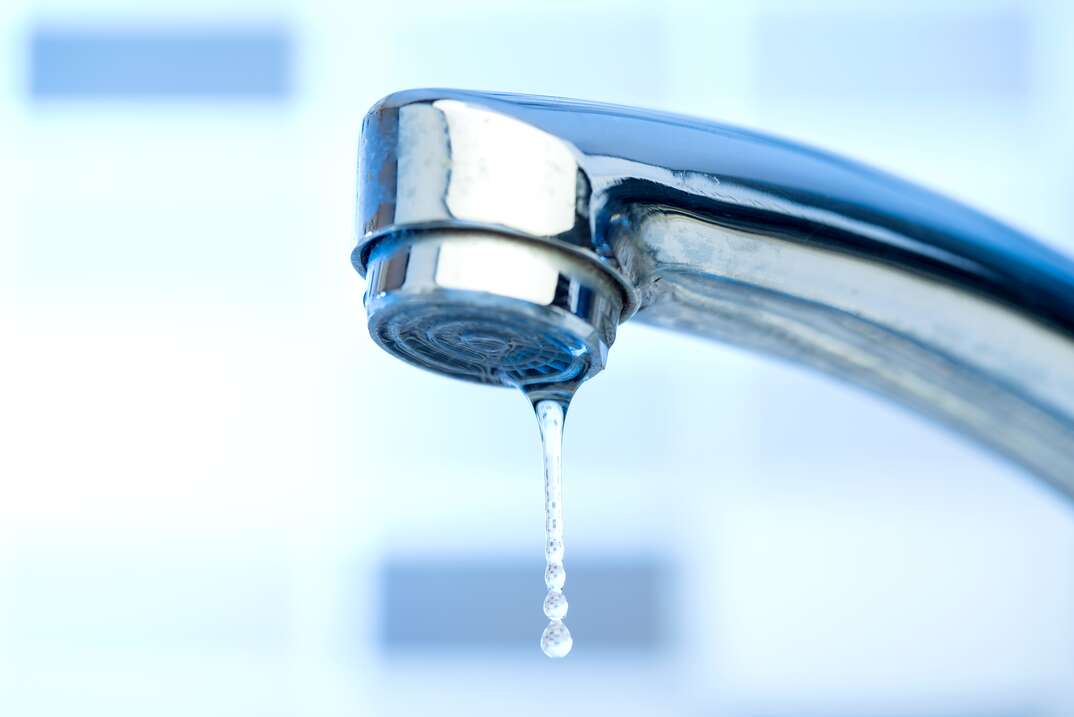
Plink. Plink. Plink. The sound of a dripping faucet — whether it’s in the kitchen or the bathroom — is enough to keep you awake all night. Aside from the constant dripping, there’s the worry that you’re wasting incredible amounts of water. And for good reason: According to the Environmental Protection Agency, a leaky faucet that drips one drop per second will waste more than 3,000 gallons of water per year!
This May Also Interest You: How (And Why) to Clean Your Faucet Aerators
Needless to say, when you hear that dripping sound, you’ll want to act as soon as possible. Luckily, fixing a leaky faucet is a relatively simple task.
First Things First: Compression or Washerless?
The two basic types of faucets in homes are compression faucets and cartridge (washerless) faucets. These two faucets use different components to control the water, so the process of repairing them is slightly different.
A compression faucet uses a rubber washer that keeps the valve seat in place. Over time, water pressure forces the washer against the valve seat, creating constant friction that will eventually cause it to wear out.
On the other hand, a washerless faucet uses a cartridge or a ball instead of a rubber washer and a valve seat to control the faucet’s water flow. While they typically last longer than compression faucets, they can also crack or become worn-out through normal wear and tear.
Turn Off Your Water
No matter what type of faucet you have, you should begin each faucet repair project by shutting off the water at the supply valves under the sink. Turn both valves clockwise to shut the water off. After you’ve done this, make sure you open up the faucet to release any excess water and pressure still left in the line. You’ll also want to close the drain, just in case any small but essential pieces drop into the sink.
How to Fix a Washerless Faucet
Remove the Faucet Handle
Once the water has been shut off, start by removing the faucet handle. To do this, find the small set screw located somewhere near the bottom or back of the handle. Every brand is different, but these screws are often hex screws, so you might need the correct size Allen key to unscrew it. When the set screw has been unscrewed, lift the handle up and remove it.
Depending on what type of washerless faucet you have, the internal components of the handle may look a little different.
If You Have a Cartridge Faucet
You’ll need to remove the retaining nut before pulling out the cartridge. Using a pair of adjustable pliers, gently turn the nut counter-clockwise to loosen it. Then, loosen the rest by hand. When the nut has been removed, use needle nose pliers to pull out the cartridge. To repair the leak, simply replace the cartridge with a model of the same size.
If You Have a Ball Faucet
A leak is usually caused by worn-out valve seats and springs. To replace them, use a pair of adjustable pliers to remove the handle cap. It’s possible that the cap will feel stuck in the housing. Again, don't apply too much pressure with your wrench. Instead, wrap a cloth soaked in white vinegar on the dome and let it sit for a few minutes before trying again. Once the cap has been removed, remove the plastic cam, cam washer, rubber packing washer and the ball valve assembly as well. When the ball is out, the valve seat and springs should be visible. Remove them and replace them with new ones.
More Related Articles:
- How to Tighten a Faucet Handle
- How to Replace or Install a Bathroom Faucet
- How to Replace or Install Your Kitchen Faucet
- How to Fix a Leaky Outdoor Faucet
- How Much Does It Cost to Replace a Hose Bibb or Outdoor Faucet?
How to Fix a Compression Faucet
Remove the Faucet Handles
To fix a dripping compression faucet, you’ll need to access the internal parts of the faucet. Start by taking off the faucet’s handles by removing the set screws located near the bottom or back of the handles. Then, use a screwdriver to loosen the screws holding the handle in place.
Remove the Stem
When the handles have been removed, locate the internal stem and stem nut that holds it in place. Using a wrench, carefully loosen and remove the nut.
Examine the O-Ring
Next, pull out the stem. Now, you should be able to see the O-ring and seat washer. Take a moment here to examine the O-ring. If it looks worn or cracked, replace the O-ring while you have the sink disassembled.
Replace the Washer
At the bottom of the stem, you’ll find the seat washer. Sometimes, the seat washer is held in place by a screw. If so, remove it before attempting to remove the washer. Once the washer is out, simply replace it with a new one. Luckily, these parts are inexpensive. Just make sure that you replace the O-ring and washer with ones that are the same size, as even the slightest difference can cause a big leak.
Once the washer has been replaced, reassemble the faucet and give it a test run to make sure you are leak-free.
Know Your Faucet
Knowing what type of faucet you have will help you diagnose and repair a leak any time one might occur. And while it might take some time and patience, repairing a leaking faucet is a project anyone can do without having to call in the pros.


