How to Repair and Prevent Sun Fading on Your Hardwood Floors
Repairing Sun-Faded Hardwood at a Glance
- Tools and materials: Fine- and medium-grit sandpaper, sample board, wood stain, urethane sealant, paintbrushes, rags
- Step 1: Inspect floor
- Step 2: Gather supplies
- Step 3: Sweep and fill gouges
- Step 4: Sand and buff
- Step 5: Apply stain
- Step 6: Apply sealant
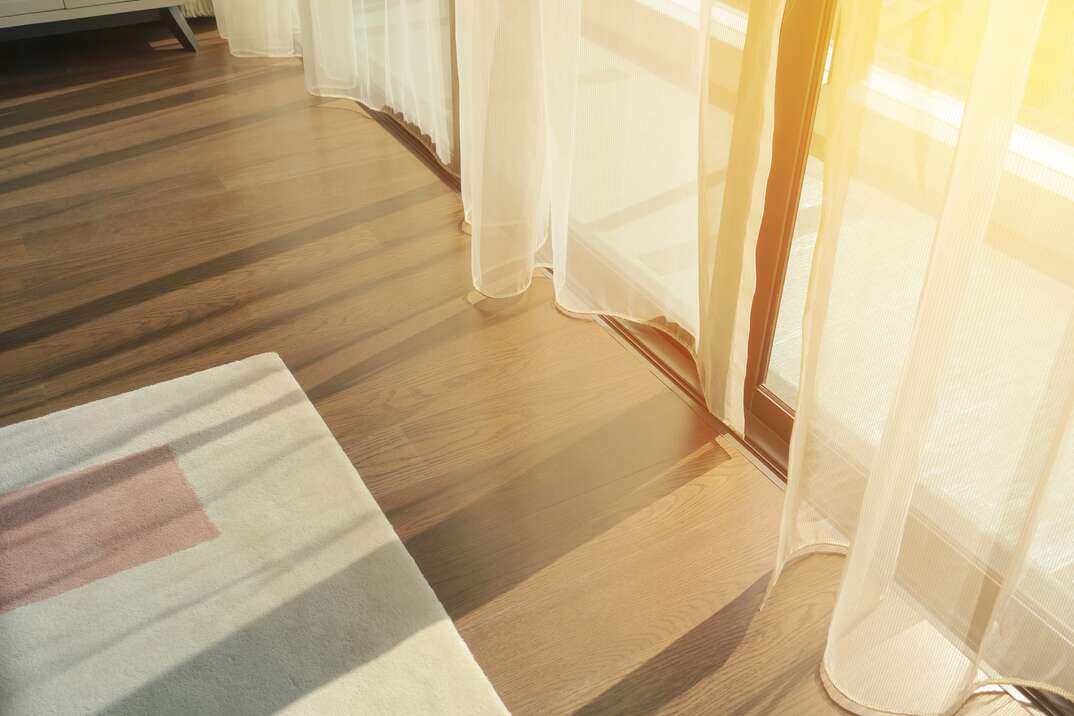
Sunlight streaming into a room is a beautiful sight. But did you know that prolonged sun exposure can bleach and damage your hardwood floors? There are a few things you can do to prevent your hardwood from bleaching, but if your floors get a lot of sun, fading is inevitable.
This May Also Interest You: How to Fix Scratches on Hardwood Floors
If you want to fix a discolored, sun-damaged hardwood floor, follow these steps.
How to Fix Sun-Bleached Wood Floors
1. Inspect the Floor
Although you can refinish just the sun-faded sections of the floor, it’s best to do the whole room at the same time if you want an even color and finish. This also gives you an opportunity to replace seriously damaged boards and repair deep gouges and scratches. If you’re unsure of what type of wood your floors are, it’s important to find out before you begin. Maple is notoriously difficult to sand and stain, so hiring a professional to refinish your maple floors is well worth the cost.
2. Gather Materials
If you’re confident that you can handle this home improvement project on your own, make sure to grab all the tools and materials you’ll need before starting, including:
- Fine- and medium-grit sandpaper blocks
- Sample wood board
- Wood stain
- Urethane sealant
- Paintbrushes
- Rags
You’ll also want to wear protective eyewear, gloves and a dust mask while you’re working.
3. Prepare Your Sun-Bleached Wood Floor
Remove all furniture, rugs and other objects so the room is completely empty. Even if you’re just fixing a section that’s sun-bleached, cover everything with plastic or take it out of the room so it doesn’t get covered in dust. Sweep thoroughly, making sure to get dirt and dust out of corners and crevices.
Use commercial wood filler to fill in any deep gouges or very wide lengthwise gaps. Leave the small gaps between the boards unfilled because wood often shrinks and expands with changes in temperature and humidity. Now is a good time to sand down any scratches you want to fix.
4. Sand and Buff
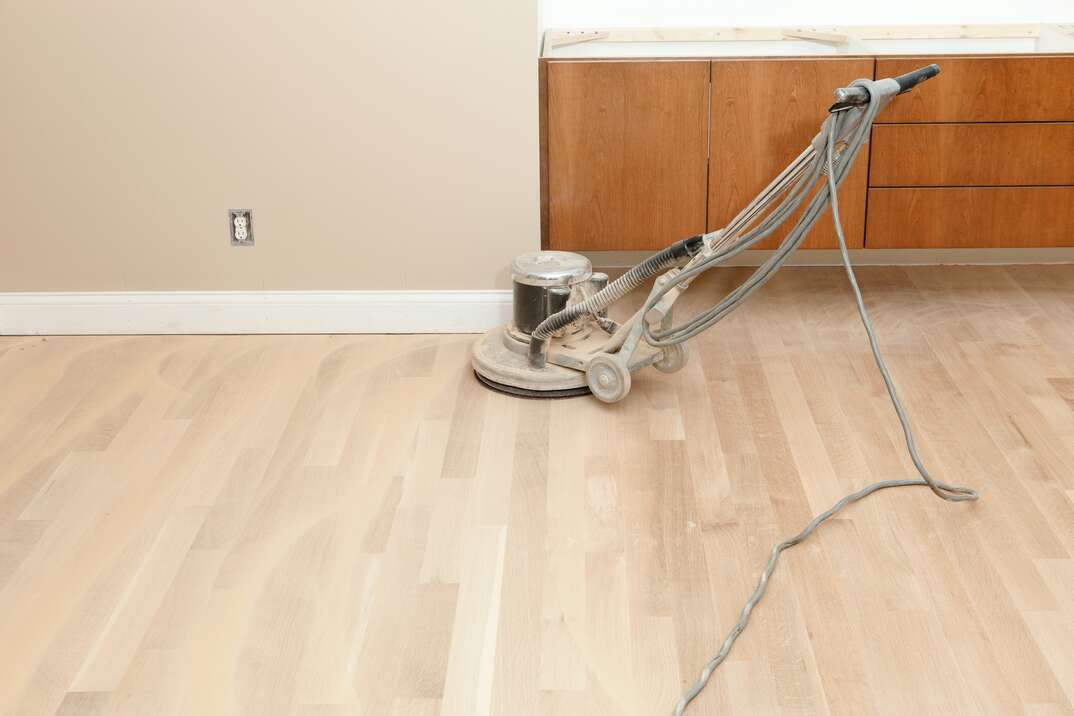
If you’re sanding a large area, hang plastic over doorways and close vents to keep dust from blowing throughout your home. Put on your protective eyewear, gloves and a dust mask. If you’re only sanding the sun-faded sections of flooring, use a 120-grit sanding block. Sand the area until the finish and stain are removed. If you’re having trouble getting it off, try medium-grit sandpaper and then use fine sandpaper to smooth it out. When you’re done sanding, it’s vital to vacuum up all the dust. Use an attachment to suck up dust from any corners or walls.
5. Apply Wood Stain
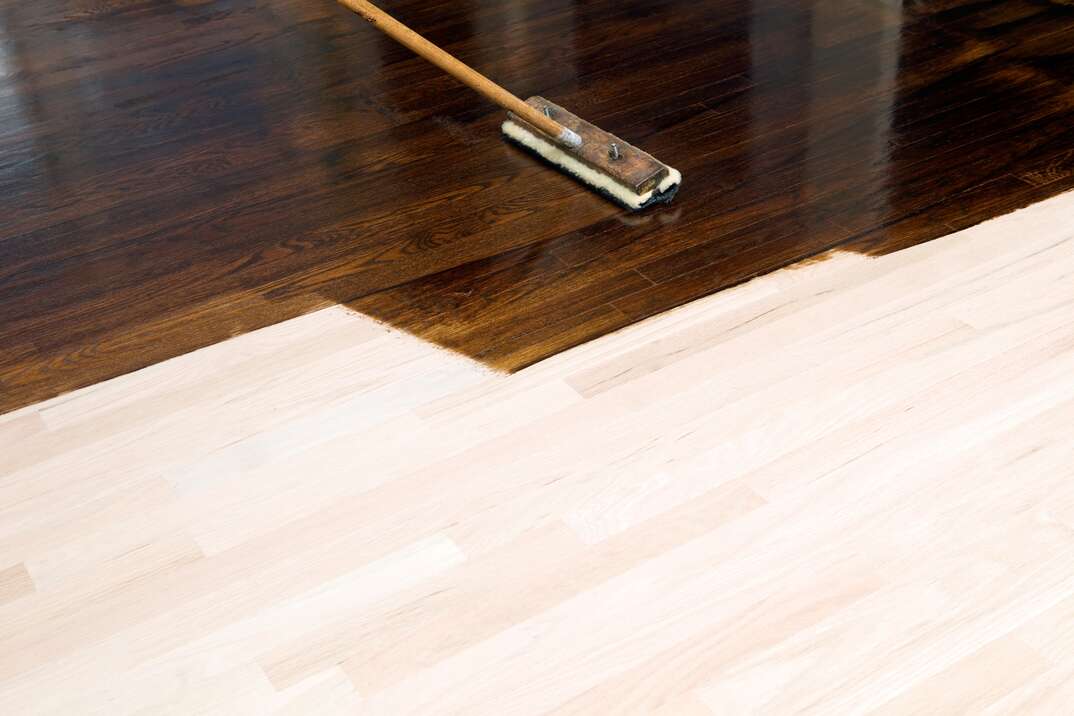
The first and most important thing to do before staining is to ventilate the room. Open doors, windows and air vents. Wood stains typically give off very strong fumes that can make you sick, so this step is essential.
When you apply stain to just a small section of the floor, matching the original shade can be tough. You may have to mix different stains to get the color you want. This process is pretty much trial and error. Mix stains in a small container or bucket. Apply a tiny bit of stain to different areas of the wood sample with a brush or rag until you achieve the color that matches most closely. When you’re satisfied with the color, put on some gloves and apply the stain to the sun-bleached section with a clean rag. Let dry overnight.
6. Apply Sealant
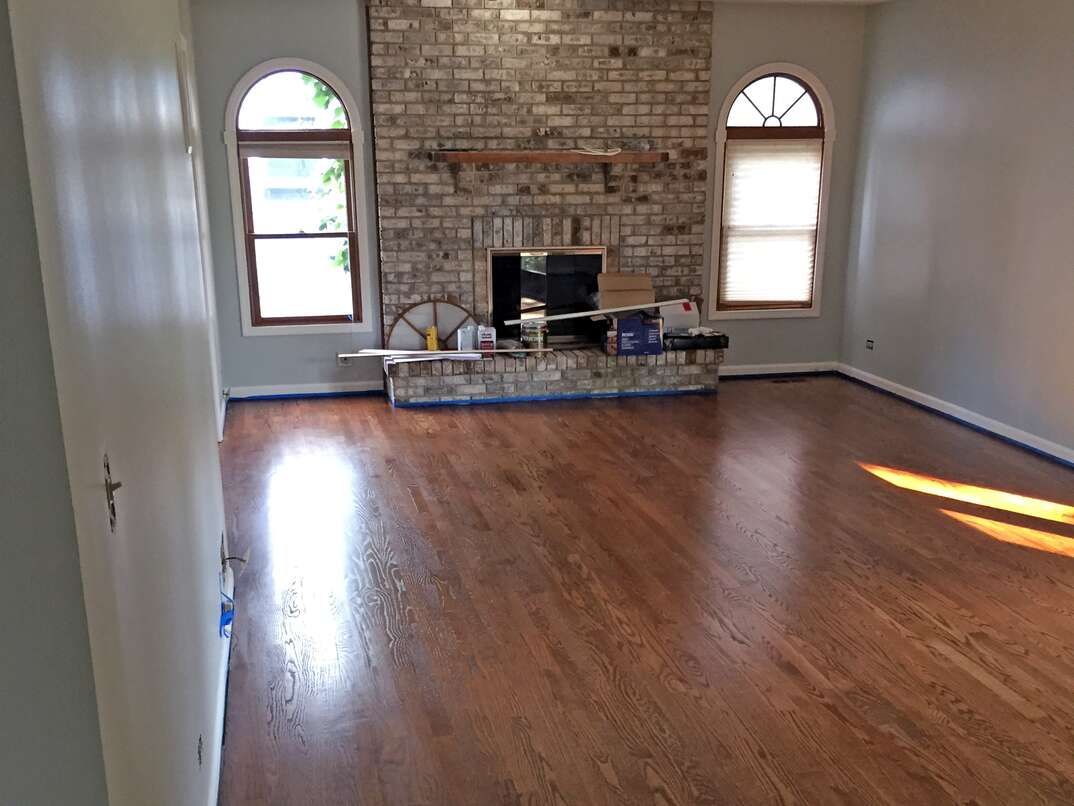
If you don’t know whether the existing finish is water or oil-based, it’s best to use a water-based urethane sealant and apply it with a paintbrush. Let the first coat dry according to the manufacturer’s instructions. Once it’s dry, lightly scuff the surface with fine sandpaper and apply another coat of urethane. Avoid walking on the stained surface for at least 24 hours, and wait 48 hours before putting back rugs and furniture.
More Related Articles:
- How Much Does It Cost to Refinish Hardwood Floors?
- How to Refinish Hardwood Floors: 9 Steps, Start to Finish
- Squeaky Floors Getting on Your Nerves? Give ‘Em the Silent Treatment
- Here’s How to Clean Your Hardwood Floors for That Flawless Shine
- Don’t Get Cold Feet! Everything You Need to Know About Radiant Floor Heating
How to Prevent Sun Fading on Hardwood Floors
Close Curtains and Blinds
One of the best ways to prevent sun-bleached hardwood floors is by using curtains and blinds to block harmful UV rays that cause wood to fade. Closing curtains and blinds when you’re not home and during very sunny hours of the day can make a big difference when it comes to preventing damage to hardwood.
Consider UV-Resistant Windows or Laminate Coating
If you’re in the market for replacement windows or you’re building a new home, consider choosing windows with Low-E coated glass. Another option is to install a UV-resistant laminate film on existing windows. This is a fairly easy home improvement project you can DIY. Regularly rearranging furniture and rugs so exposure to the sun is more even can also keep floors and other items from becoming sun-faded.
Properly Clean and Maintain Your Floors
Hardwood also requires regular cleaning and maintenance. Make sure you know how to properly clean your hardwood floors and look for cleaners, waxes and oils that help make your wood resistant to fading and water damage.
Since we’re all home now more than ever, being prepared for unexpected home repairs with a plan from HomeServe is important. Having a plan in place gives you peace of mind knowing that you can simply call our 24/7 repair hotline for covered breakdowns. See what plans are available in your neighborhood.
