How to Install an HVAC Misting System

If your AC unit isn't keeping you cool and your energy bills are growing faster than Jack's magic beanstalk, you might need an HVAC misting system. Popular brands, such as Mist-n-Save, are revolutionizing air conditioning across the country.
This May Also Interest You: Should You Repair or Replace Your Air Conditioner?
They're brilliantly simple but effective devices that make it easier for air conditioners to cool hot air, saving you money on your energy bills and lengthening your unit's life span. Better still, they improve the quality of the air breezing its way into your property.
What Is an HVAC Misting System?
An HVAC Misting system cools the air around your outdoor air conditioning (AC) unit. It does this by spraying a fine mist of water onto or near the condenser coils, which helps them dissipate heat more efficiently. As the mist evaporates, it cools the surrounding air, making it easier for your AC to maintain a comfortable indoor temperature.
Because your AC unit doesn’t have to work so hard to cool the air it draws in, it uses less energy, saving you money. And, because it isn’t under as much strain continuously, it can have a longer life span. HVAC misting systems are relatively easy to install, so, if you’re up for some DIY, you can save money on the installation labor. Below, we'll explain how to install an HVAC misting system.
Step-by-Step Guide to Installing an Air Conditioner Mister System
Before you install your HVAC misting system, you'll need to gather the following supplies:
What You'll Need:
- An AC mister kit, such as Mist-n-Save
- An adjustable wrench
- A screwdriver
- A garden hose
- A water supply line
- A timer (optional)
Step 1: Turn Off the Power
Safety should always be at the front of your mind before starting any electrical DIY project, so the first thing you should do is ensure your air conditioning unit is turned off. You can do this by switching off the power at the circuit breaker or disconnecting the unit from its power source.
Step 2: Locate Your AC Unit
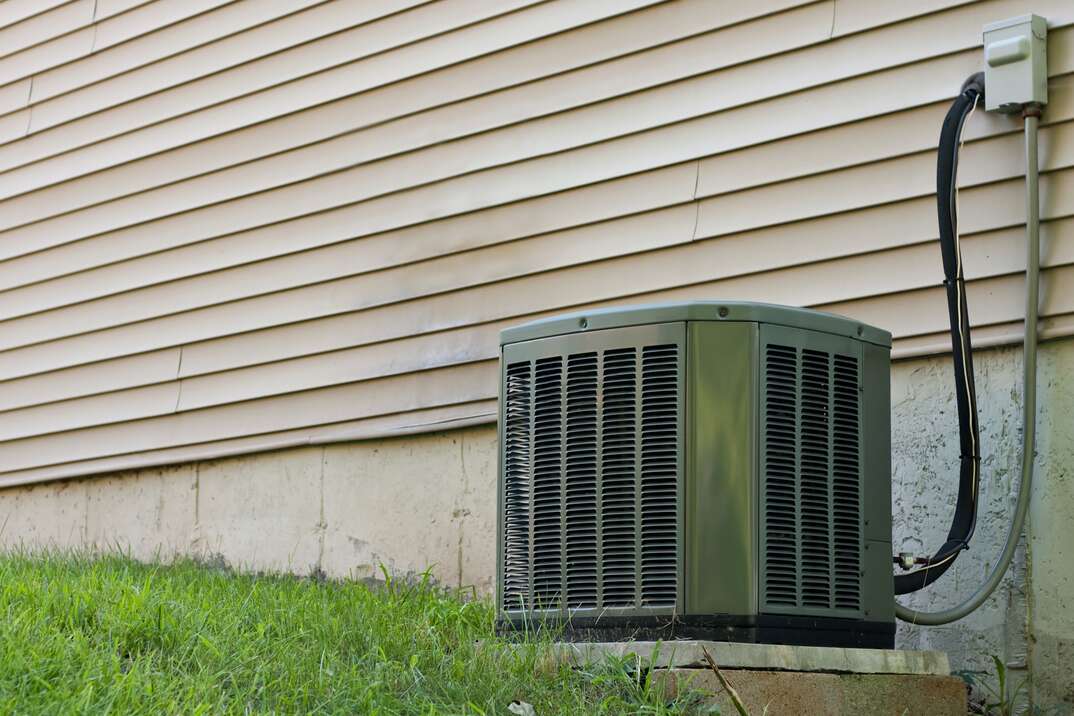
Identify the location of your outdoor AC condenser unit. It's typically situated outside your home, usually on the side or back.
Step 3: Assemble the Misting Kit
Always follow the manufacturer's instructions to assemble your AC misting kit. Fortunately, most kits come with easy-to-follow guidelines, especially the better-known brand names, such as Cool-n-Save. If written instructions aren't your thing, there's almost certainly a video online (just make sure it's for the same kit you purchased).
Step 4: Connect the Water Supply Line
Attach one end of the water supply line to a garden hose faucet and the other end to the misting system's inlet. Make sure it's securely fastened and not stretched over an area where it could be a trip hazard.
Step 5: Position the Misting System
Place the misting system around the condenser unit following the instructions in your user manual. Most misting nozzles should be directed away from the unit to ensure even coverage, although some designs have nozzles facing the condenser coils. When the system activates, the spray will surround the unit, cooling the air, which the unit can then draw in.
Step 6: Secure the AC Mister System
Use the adjustable wrench and screwdriver to secure the misting system in place, per the manufacturer's instructions. Make sure it's stable and won't move during operation.
More Related Articles:
- So Your AC Went Kerplunk: Here’s What to Do Next
- New to BTUs? Here’s What to Know About BTUs When Shopping for an Air Conditioner
- Hot This Summer? Here’s Everything You Need to Know to Keep Cool
- Keep Your Cool With Our Top 5 Picks for Window AC Units
- Got Central Air? Use This Top-to-Bottom Air Conditioner Maintenance Checklist
Step 7: Set Up a Timer (Optional)
For added convenience and energy savings, you can install a timer to control when the misting system operates. This way, you can ensure it runs during the hottest parts of the day. These must be purchased separately and are easily installed.
Step 8: Turn on the Water
Before attaching the brass misting valves to the water lines, open the garden hose faucet to supply water to the misting system. This will clear any debris that might have found its way inside. Turn off the water, attach the valves and turn the water back on. You should see a fine mist spraying around the condenser unit.
Step 9: Test the System
Now, it's time to test the system. Turn on your air conditioner and monitor the cooling effect. You should notice a significant improvement in your AC system's efficiency and the air temperature it produces.
By following these easy steps, you can enjoy a cooler home, lower energy costs and a more efficient AC system. Used regularly, the misting system will extend the life of your AC unit, saving you even more money in the long run. So, say goodbye to sweltering heat and hello to comfort and savings.


