How to Build an Above-Ground Pool

Nothing says summer fun like a pool. Whether you’re entertaining guests or just relaxing in the sun, owning a pool can transform your backyard into a summer retreat. But, with the average cost of installing an inground pool ranging from $28,000 to $50,000, the notion of installing one can seem more like a dream than reality. However, many homeowners have recently shifted toward above-ground pools — a much more affordable option with benefits that don't stop with the cheaper price tag.
This May Also Interest You: Preparing Your Home Before a Long Vacation
Keep reading to learn all the things you need to know and decisions you need to make before breaking ground on your new above-ground pool, followed by a step-by-step (or perhaps stroke-by-stroke?) overview of how to build one.
Easier Install, More Economical
One of the major perks of installing an above-ground pool is, of course, the cost. On the whole, above-ground pools will only run you a fraction of what inground pools cost. According to HomeGuide.com, the cost of an above-ground pool averages $1,850 to $4,977 — including installation. Above-ground pools are also comparatively easy to install and, depending on the style, can be ready for use in about a day’s time. Depending on your skill level, you might even be able to save on installation costs by installing the pool yourself.
What’s more, above-ground pools require less maintenance than inground pools. Because above-ground pools are not underground, the major components are easily accessible, making maintenance and repair much simpler. To add to the list of benefits, above-ground pools are also quite portable. Planning on moving? You can easily disassemble the pool and bring it with you.
Think that an above-ground pool is just what you need to turn your backyard into a summertime fun zone? Before you make your purchase, it’s important to consider what type of above-ground pool would work best to suit your needs.
Types of Above-Ground Pools
1. Resin-Frame Pools
Frames constructed from resin, or plastic, materials make for a popular above-ground pool type because of their resistance to rust and other types of corrosion. Resin can also resist the warping effects of the sun and water that other pool frames often fall prey to. Resin pools remain cool to the touch even after sitting in the hot sun.
2. Steel-Frame Pools
Although they’re actually built from a combination of zinc, aluminum and galvanized steel, “steel” frames are a great option because they’re durable and lightweight. They can also easily bend into a desired shape, making them an ideal choice for building on a raised deck. Additionally, these frames can last for many years if properly maintained. Despite being lightweight, steel frames are sturdy, and their moderate price makes them one of the more popular options for above-ground pools.
3. Hybrid-Frame Pools
Made from a combination of resin and steel, hybrid frames offer the best of both worlds. Because of its resistance to heat, weatherproof resin is used for the parts of the pool that get the most direct sunlight, while steel offers strength and sturdiness. Hybrid frames are generally more expensive, but are durable, rust-free options that can stand the test of time.
4. Rigid-Wall Pools
Rigid-wall pools are by far the most expensive above-ground pool material type. As the name suggests, rigid-wall pools have solid metal walls that form the pool frame. Just as you’d expect, these are the most sturdy and durable types of above-ground pools.
Create a Plan
After you decide what type of above-ground pool will best suit your needs, the next step is to determine the size and shape of your pool, as that will have a significant impact on its cost.
The size of your pool also determines how much water it’ll hold, so figuring out your long-term budgetary concerns is key. For every cubic foot of water, you can expect to pay around $12 in water costs, which may not sound like much but can add up quickly if you have a larger-sized above-ground pool. For example, a 24-foot circular pool will likely cost around $200 to fill. However, for a smaller, 12-foot-diameter pool, water costs will average about $50 per fill.
While considering the size of your pool, it’s also a important to determine the best available spot to install it. Pick a spot away from trees, one that gets a lot of sun during the day, as this will help warm the water and keep leaves out of your water.
It’s also key to avoid any low-lying areas as you choose your pool's placement. That’s because such areas have a tendency to flood, allowing mud and groundwater into your pool. It’s a quick way to drive up your maintenance costs and potentially cause permanent damage to your pool.
Choosing the Right Filter
Another key decision to make early on in your above-ground pool installation project is what type of filtration system you’ll need. All pools need some kind of filter system, but the specific type of filter depends largely on the size of your pool. The three main types of filtration systems used in above-ground pools are sand, cartridge and D.E. filters. Each filtration system has its benefits, but it’s always a good idea to check your budget and specifications before investing in any of these systems.
1. Sand Filters
Sand filters are the most common type of filter. These filters trap dirt and debris using a special type of filtering sand. Eventually, the sand fills up and begins to clog; when that happens, you must backwash the filter into a drain line to “reset” the filter.
2. Cartridge Filters
These filters use small, cylindrical screens to filter out dirt and other debris from the pool. When a cartridge loses its efficiency, it can be thrown away. While disposable cartridges can add to your long term costs, reusable, washable cartridges can be a more economical choice.
3. D.E. Filters
D.E. filters contain a porous powder called diatomaceous earth that produces the cleanest water by far. Not only do these filters remove dust and debris from the pool, but they also can filter out algae and certain types of bacteria. As you might expect, these filters are among the most expensive on the market.
To DIY or Not To DIY
Generally speaking, most above-ground pools are relatively simple and easy to install. With a little know-how, you can expect to have your above-ground pool installed and ready to use in as little as a day. Your decision to hire a contractor should ultimately depend on the size and complexity of your pool.
If you do decide to install your above-ground pool yourself, be sure to obtain any necessary permits you may need. You can also find out whether there are any building restrictions required before you break ground. For example, some municipalities require safety fencing around pools or buffers between property lines and additional structures.
Step-by-Step Overview
If you decide to install your above-ground pool yourself, consider these steps as you begin your DIY journey.
1. The Base is the Place
No matter where on your property you decide to build your pool, the most important thing to make sure of is that it’s level. Building your pool on uneven ground can cause it to destabilize — and possibly collapse. Not only can this lead to the risk of serious injury, but it can also lead to costly, unnecessary repairs. If you don’t have an area in your yard that’s perfectly level, you should hire a professional grading service to level the spot — even if you decide to complete the rest of the pool project yourself.
In addition to making sure the ground is level, you want to ensure the spot is clear of rocks, roots or any other obstructions. Any debris could possibly tear into your pool liner, causing you not only a major headache, but also unnecessary expenses in the future.
2. Lay Your Foundation
Once your base is level and clear of all debris, it’s time to lay the pool’s foundation. Generally speaking, sand is a very effective foundation material as it's easy to make uniform. An optimal foundation layer is roughly 2 inches deep. Furthermore, sand is soft and provides a welcoming cushion for your pool liner. For additional comfort and cushion, add floor padding on top of the sand. Sure, this will add to your upfront costs, but will only serve to protect your vinyl pool liner, ensuring that it lasts as long as possible.
After pouring and leveling the sand, use patio blocks to add support to the pool posts. These blocks should be sunk until flush with the ground. Be warned: All patio blocks must be level with each other on all sides to maintain stability for the pool. For specific block placement, check for the manufacturer’s recommendation.
3. Assemble Away
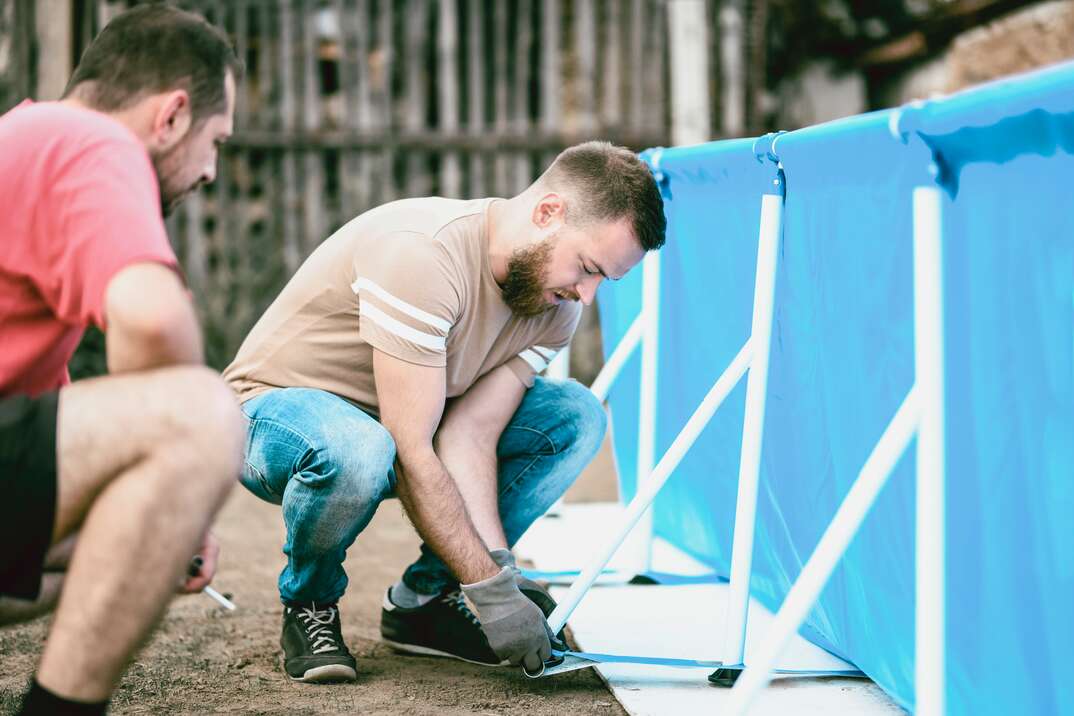
After the foundation has been prepared, it’s time to assemble the pool frame itself. Because pool frames vary greatly from manufacturer to manufacturer, it’s crucial that you carefully follow the instructions provided with your pool frame. As you begin, you should take the time to review the parts list included with your instructions to ensure that you have all the pieces necessary for your install. Finding out that you’re missing an essential part of your pool can be extremely frustrating after you've already started to build.
Once you’ve framed your pool walls, you need to create a 6-inch strip of sand that’s built around the inside edge of the pool wall. This is called a pool cove, and it’s a mandatory element for all above-ground pools as it protects the liner from the frame of the pool. If you prefer, you can purchase prefabricated pool coves that can be cut to the specific size you need.
4. Drop in the Liner
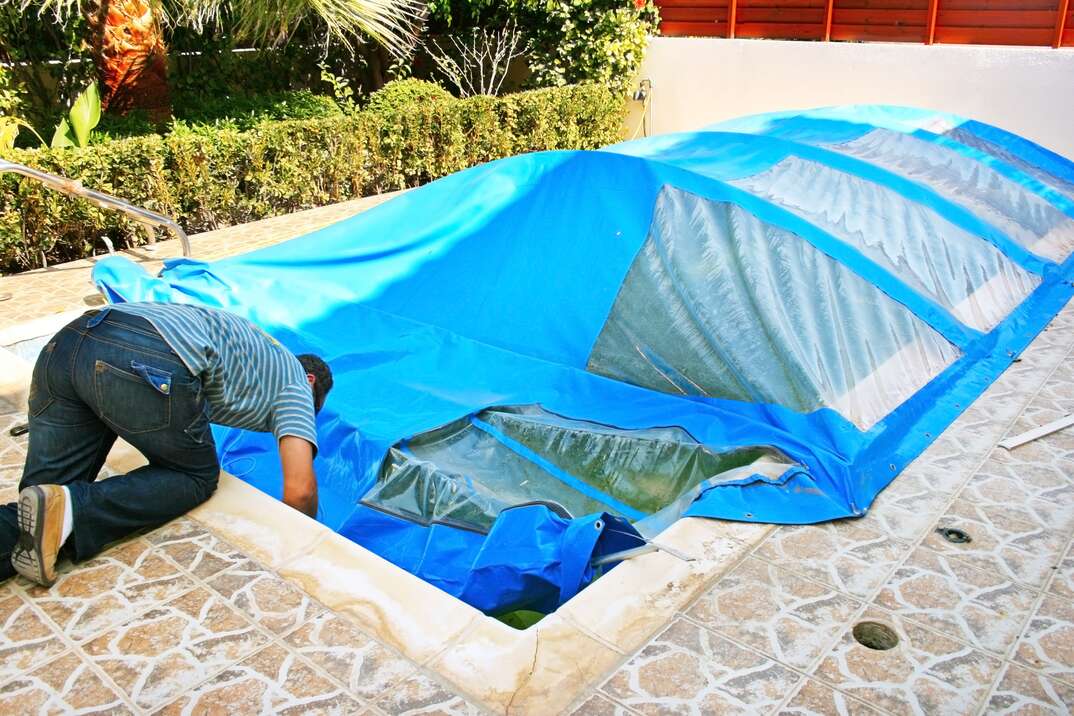
As you finish installing your pool cove, you should start preparing your vinyl pool liner to be placed inside the frame. Start by letting the liner sit out in the sun to warm up; it’ll be easier to manipulate and maneuver that way. As you lay the liner out, inspect it for punctures or other damage. Again, you’ll want to check your manufacturer’s instructions to determine the best method for installing your liner. Just bear in mind that it can be delicate, so your movements should be deliberate and executed with caution.
After the liner is in, it’s really as simple filling your pool up with water, and connecting your pump and filtration system. As always, check with your manufacturer’s instructions before adding any chemicals to your pool as these depend largely on the size and volume of the pool.
5. Enjoy Your Backyard Oasis!
Having a pool in your backyard doesn’t have to be relegated to the realm of fantasy. For those looking to maximize their fun in the summer, above-ground pools are an enjoyable, budget-friendly option that can transform your backyard into the place to be.
Since we’re all home now more than ever, being prepared for unexpected home repairs with a plan from HomeServe is important. Having a plan in place gives you the peace of mind knowing that you can simply call our 24/7 repair hotline for covered breakdowns. See what plans are available in your neighborhood.


