Hey, Closet DIYers: Learn the Secrets to Installing Bifold Doors
Bifold Installation at a Glance
- Step 1: Attach track
- Step 2: Install pivot pin and roller pin
- Step 3: Fasten bottom bracket
- Step 4: Install door stop
- Step 5: Hang door on track
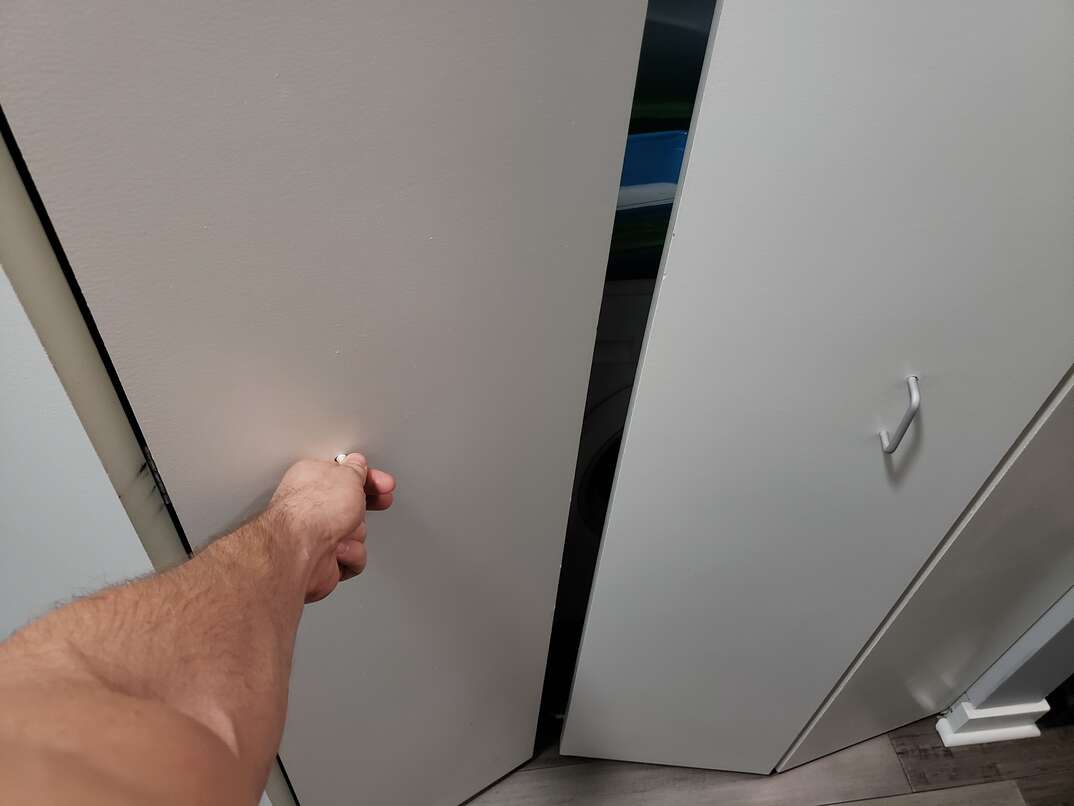
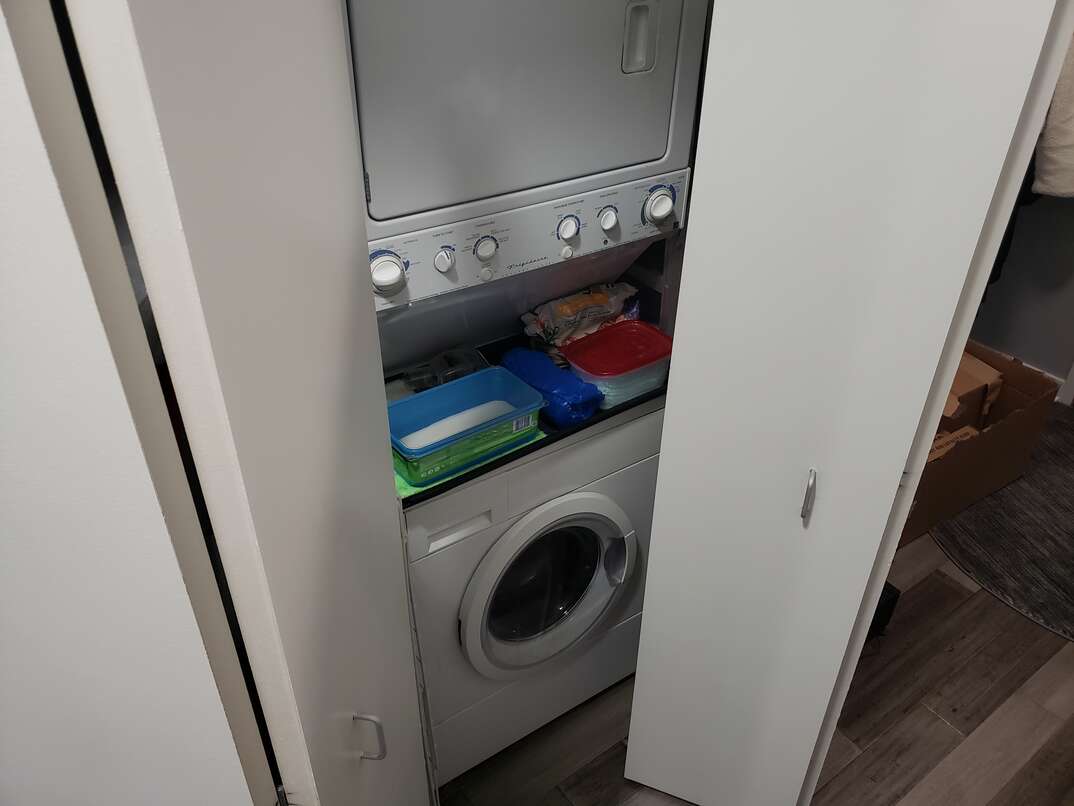
When it comes to space-efficiency, versatility, and overall practicality, it’s hard to beat the humble bifold door. The long-underappreciated bifold door has been quietly partitioning bedroom closets, laundry rooms and pantries for decades, asking for little more in return than a drop of WD-40 every now and then. Installed correctly, bifold doors regularly outperform their alternatives, like sliding doors or standard hinged doors, and add low-profile functionality to almost any closet space.
This May Also Interest You: How Much Does It Cost to Install Doors?
Read on for a full rundown on bifold doors, including a step-by-step guide on how to install them.
Are Bifold Doors Easy to Install?
Aside from their functional, space-saving potential, putting in bifold doors is one of the easier home-improvement projects you might choose to undertake. On top of that, they can also be pretty inexpensive. You can expect to pay, on average, about $100 per door.
Bifold doors are connected via hinges and hung on a track that allows them to slide open and pivot to fold up against a wall. While they’re usually very easy to install, the job isn’t without its frustrations. The most challenging aspect of the installation process is fastening and adjusting the hardware, like the pivots, hinges and track. In order to have a functional bifold door, all of these elements need to work in concert with one another. Taking some extra time here will pay off in the long run.
When shopping for bifold doors, look for solid-core or solid-wood doors, if your budget allows. While they can be more expensive than a hollow-core door, they’ll add to the aesthetics and functionality of your door. Secondly, a solid door can easily be trimmed if your door opening is uneven or out of square. However, keep in mind that, for these heavier doors, you’ll need to install a wheeled mechanism on the track instead of one that glides. It’s an added step, but the quality of a solid door is worth the added trouble.
If you’re looking for a simple, yet rewarding home improvement project, bifold doors are a wise choice.
Important Parts of a Bifold Door
Before you begin installation on your bifold door, it’s wise to have a general understanding of how they work. There’s a good chance that your bifold door will come with a hardware kit, but some kits are sold separately. In general, a kit will include a door track, a pivot mechanism, and a roller pin. But, as with any installation kit, these components may vary based on manufacturer, so it goes without saying that the kit’s instruction guide will be more comprehensive than the outline below — so be sure to consult it.
Installation Steps
The following five steps will give you an overview of how to install your new bifold doors:
Step 1: Attach the Track
- In the top jamb of the door opening, place your door track and, with a pencil, mark the mounting screw holes.
- Then, screw holes into each marking, and place the track back into place and fasten it with an electric screwdriver.
- If your door requires a bottom track, install it in the same way.
Do Bifold Doors Need a Bottom Track?
Although they’re common on metal doors, bottom rolling tracks are rarely used on wooden doors. In fact, not installing a bottom rail on a lighter door actually increases its functionality and flexibility, and can make for a much easier installation process.
Step 2: Install the Pivot Pin and Roller Pin
After you fasten the door track, you’ll need to install the pivot pin. Notice the two holes on top of the door. There should be one hole on each door.
- Place the pivot pin into the hole on the top of the non-opening side of the door.
- You’ll push the pin into the hole and you might need to hammer if you can’t push it in all the way.
- Repeat this step on the bottom of the door as well.
- Once you insert the pivot pin, fit the roller pin into the hole on the other door panel. Again, you should use a hammer if you can’t fit the dowel all the way inside the hole, but take care not to break the roller or the spring.
Step 3: Fasten the Bottom Bracket
You’ll find an L-shaped bottom bracket in most bifold installation kits. The bottom bracket is installed into the bottom of the door frame.
- Screw pilot holes and attach the bracket with mounting screws.
- Because the bottom bracket is crucial in providing stability for the door, you’ll want to make sure that it’s installed securely.
- If you need to, add an extra screw if you have an available hole.
Step 4: Install the Door Stop
Most bifold installation kits will also include a spring-loaded door stop. You’ll place this at the end of the track near the opening side of the door. If you’re installing two doors, say, for a wider space, such as a laundry room or double closet, place the door stop in the area where the ends of both doors will meet. Most doorstops can be inserted into the track by hand. Even if you’re having trouble inserting the door stop, try to rely on patience and elbow grease alone rather than resorting to tools for this step. Door stops are generally pretty delicate and can break easily if you use a hammer to tap them in.
Step 5: Hang the Door on the Track
- After all the hardware is installed, lean the door down far enough to be inserted into the track diagonally.
- Then, move the bottom of the door into place so that the pivot pin on the bottom of the door sets into the bottom bracket. You might need to enlist another set of hands for this portion of the project; bifold doors are usually lighter than standard hinged doors, but handling the door yourself can be awkward.
- Once the door is inserted, press down on the spring-loaded wheel under the track and let go to let the wheel pop into the track.
- Try to slide open the door a few times to determine if everything is working properly.
More Related Articles:
- Organize Your Closet and Make Your Life So Much Easier
- Garage Door Replacement Costs
- How Much Does It Cost to Repair a Garage Door?
- 5 DIY Garage Door Makeover Ideas
- DIY Tips for Organizing Your Garage
Enjoy Your New Bifold Door
Bifold doors are affordable, functional door options that work well in the right space. In a laundry room, closet or pantry, a bifold door can be a game-changing space saver and is a project most homeowners can tackle themselves. While installing a bifold door is a simple home improvement project, make sure you consult the manufacturer’s instructions before following the above-mentioned steps. Doing so will ensure a safe and effective installation and a stable, sturdy door that can last for years.
Bifold doors cover the opening to your closet — but a plan from HomeServe can cover some of the most vital systems in your house. Being prepared with a home repair plan from HomeServe is one way to be ready for home maintenance costs and fixes. Once you have a plan in place and a covered issue arises, you can simply call the 24/7 repair hotline. A local, licensed and highly trained contractor will be sent out to you to get the job done to your satisfaction.
