How to Install Carpet
Installing Carpet at a Glance
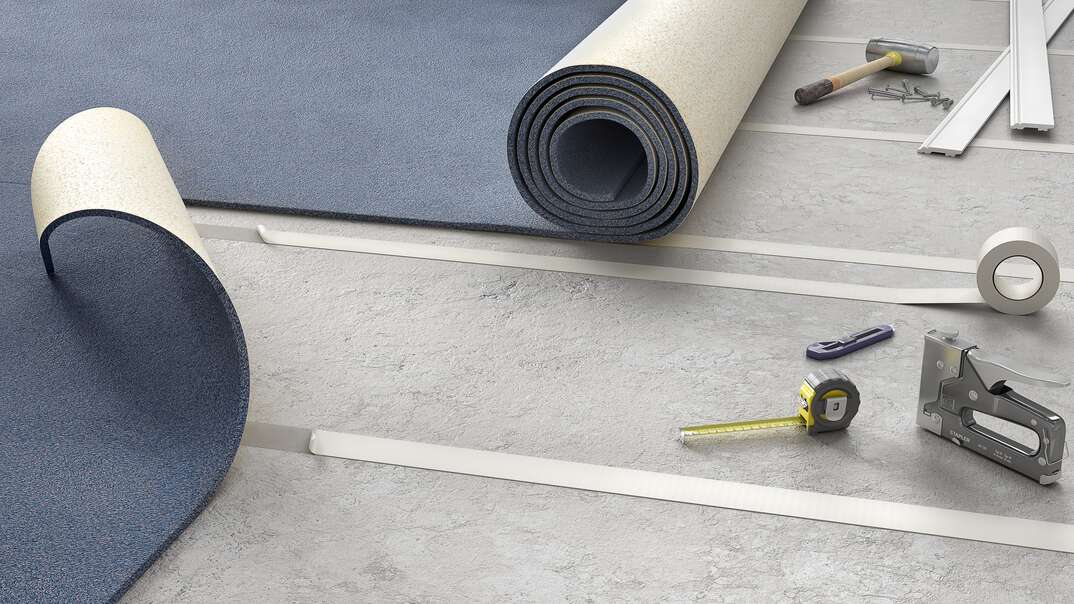
- Tools & Materials: Utility knife, pry bar, straight-edge level, marker, white chalk, hammer, stapler, power stretcher, knee-knicker, seam iron
- Step 1: Nail tack strips to floor
- Step 2: Cut and attach carpet pad
- Step 3: Lay carpet and cut to fit
- Step 4: Stretch carpet
- Step 5: Hook carpet to tack strips
- Step 6: Cut seams and apply sealer
- Step 7: Iron carpet into seaming tape
- Optional: Replace baseboards
Whether you have old flooring in need of replacement or you simply want to add some softness underfoot, laying down new carpet is a project you may be able to complete on your own. That said, it does require time, some tools and, in some cases, the rental of a few gadgets. With more options in looks and materials than ever before, the right carpet can dramatically change the look of any room. Installed on the upper floors of your home, it can also help dampen the sound of footsteps.
This May Also Interest You: How Much Does It Cost to Remove, Replace or Install Carpet?
Professional installers can get the job done quickly and neatly. But if you’re up for doing the job yourself, here’s a how-to guide, plus some top tips for installing new carpet in your home.
 ----------------------------------------
Necessary Tools and Equipment
Some of the tools you’ll need to install carpet you probably already have: a utility or carpet knife, pry bar, straight-edge or long level, black marker, white chalk, hammer and utility stapler. Others are more carpet-specific. Unless you plan on installing a lot of carpet, you’ll probably just want to rent these tools. They include a power stretcher, knee-knicker and seam iron. Home improvement stores that rent equipment, as well as tool rental centers, should have these available.
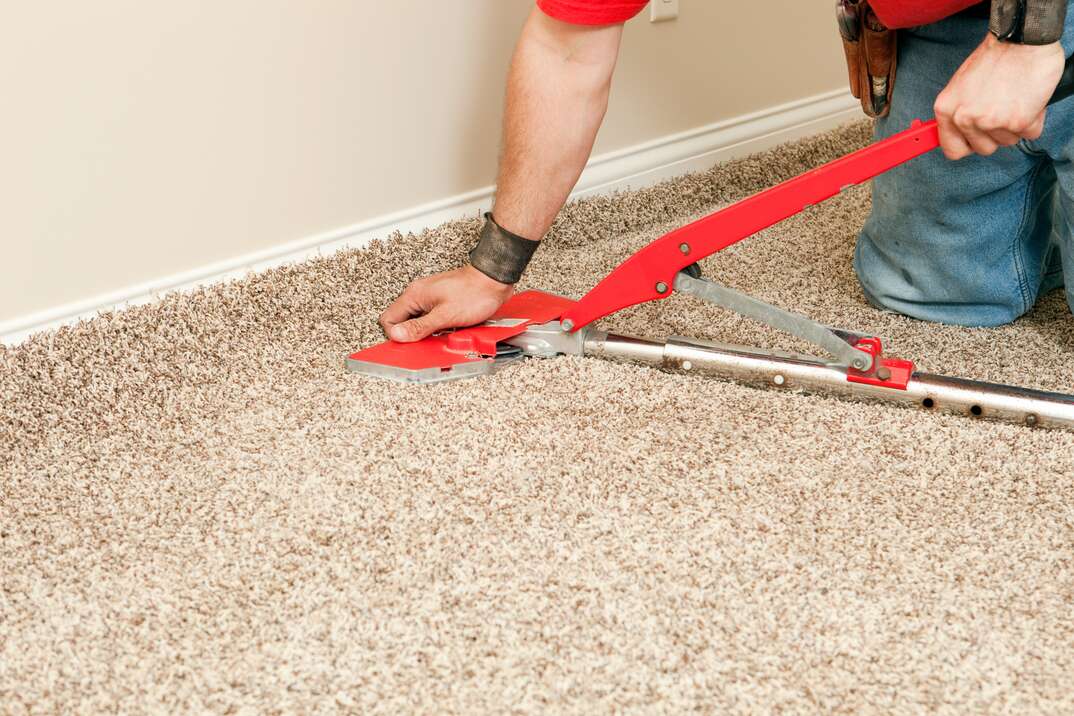
A power stretcher is a long tool that stretches from one side of the room to the other. It pushes against the wall to stretch the carpet tight across the entire room. A knee kicker is a small tool that's necessary to help you push the edges of the carpet into corners and over the tack strips. These stretchers are the key to a good carpet installation, and you shouldn't skip using them. A seam iron will help your carpet installation look more professional.
Working With Tack Strips
Tack strips are narrow lengths of wood covered with nails or tacks, pointy end up. They are used to keep wall-to-wall carpeting in place as well as keep it stretched and free of bulges or wrinkles. You will want to install the tack strips around the room’s perimeter before laying down the padding. They provide the grip for the edges of the carpeting.
Beware: Don’t place the tack strips flush against the wall or baseboard. You need the extra space to cover the strips with your carpet and put back your trim if you have any. Also, don’t lay the padding over the strips; keep it within the border the strips form. Your padding should touch the edge of the tack strip.
Attach the tack strips around the perimeter of the room, with the tacks pointing up and angled towards the wall. Most tack strips will already have nails attached. You’ll nail the strips directly into the floor. If you’re laying carpet where there was carpet previously, you’ll probably already have the tack strips. Keep them and reuse them. No measuring or cutting needed.
Side note: Tack strips and tackless strips — though seemingly opposites — are actually the same product!
 -------------------------------------------
How Do You Tack Down Carpet?
There are two options to tack down carpet: carpet tape or carpet adhesive. After you have cut your carpet pad, you’ll attach it to the floor with either carpet tape or adhesive. Whichever you choose, make sure you push it down well so the carpet doesn’t move. Cut your carpet pad, allowing an extra 2 inches all around. Remember: Don’t lay the padding over the carpet strips. Start in the center of the room and adhere the pad to the floor according to the product instructions. Once the center is secure, cut the edges to fit. You want the padding to completely touch the tack strip but not go over it.
Now it’s time to lay your carpet. Unroll the carpet over the padding and cut to fit. Carpet cuts best from the back. Press the carpet edge against the wall and mark where they meet with a black marker along the back of the carpet. Leaving the carpet folded over, use a straight edge to guide the utility knife along your mark. It’s difficult at first, but it gets easier the more you cut. Don’t forget to cut any gaps for vents or other fixtures.
The carpet is stretched using a power stretcher and a knee kicker, then it’s attached by hooking it onto the points of the tack strips. Let’s now look at how to use a power stretcher.
More Related Articles:
- How Much Does It Cost to Have Your Carpets Professionally Cleaned?
- How to Repair and Prevent Sun Fading on Your Hardwood Floors
- What’s the Difference Between Laminate and Vinyl Flooring?
- How Much Does Radiant Floor Heating Cost to Install?
- Squeaky Floors Getting on Your Nerves? Give ‘Em the Silent Treatment
Using a Power Stretcher
A power stretcher may also be called a carpet stretcher. Either way, it’s an important tool to ensure your carpeting fits snugly. Wrinkles or bulges in your carpet are ugly, and using a power stretcher is how you prevent such unsightliness. As you have seen here, carpeting is not just laid onto the floor. You need to stretch it and then hook it onto your tack strips.
The rhythm of carpet installation goes like this: stretch, trim and hook. When stretching the carpet, work your way around the perimeter of the room, as you need to stretch in all directions. Remember the knee knicker we mentioned earlier? This is similar to a power stretcher, but you’ll use this tool to secure your carpet in corners. It serves the same purpose as the stretcher — ridding your carpet of ripples and lumps.
Fitting the Seams and Using a Seam Iron
It’s important to cut and join the carpet edges properly. A good carpet seam means your carpet will look nice, but it will also help prevent unraveling. A seam iron is needed to create a good carpet seam. When laying out your carpet, think about where your seams will end up. It’s better to have them in an area that won’t receive a lot of foot traffic. It’s even better to place them underneath furniture. Even if you create a great seam, your carpet will look more professional if no seam can be seen at all.
Overlap the two pieces of carpet by 2 to 3 inches. If your carpet has a pattern, make sure the two pieces match. Check to make sure the nap is matched, too. Using white chalk, mark a trim line along the back of the top piece of carpet. Trim the piece along the chalk line using your carpet knife. You may want to use a straight-edge as well to ensure a super straight line. This will be the top piece. Next, you’ll need to cut the bottom piece. Press the top piece firmly against the bottom piece. Make a series of 2-inch cuts into the bottom piece perpendicular to the edge. Then, use these cuts as a guide to completely remove the extra from the bottom piece. Again, use a straight-edge and your carpet knife. Your two carpet pieces should now fit together.
Apply seam sealer along the cut edge of one of the pieces. Keep it on the bottom part of the carpet, away from the fibers. This sealer will help keep your carpet from unraveling.
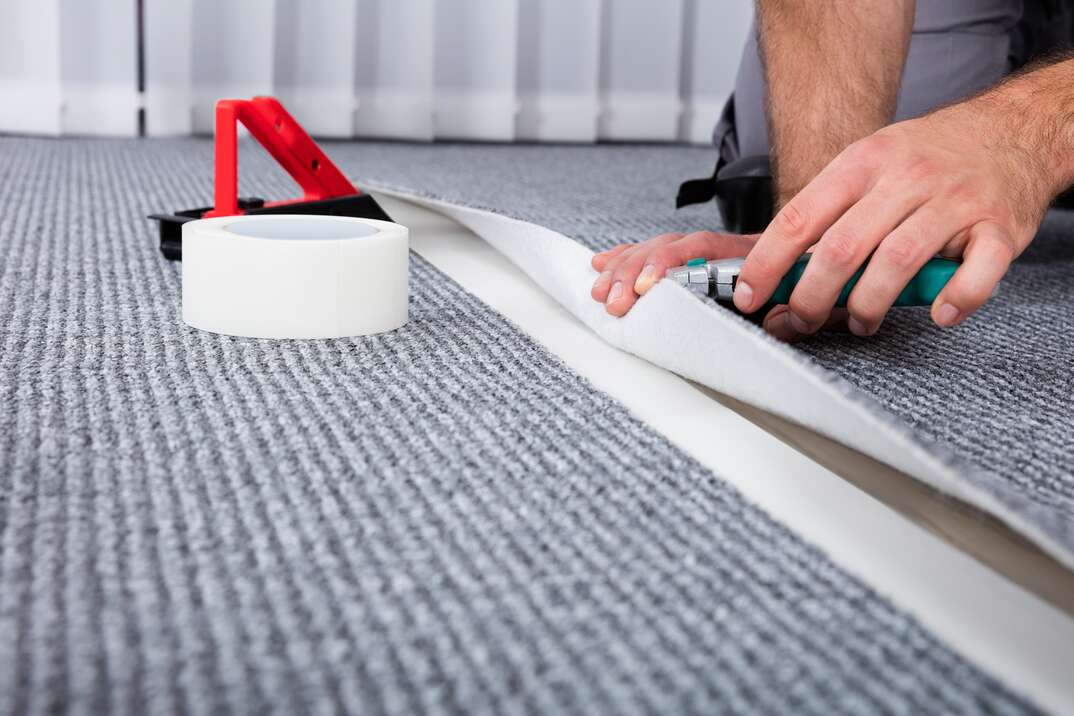
Next, lay down a piece of sealing tape on the floor where the carpet seams will meet. Match the pieces together, starting with the sealed edge and ending with the unsealed edge. Firmly press the edges together on the floor. The edges should meet over the seaming tape. Now you will take your hot seaming iron and iron the carpet into the seaming tape. The heat from the iron melts the adhesive from the tape. After ironing, go over the seam to see if any edges are loose. If they are, go over them again with the iron.
Installing Carpet With Padding
Carpet with the padding already attached does exist. The benefit of this is that you don’t need a carpet stretcher, nor do you need tack strips. Most of the other steps listed still apply.
Wrapping Up
One last tip: If you don’t already have baseboard molding in the room, wait until after you’ve laid your carpet to put it up. If you do have it, you should be able to leave it in place during the installation process if you are replacing carpet of the same thickness. Otherwise, you'll need to carefully remove the molding, install the carpet and put it back up when you’re finished.
