How to install a Ceiling Fan

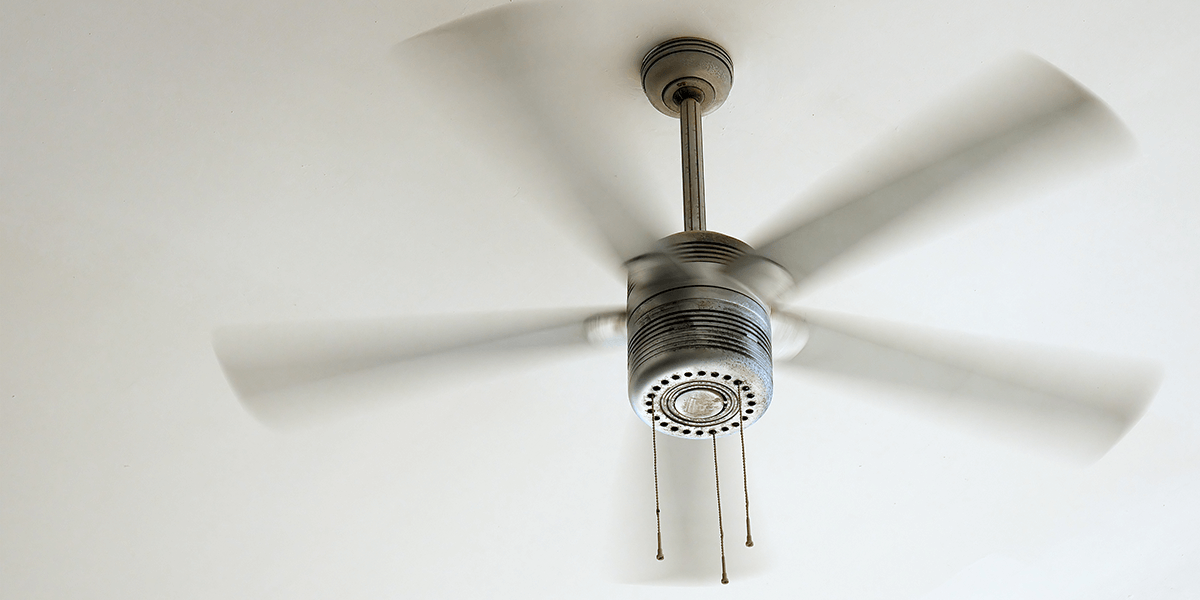
Ceiling fans are your heating and cooling system's best friend. That's because they balance out the work your cooling and heating units do to keep the air temperature comfortable inside your home. If you have fans in all the right places, you don't have to rely solely on your air conditioner or furnace, which can reduce your energy costs.
Ready to get that air flowing? Here's what you need to know about ceiling fan installation:
Safety first
Before you get started, make sure to keep these safety and installation tips in mind:
Use the right box - Ceiling fans must be properly anchored to an electric ceiling box that's designed to hold a heavy fixture. If you're replacing a ceiling fan, make sure the weight of the new fan matches the existing ceiling box. The manufacturer's installation instructions should note which boxes are approved for the fan.
Contact your local building code department - If you want to add a ceiling fan where there isn't an existing fixture, they can tell you if you need a permit.
Keep spacing in mind - Lowes installation professionals advised installing fans so that the blade tips are at least 30 inches from the walls and 7 feet above the floor.
Be careful - Electrical DIY can be dangerous. Follow these safety tips to before you take on the project.
When tackling a DIY electrical project, if at any time you feel you need assistance, you can call a professional electrician to help.
Now you're ready to install your new ceiling fan. Follow these steps:
1. Turn off the power
Don't just hit the light switch; turn off the power entirely from the main electrical panel. Use a testing device to double check that there is no power in the fixture before you begin the project.
2. Remove the existing fixture
If you're replacing an old fixture, disconnect the wires and carefully detach it from the ceiling box. You may want to enlist the help of a family member or neighbor to support the fixture as you remove it from the ceiling.
3. Install the hanger bar and ceiling box
Check the manufacturer's instructions for specifics, but you can generally install hanger bars by pushing them through the hole in the ceiling. Rotate the bar until it's perpendicular to the ceiling joists, then expand it until its sharp edges firmly lock into the joists. Attach the ceiling box to the hanger bar, feed the wires through and then tighten the nuts to secure the ceiling box into place.
4. Wire the fan
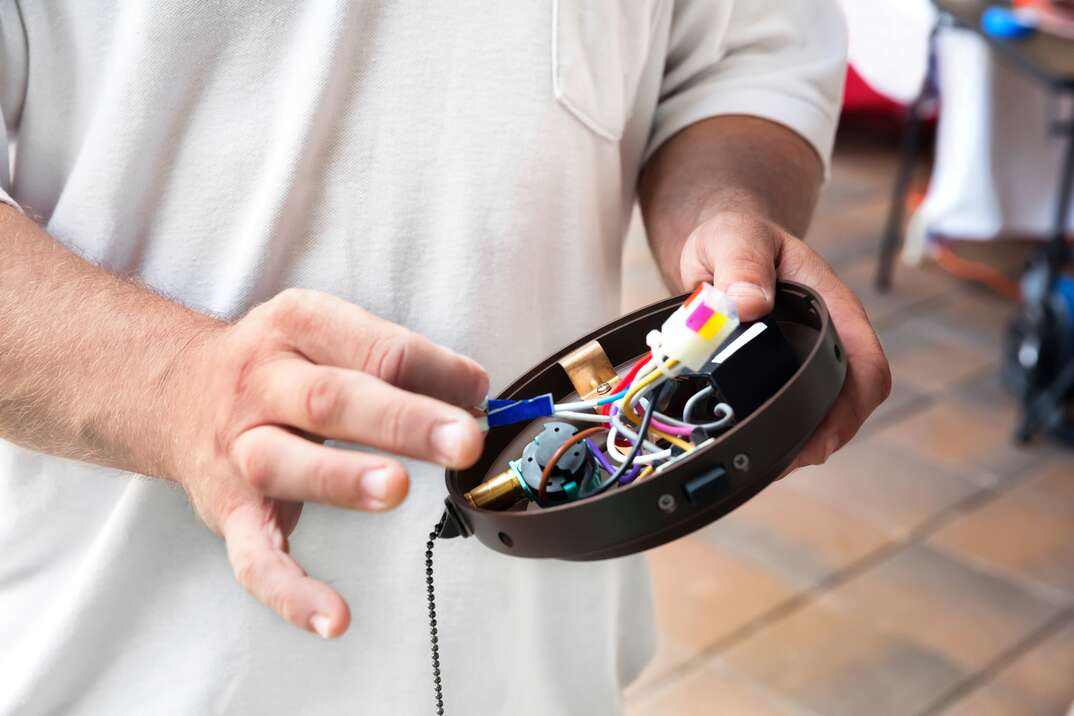
Follow the manufacturer's instructions to attach the wires to the fan. Some models will allow you to suspend the fan as you attach the wires, while others will require a family member or neighbor to support the fixture as you handle the wires. Remember to match up the wires correctly, which are color-coded to help guide the process.
5. Secure the fan to the ceiling box
Attach the fan to the mounting bracket by properly tightening the screws.
6. Attach the blades
If you have a quick-install model, you just have to align the blades with the keyhole slots, sliding them outward until they lock into place. Other models require screwing the fan blades to the arms. Remember that the side of the blade you want to see should be facing downward! If it's a lighted ceiling fan, you can now install the necessary lightbulbs or covers.
7. Turn the power back on, and test the fan
You know it’s working once those blades start to rotate! If not, be sure to check that wall switches and fan remotes work. If it's a lighted fixture, here's how to clean and maintain it properly. If you come across issues during the installation process, don't hesitate to call a professional electrician to finish the job.
Being prepared before home repair issues arise is always a good strategy. Plans from HomeServe can help with the costs of covered repairs. See what plans are available in your area.


