Need to Vent? Here's How to Install a Dryer Vent

A dryer vent exhausts the moist, warm air and hazardous combustion byproducts produced by your dryer outside of your home. Without a vent, moisture would accumulate inside to cause mold development. Or — even worse — your home could fill up with carbon monoxide, which is harmful or lethal to the inhabitants.
This May Also Interest You: The Pros and Cons of a Stackable Washer and Dryer
If you’re installing a dryer in a brand-new location without an existing vent, putting in a vent is essential for keeping these harmful materials from entering your home. Or, you may want to replace an outdated or unsafe dryer vent with a safer option that requires less maintenance to prevent lint fires. In either case, this guide’s got you covered.
Before You Begin
Before installing a dryer vent, your first consideration should be the type of 4-inch of dryer vent tubing you should use. The three main options are:
Flexible Duct
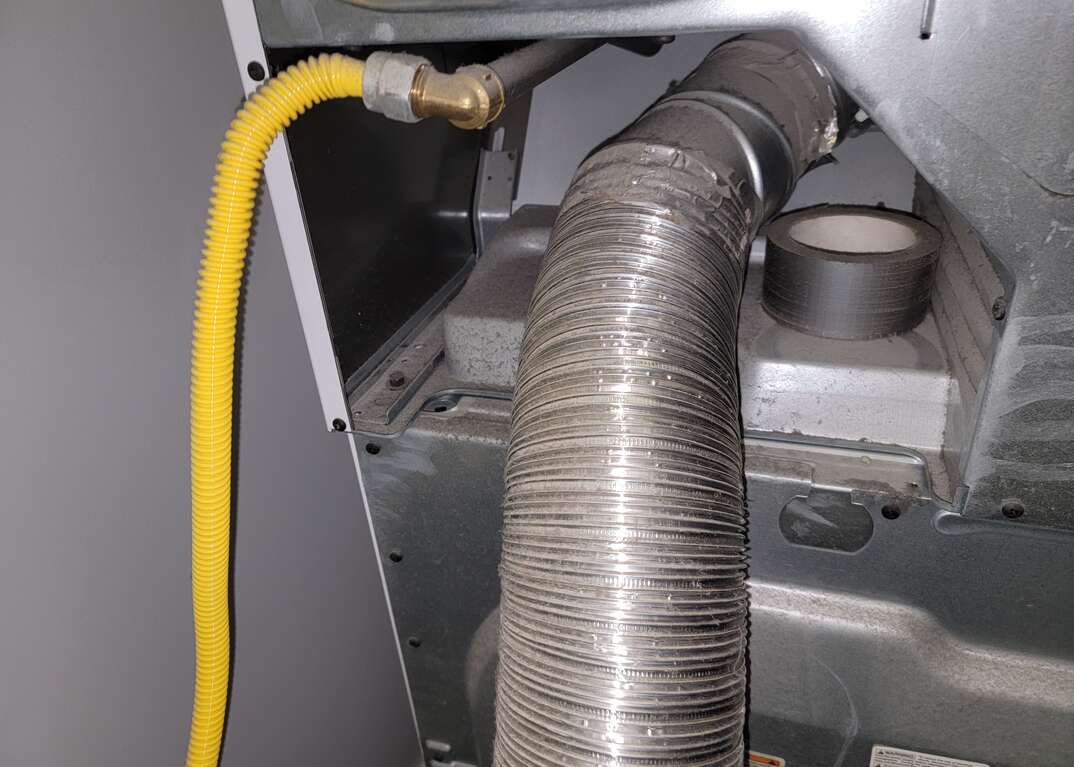
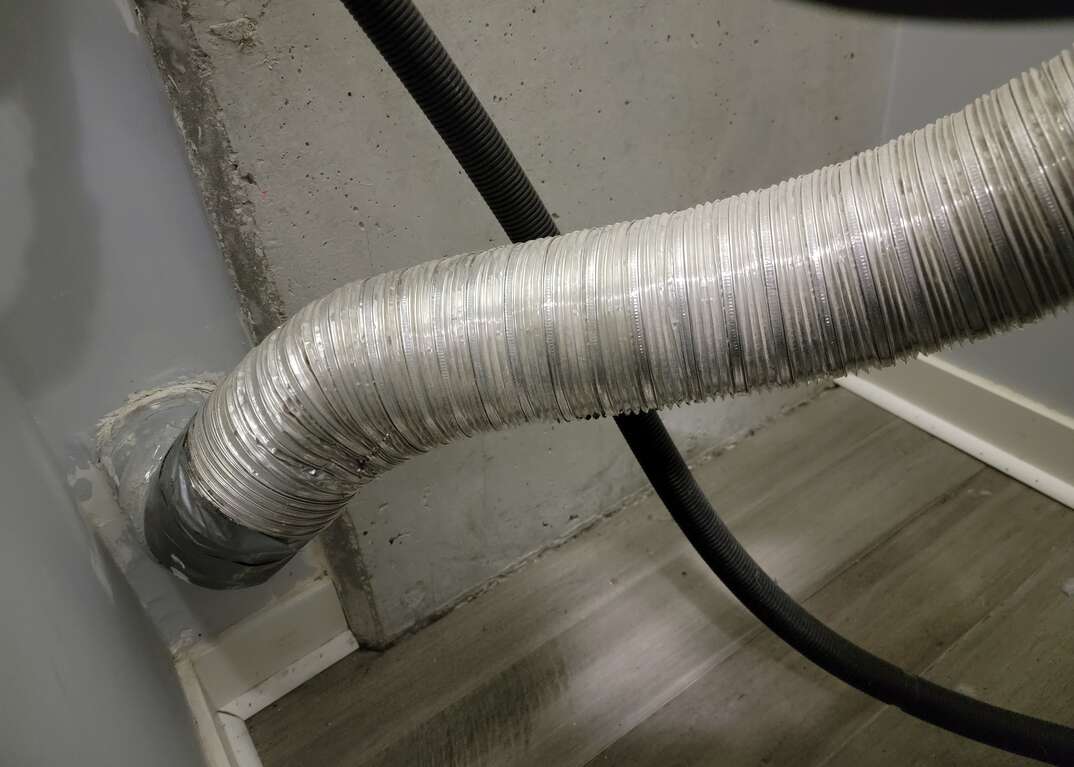
Usually made of flexible aluminum foil with ribbed walls of spiral wire, flexible duct is the most inexpensive and easiest to install. Installation simply consists of connecting one end to the dryer, stretching out the duct until it reaches the exhaust vent and attaching it to the vent. However, the walls are prone to collecting lint that can catch on fire, so they need to be cleaned on a regular basis. Flexible duct can also be easily crushed, which can restrict airflow and trap heat to make the lint more likely to catch on fire. For those reasons, flexible duct isn’t even allowed by some building codes. When it is, the maximum allowable length is usually no more than 8 feet.
Semi-Rigid Duct
Although similar to flexible duct since it’s made of flexible aluminum foil with walls made of spiral wire, semi-rigid duct is considerably more rigid and has smoother inner walls that are less prone to collecting lint. Even so, most building codes only allow a maximum length of 8 feet of semi-rigid duct because of the heightened fire risk, and it still needs to be cleaned on a regular basis to prevent fires.
Rigid Duct
Rigid duct is completely rigid and made of either galvanized steel or thick aluminum. The interior walls are completely smooth, so they’re significantly less prone to collecting lint, and building codes often allow a 25-foot maximum length of rigid duct. The disadvantages are that it's the most difficult to install, since any turns need to be made with rigid elbows, each sheet needs to be cut to length, and they need to be manually formed into tubes by pressing the seams on each edge together prior to installation. Rigid duct is also the most expensive.
Despite the additional cost and installation steps, the added safety and reduced maintenance of rigid duct make it the preferred option in most cases — and a necessity if you need to install over 8 feet of tubing. Aside from a new installation, some experts even recommend replacing any existing flexible and semi-rigid duct with rigid because of the added benefits.

Tools & Materials
- 4-inch dryer duct
- 4-inch rigid elbows
- Dryer vent exhaust hood
- Exterior-grade caulk
- Caulking gun
- Tin snips
- Electric drill
- 1/4-inch drill bit
- Drywall saw, reciprocating saw or spiral saw
- 4 1/4-inch hole saw
- Hammer drill, masonry bit, hammer and cold chisel (for stucco and brick siding)
- Foil tape
- Hose clamps
- Pipe strap
Step 1: Plan the Path
The path between your dryer and the vent hood (where the hot air and combustion byproducts will vent outside) should be as short and direct as possible.
Assuming that you’re using rigid duct, most building codes only allow for a maximum of 25 feet of vent tubing length and require that you reduce that length by 5 feet for every 90-degree elbow used, and 2 1/2 feet for every 45-degree elbow. For example, if you need to use one 90-degree elbow and one 45-degree elbow, the maximum length of your vent tubing can be 17 1/2 feet (25 - 5 - 2 1/2 = 17 1/2).
However, this figure can vary depending on local building codes and the maximum vent length specified by the manufacturer of your dryer, so check with your local building department and read the instructions provided with your dryer.
Measure the total length of the path and make any necessary subtractions to verify that it doesn’t exceed the maximum allowable length, then record your measurements and use them to purchase the amount of duct you will need.
Step 2: Cut Vent Hood Opening
Once you’ve determined the shortest route for your ductwork, cut a 4 1/4-inch hole through your exterior siding for the vent hood. Starting from the inside of your home, mark the location where the dryer duct will exit and remove a small section from the wall to ensure that there aren’t any studs, electrical, plumbing or gas lines inside the 4 1/4-inch diameter of the hole you’re going to drill. This can be done with a drywall saw, oscillating saw or spiral saw.
If your home has wood or vinyl siding, drill a 1/4-inch test hole through the center of the exit point on the interior wall to the exterior siding. Inspect the hole on the siding to verify that there aren’t any obstructions that will hinder the installation of the vent cap or hood. For instance, if your home has lap siding, make sure that the vent cap rests flat on the siding when it’s centered on the test hole. If adjustments need to be made, mark the center of the vent cap and drill a new test hole through the siding until it penetrates through the interior wall.
Install a 4 1/4-inch hole saw onto an electric drill and insert the saw’s pilot bit into the test hole on the interior wall. Run the saw until you bore through the exterior siding, while removing the saw to keep it cool and clear debris.
If your home has a stucco or brick exterior, you will need to use a hammer drill equipped with a masonry bit to create the 4 1/4-inch opening. Start by drilling a 1/4-inch test hole through the center of the vent’s exit point on your interior wall until it penetrates the exterior wall. Center the vent hood’s tailpiece onto the hole and trace an outline of it. Use the 1/4-inch masonry bit to drill several closely-spaced holes around the outline, then use a cold chisel to chip away the masonry until the opening is made. With the masonry out of the way, use a hole saw to create the 4 1/4-inch opening from the interior wall to the exterior.
More Related Articles:
- Here’s Why Your Clothes Dyer Is Making Noise
- How Much Does a Clothes Dryer Cost?
- Everything You Need to Know About Dryer Repair Costs
- How Much Does It Cost to Install a Dryer Vent?
- Here’s How to Change the Direction the Door Swings on Your Washer and Dryer
Step 3: Install the Vent
Insert the vent hood’s tailpiece through the opening in the exterior wall and secure it to the siding with the provided screws. If you’re fastening to stucco or brick, you will have to purchase masonry screws separately, pre-drill pilot holes with a hammer drill and masonry bit, then drive the masonry screws into the pilot holes.
With the cap in place, seal the top and sides with exterior-grade caulk to protect it from the elements. From the interior wall, Install a 90-degree rigid elbow onto the vent’s tailpiece and secure it with a hose clamp.
Step 4: Install the Vent Tubing
Measure the distance between the back of your dryer to the elbow on the vent hood. For rigid duct, refer to the plan you made in Step 1 to obtain the length of the first piece of duct you will attach to the dryer. Put on a pair of leather gloves to protect your hands from the duct’s sharp edges, then use tin snips to cut the tubing to length. Starting at one end of the sheet, form it into a tube by pressing the seams on each edge together until they’re connected down the entire length of the duct.
Attach the crimped (male) end of a 90-degree rigid elbow into the end of the tubing and seal the seam with foil tape. Insert the other end of the elbow into the dryer’s exhaust port and secure it in place with a hose clamp. Press the dryer into its installation location, then repeat the above steps until all the tubing is connected from the dryer to the vent hood. Secure the last piece of tubing to the elbow on the vent hood with a hose clamp. Finally, use pipe strap (also called plumber’s tape) to anchor every six to eight feet of tubing to the wall or ceiling.
If you’re using flexible or semi-rigid duct, attach a 90-degree rigid elbow to the vent hood and dryer exhaust port with hose clamps. Slide one end of the tubing onto the elbow connected to the dryer and secure it in place with a hose clamp. Extend the tubing until it reaches the elbow on the vent hood and secure it with a hose clamp.
Step 5: Test the Dryer
Run your dryer and check the vent cap on the outside of your home. If it’s emitting warm air, your installation was successful. If it’s not, head back inside to inspect the tubing connections and make any necessary repairs or adjustments.


