How to Install a Garage-Door Opener

Installing a Garage-Door Opener at a Glance
- Tools & Materials: Power drill, tape measure, laser level, ratchet-socket combination set, 6-foot ladder
- Step 1: Lube door and test mechanics
- Step 2: Assemble components
- Step 3: Install header bracket
- Step 4: Install power unit
- Step 5: Install other features
- Step 6: Test opener and adjust
When it comes to your home, a garage is perhaps one of the most undersung spaces. It may not be as showy as a newly updated kitchen or a spacious master suite, but the garage is often the workhorse of your home when it comes to storage and organizational needs. Whether it’s the place to park your prized hot rod, a pottery studio, a landing pad for all your outdoor adventuring gear or simply the place you go to get away from the chaos of your house, a garage can up your quality of life when utilized well.
This May Also Interest You: How Much Do Smart Garage-Door Openers Cost?
That said, the joy and usefulness of this prized plot of your home go to pot quickly when the garage-door opener calls it quits. Suddenly, entrance into your garage becomes a chore of manual door lifting or unlocking a side door, rather than the button-pushing breeze it once was. How to remedy this issue? Before you call in the professionals, read on to see if installing a new garage-door opener is a project you feel ready and able to tackle yourself — likely with tools you already have in your trusty garage.
Can You Install a Garage-Door Opener Yourself?
The short answer here is — of course — yes. You can do anything you set your mind to. A bit less philosophically, in the grand scheme of house projects, this one is fairly easy to tackle. OK ... But how hard is it to replace a garage-door opener?
With the proper tools and the right frame of mind, you could probably knock this job out in about 3 to 4 hours. However, if assembling semi-powerful mechanics and electronics intimidates you, you might be better served opting for a professional installation.
Before beginning any garage-door opener replacement or installation, it’s important to assess your current garage door situation. Are you replacing an existing garage-door opener, or will you be starting from scratch? If you don’t have an existing opener, what type of garage door do you currently use?
Most newer doors are made up of separate horizontal sections and allow the door to bend when it opens, but if you have a door that’s one solid piece, you may need to replace the door itself before installing a new opener.
You'll also need to decide what kind of garage-door opener you should install. The two main types of openers are chain-drive openers and belt-drive openers. While both work in similar ways, chain-drive garage-door openers are typically louder than belt-drive openers. Besides noise considerations, chain-drive openers are stronger and can lift more than a belt-drive. If you have a two-car garage, or if your door is constructed of a heavier material like wood, it’s probably best to go with a chain-drive opener.
Installing a Garage-Door Opener: Step-by-Step
Step 1: Pre-Installation Prep
When you’re ready to begin the installation of your opener, there are several things you do prior to the installation process that will make the job easier.
For instance, it’s a good idea to make sure your garage door is properly lubricated and functioning correctly prior to installation. Try opening and closing your garage door manually. Because the weight of a garage door is supported by a system of cables, pulleys and springs, if you can’t open it by hand, you may have some broken springs or cables. Even if your garage door is mostly operational, spray some WD-40 onto the rollers to make sure it opens and closes smoothly.
If you don’t currently have a garage-door opener, make sure you have an electrical outlet available in the immediate vicinity of the garage-door opener mount. The mount is installed perpendicular to the center of your door, so just make sure there’s an outlet close by on the ceiling. If there’s not, you’ll need to install one. If you don’t have much electrical experience, adding an outlet will require professional assistance.
Tools & Materials
The last step on your pre-installation checklist is to make sure you have the right tools to install the garage-door opener. Go ahead, grab your tools and have them at the ready. For this job, you’ll need:
- Power drill
- Tape measure
- Level (a laser level will work best here)
- Ratchet-socket combination set
- 6-foot ladder

Step 2: Assemble the Main Components
Once you’ve unboxed your garage-door opener, lay out the parts included in the assembly. Most openers come with a list of included parts. Make sure you have all the parts you need.
Start by assembling the main components of the garage-door opener. Before assembly, check the manufacturer's detailed instructions to make sure you’re doing it the correct way. Most models suggest you assemble the rail first, followed by the carriage, which slides over the railing. Then, secure the rail to the motor, the largest piece of the assembly. Once that’s secured, install the pulley at the opposite end of the railing and feed the belt or chain through the railing and around the pulley. The chain should be just a little longer than the railing itself. Finally, screw the belt or chain to the carriage tube.
To be clear, this is just a general overview of what a garage-door opener assembly includes. It’s always important to check the owner’s manual before assembling your garage-door opener. Some models, like Chamberlain garage-door openers or Genie garage-door openers, might vary in terms of installation requirements.

More Related Articles:
- A DIY Guide to Replacing Your Garage-Door Spring
- How to Open a Garage Door Manually
- Is a Smart Garage-Door Opener a Wise Investment?
- How to Insulate Your Garage Door
- How to Program a Garage-Door Opener: A Step-by-Step Guide
Step 3: Install the Header Bracket
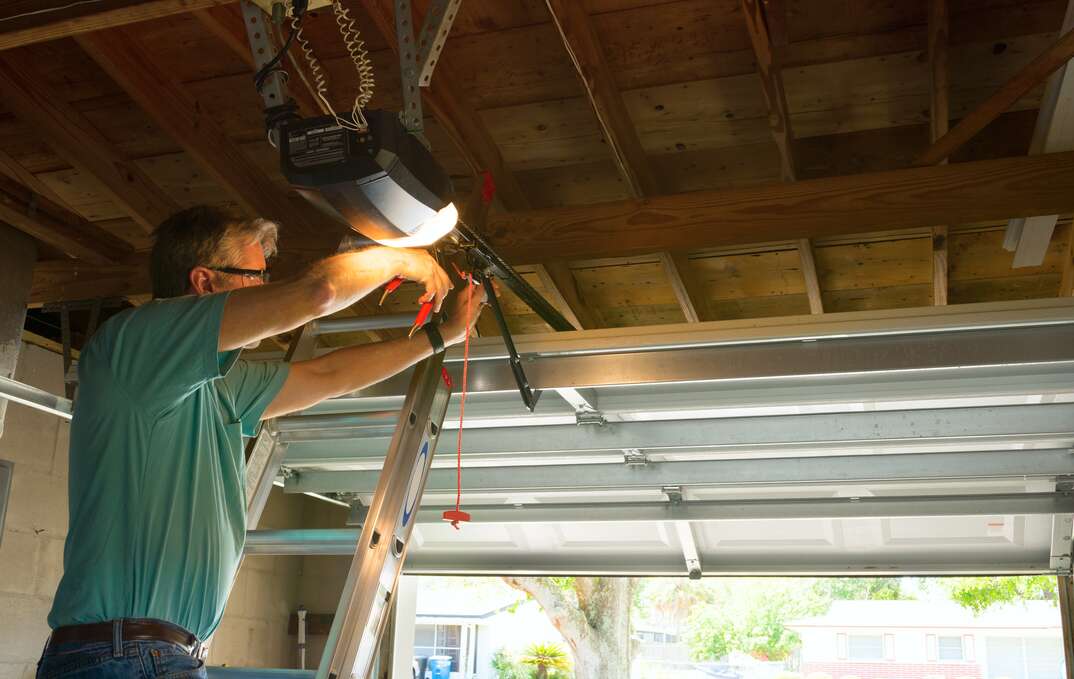
When your assembly is complete, install the header bracket to the support blocking on your ceiling. If you don’t have an existing garage-door opener, you’ll need to install a piece of lumber, like a 2x4, to a stud in the ceiling. You’ll attach the mounting bracket to this blocking. While the exact location largely depends on what type of garage door you have, it’s usually at the center point directly above the door. Installing a header bracket can be tricky, and the smooth operation of your garage-door opener depends on installing this correctly, so it’s important to tackle this step with precision and care.
First, you’ll need to lift the garage door to find the highest point that it travels when opening and closing. Using your level, mark the highest point on the wall above the door, then mark a second point 2 inches above the first point.
Once you’ve made your marks, line up the bottom of the header bracket to the second point and attach it to the wall using the included fasteners. Then lift the carriage tube and fasten it to the header bracket. Keep in mind that the carriage unit is attached to the main power unit. You might need to lift the power unit and place it on a step ladder while you connect the carriage unit to the mounting bracket.
Step 4: Install the Power Unit
Garage-door opener power units are generally fastened to the wall using angle irons and metal straps. First, fasten the angle irons to a rafter with lag screws. Then, fasten the straps to the angle irons using hex-head screws. Once the straps are secured to the angle irons, fasten the power unit to the straps using whatever fasteners have been included with the assembly. After the power unit has been secured, open and close the garage door manually to make sure the door clears the unit safely.
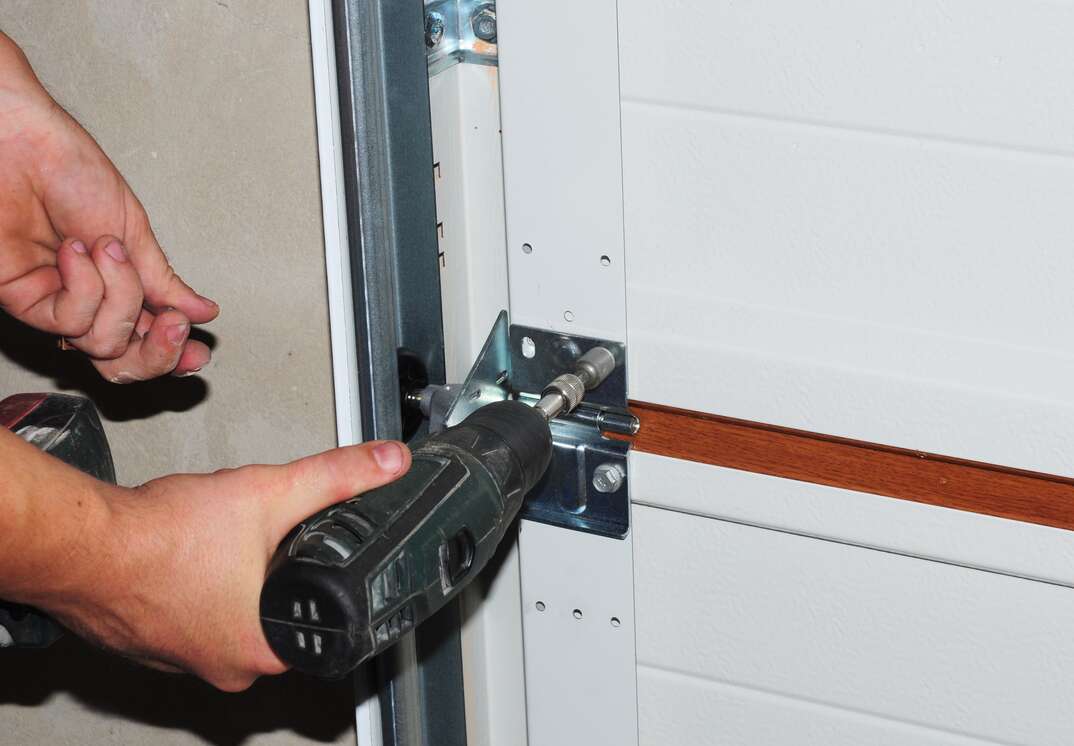
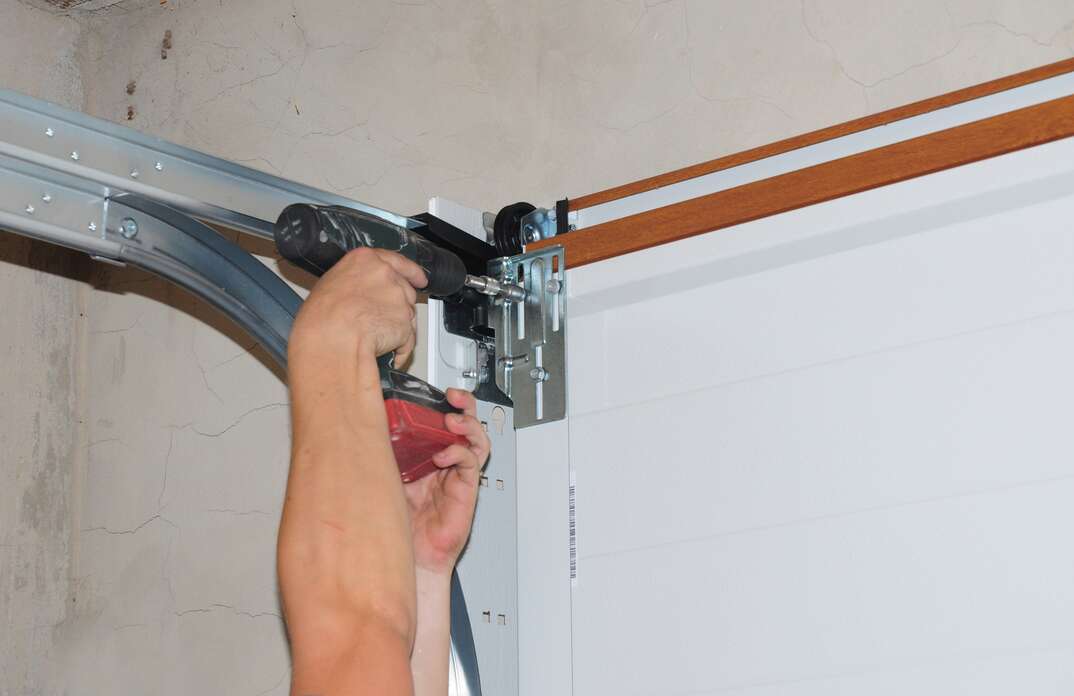
Each carriage has a metal arm that connects to a door bracket. Fasten the connecting bracket for the arm to the garage door. Again: The location will vary depending on what type of door you have. Take a look at your owner’s manual for exact specifications here.
Step 5: Install Additional Features
Every assembly comes with an electric eye safety feature that will shut down the power unit if something obstructs it, protecting pets and small children who may run under a closing door. Align the sensor units on each side of your garage door no more than 6 inches above ground level. For accuracy, use a laser level here to align them exactly. Then, run electric wires up alongside the wall and ceiling of your garage. Your assembly should come with the correct fasteners to attach the cords to the wall, but if not, you can simply staple the cords to the wall using a staple gun.
Use a similar technique for the push-button opener. Choose a convenient location to install the push button and run the wiring up the wall and ceiling back to the power unit. The assembly should include the proper fasteners, but if not, a staple gun will work just fine.
Also, be sure to screw a light bulb into the socket of your power unit. Check your owner’s manual to find the specifications of the bulb. If the specifications aren’t included, any vibration-resistant light bulb should work just fine.
Step 6: Test the Door Opener and Make Adjustments
After you’ve installed your garage-door opener, test its functionality a few times. Often, a door needs to be balanced before an opener will work properly. A well-balanced door can support itself if it’s opened halfway, and it won’t move. An unbalanced door will shut if left in the halfway position. While your new opener may be working for now on an unbalanced door, it can cause problems down the line. If you suspect you may have a balance issue, call a pro to get it balanced right away.
And there you have it. Whether you're new to the garage-door opener party, or a longtimer looking for an upgrade, installing a new garage-door opener proves that there’s only one thing better than a well-maintained garage —and that’s a well-maintained garage with a properly functioning door.


