How to Install Granite Countertops
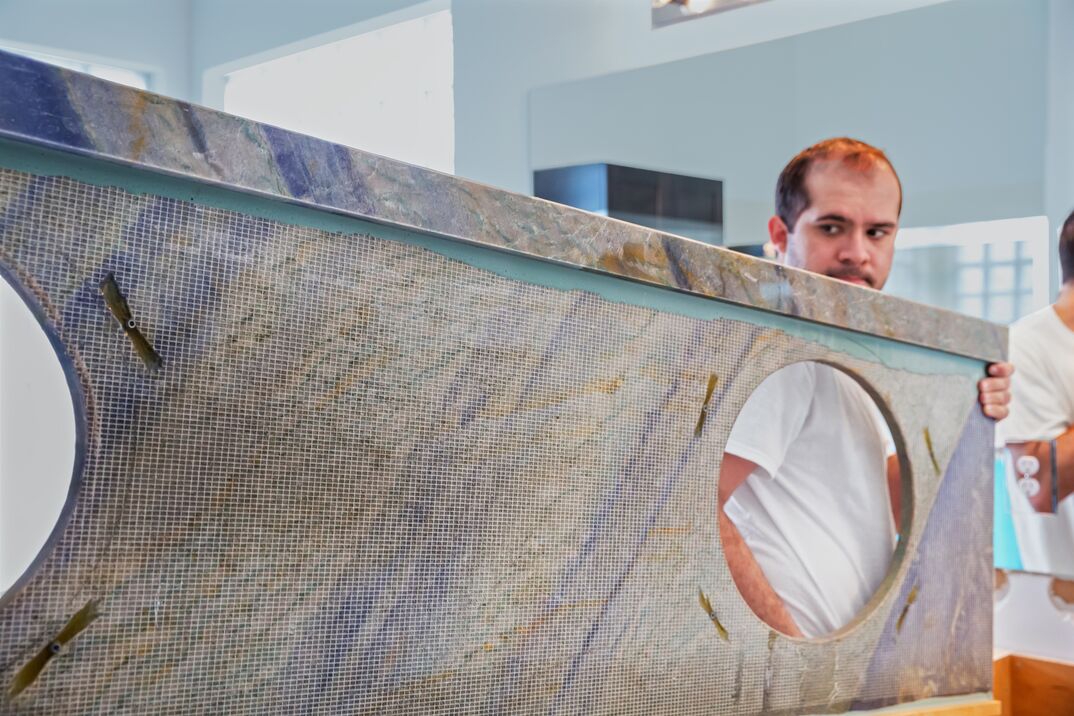
Installing Granite Countertops at a Glance
- Tools and materials: Circular saw, screws, caulking gun, caulk, wet grinder wheel, waterproofing membrane, plywood, cardboard, whiteout pen, measuring tape, granite
- Step 1: Inspect granite slabs
- Step 2: Check placement
- Step 3: Cut slabs to fit
- Step 4: Add caulk and fix in place
- Step 5: Grind rough edges
- Step 6: Install sink
Granite is a tough material, which makes it a perfect choice for kitchen countertops. It holds its own when it comes to cracks, scratches and chipping. Plus, it’s heat resistant. With the wide range of colors and patterns available, granite countertops can fit in any kitchen or bathroom.
This May Also Interest You: How Much Are Granite Countertops?
Installing granite countertops is technically something you can do yourself, but it’s not some quick Saturday afternoon job you can take on after a jaunt to the hardware store. Depending on the grade of granite you go with, the slabs may cost hundreds or thousands of dollars each — so there’s not a lot of room for error. That said, if you have the right tools, you can make your granite dreams a reality. Here’s how.
Tools and Materials
You will need to have specialized tools and experience using them to install your granite countertop properly. These include a circular saw, screws, caulking gun and caulk adhesive, wet grinder wheel, waterproofing membrane and a piece of plywood that's ¾ of an inch thick. Other items to have on hand include a piece of cardboard, whiteout pen, safety goggles, safety mask and measuring tape — plus, of course, your granite slabs.
Taking Measurements
This is one of the most important steps when installing granite countertops. If your measurements aren't exact, you’ll end up with a slab of granite you can’t use. To take accurate measurements, you’ll first want to make a template. Take a piece of cardboard and lay it over your existing countertop — or if you’re building new cabinets, place it where the countertop should be — and trace the outline. Cut away any excess cardboard. Do this twice. Trust us; you’ll see why later. This is your template. Mark where your sink or any other holes will be. Be precise and take your time with this. You must be as accurate as possible to avoid measurement errors.
You’ll also need to consider how far you want the countertop to hang over the edge of the cabinets. Usually, this overhang is about 1.5 inches unless you are installing a bar. Record all your measurements, including your overhang, on a piece of paper.
We'll say it once more for good measure: Any errors in this process may result in an unusable piece of granite and wasted money. You’ll want to measure everything twice just to make sure it’s correct.
Choosing Your Granite
Consider your kitchen or bathroom’s color scheme when it’s time to choose your granite. What color are your cabinets, floors and walls — or what color will they be, if you’re remodeling? You'll also have to decide on the color, patina (sheen from oxidation) and style of slab veins. If your room is on the darker side, a lighter color of granite might brighten the room. Choosing a darker granite for a light room will make your countertops stand out. You may decide to pick your granite color to match your floors or cabinets, or simply complement both. This part is the creative fun of installing your granite countertops!
If you aren’t finding a nice match at your local big box store or stone supplier, you can custom order granite slabs from a fabricator. This allows you to select the color and specify the design, as well as create a custom shape. Consider and compare a few different shades of granite to make sure you are getting the best one for your room.
Ordering the Granite
You can order slabs of granite online or in person. We mentioned ordering from a fabricator, which gives you lots of options and flexibility for customization. You can also order from a hardware or home improvement store. This is a plus as you’ll get to see and touch the granite before you buy it. However, the selection might not be as broad. Searching online lets you compare prices and gives you a wider range to choose from, but you won’t be able to see or touch the granite.
When purchasing online, be sure to check customer feedback and get all the details of how your granite slabs will be delivered. Also, check delivery times — one month, six months? — and how the slab will be delivered. Get a warranty to protect you in case the delivery process doesn’t go well and you end up with a damaged or unusable slab of granite.
Ask about water and acidity testing of the granite. You want to make sure the granite you select is high quality and won't be porous or easily marked. A low-quality granite will require more maintenance and upkeep.
Unless you have the tools to cut granite yourself, make sure the fabricator or supplier will deliver you a cut, ready-to-install countertop. This is when your careful measurements are put to use. Provide the supplier a copy of your countertop template and the measurements, and they will cut the slab to size, including space for the sink and other holes you noted.
More Related Articles:
- Countertop Costs Depend on the Grade of Granite You Choose
- Catch a Bad Break? Fix Chips in Your Granite Countertops in 6 Simple Steps
- How Much Does It Cost to Repair, Resurface or Refinish Countertops?
- Concrete Countertops: You’ll Never Take ‘Em for Granite
- Everything ‘Bout the Kitchen Sink: A 5-Step Installation Guide
Installation
Step 1: Inspect the Granite
The moment of truth! Your granite countertop has been delivered. First, confirm that this is the granite you ordered, that it’s free from damage and it’s cut to fit.
Step 2: Check the Placement
Have a few strong friends on hand to help you put the granite slab in place. Carry the granite vertically. Carefully place it onto your cabinetry and slide the granite into place. Some slight adjustments may need to be made — perhaps around the sink area or other holes you requested. Now comes the time for your extra cardboard template to be put to use. Lay it on the countertop and use the whiteout pen to mark any places where you will need to do some cutting of the granite to make the countertop fit perfectly.
Step 3: Cut the Slabs to Fit
A wet handheld circular saw is your best bet for this chore. Position the saw outside the lines you drew and carefully move it across the slab. Cutting outside the lines allows for some space to grind down and smooth the edges after you’ve installed the slabs. Please wear safety equipment (gloves, goggles, etc.) when cutting dry granite.
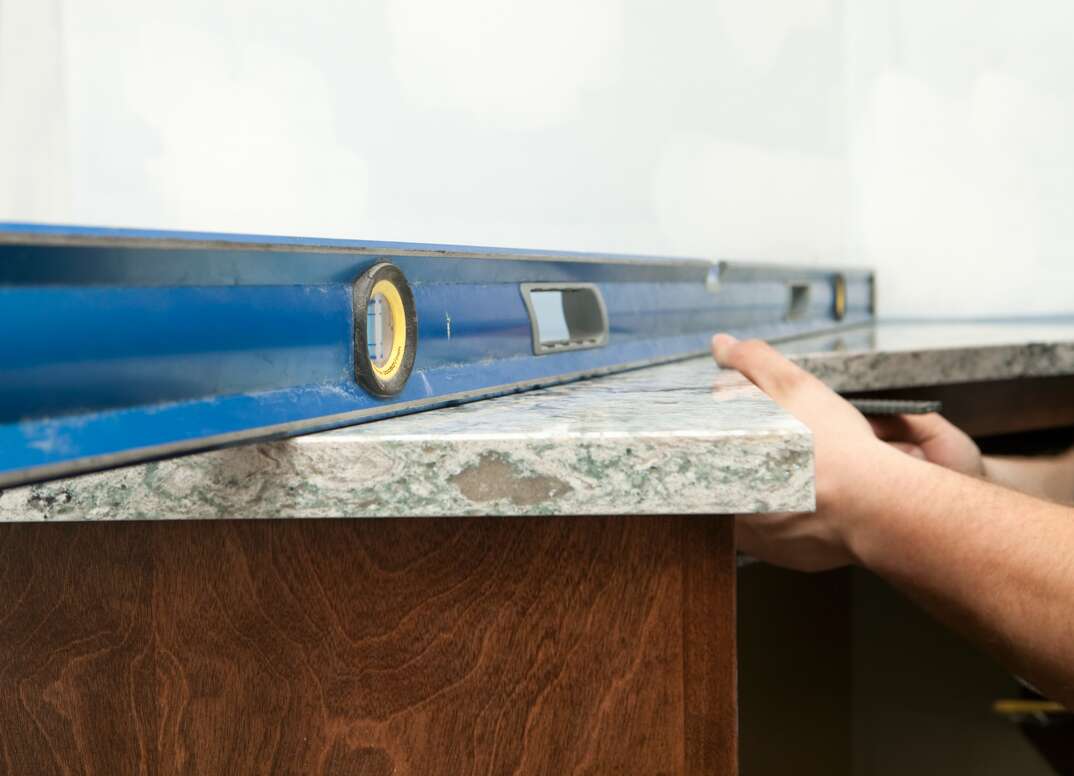
Step 4: Set the Granite in Place
Now that the granite countertop is perfectly shaped, it is time to fix it in place. Take your caulk gun and run a line of adhesive silicone caulk around the top of the cabinets and along the wall. Then, set your slab back in place. Let the caulk dry for 12 hours.
Step 5: Smooth Out the Rough Edges
A wet electric grinding wheel is the best tool for this job. Carefully move the grinding wheel back and forth until the desired smoothness is achieved.
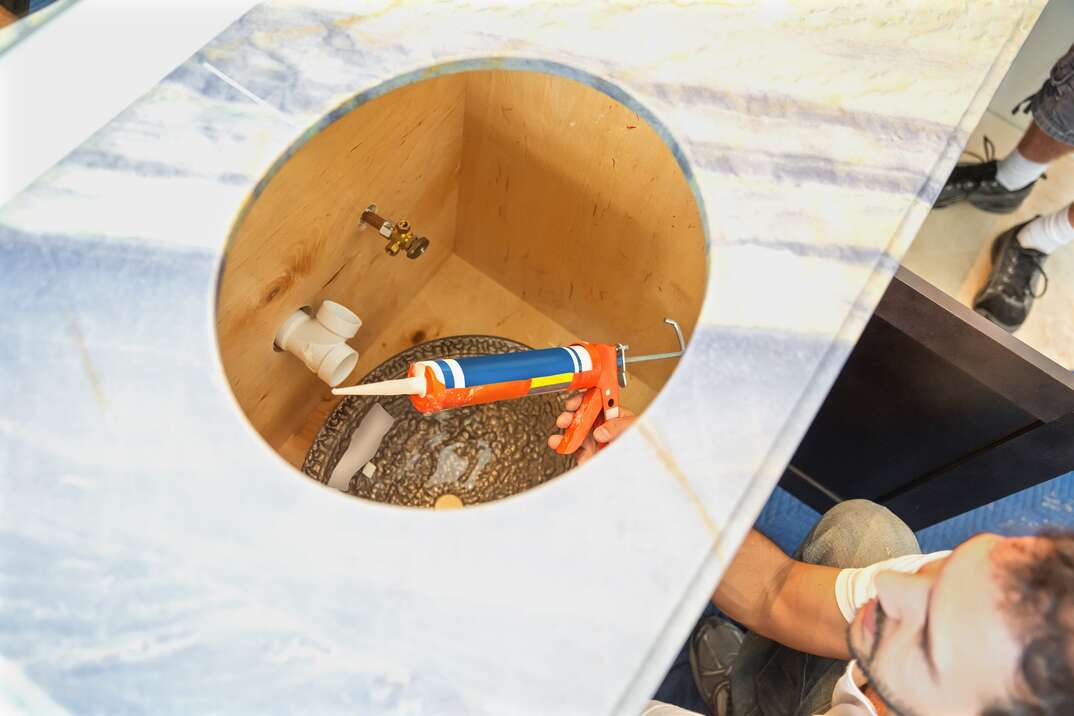
Step 6: Install the Sink
Finally, you can drop the sink in. Once you’re sure it fits, place adhesive caulk around the outside edges as well as under the sink and then place the sink into the space. Wait 12 hours for the caulk to dry. Then, congratulations! Your brand-new granite countertops are ready to be used and enjoyed!
Looking to ease your mind of the burden of more significant home repairs? Consider a plan from HomeServe. When you have a plan in place, you can simply call our 24/7 repair hotline when a covered issue arises. Find out what plans are available in your area.
