How to Install LED Strip Lights: A Step-by-Step Guide

Installing LED Strip Lights at a Glance
- Tools & Materials: LED strip lights, connector clips, aluminum channel, diffuser, screws, brackets, strip connector, dimmer switch, power supply or converter
- Step 1: Clean surface and attach channel
- Step 2: Unroll and stick lights to surface
- Step 3: Cut and connect sections
- Step 4: Connect to power supply
- Optional: Diffuse lights
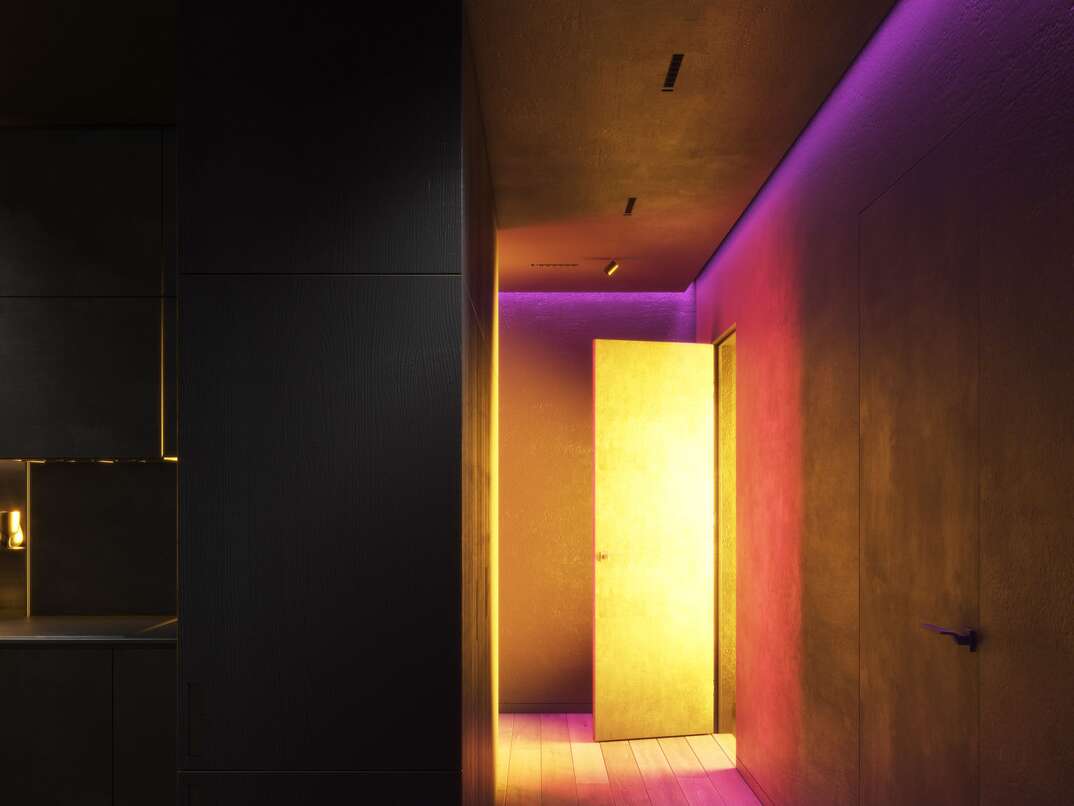
Strips of colorful LED lights aren’t just a passing internet trend. You can use LED strips to illuminate a dark space, add some color and warmth or create a unique background for your video calls. Installing LED strip lighting is a convenient, affordable way to add a little something extra to any room or outdoor space. With its adhesive backing, you can install it virtually anywhere in just a few minutes.
This May Also Interest You: Transforming a Room: How to Change a Light Fixture
Once you get the hang of it, you might find yourself using these versatile, easy-to-install strips everywhere. Follow this guide to learn how to install LED strip lights.
 ----------------------------------------
What Are LED Strip Lights?
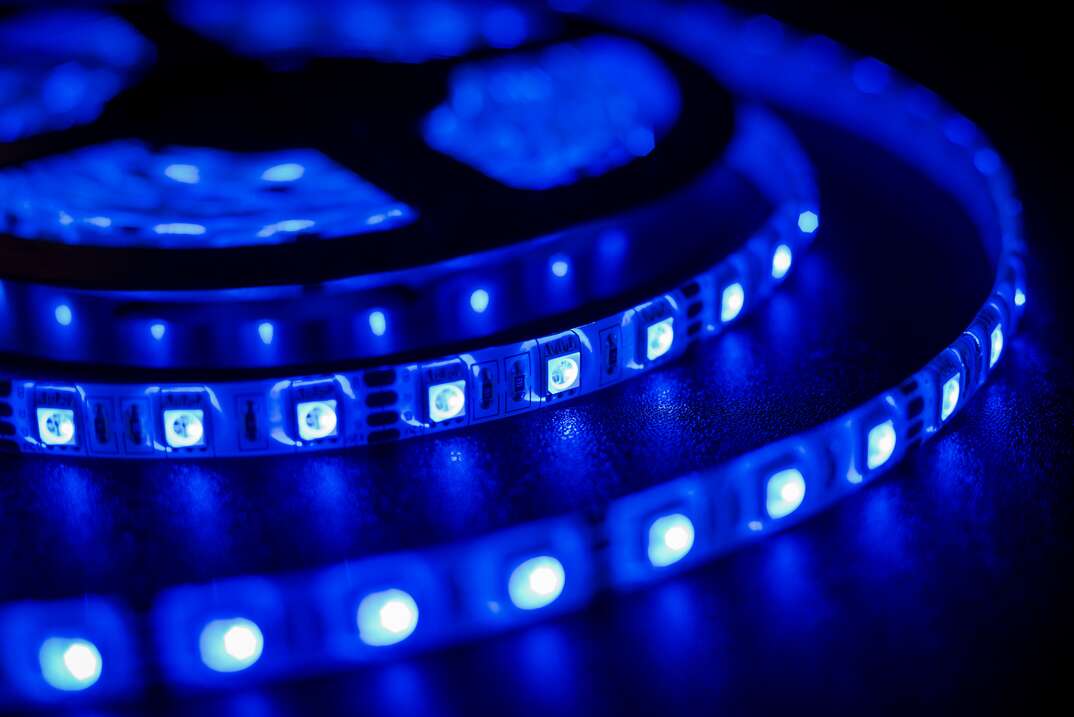
An LED strip light is actually a circuit board that includes small LED bulbs. You can find them in many different colors and brightness levels. They are dimmable, and certain types are compatible with most “smart-home” technology. The strip itself is flexible and can be bent vertically up to 90 degrees, which lets you add light in all kinds of places — under cabinets and counters, along baseboards or in other tight spaces. Strip lighting is typically 1/4 inch wide. It has an adhesive backing that you just peel and stick wherever you want it to go. Because it’s so small, the strip can be hidden from view in tight spaces while the LEDs give off a warm glow in the color of your choice.
Types of LED Strip Lights
LED strip lights have been around for a while, and a lot of people are using LEDs to replace other types of bulbs in lamps and fixtures. LED strip lights come in kits that you can just stick up and plug in. If you want something that’s more customized, you can install LED light strips using separate components.
When choosing colors, look for the following:
- RGB: Red, Green, Blue. Adjust the power that’s delivered to each color with a controller to create any color you want.
- WW: Warm White. The light is similar to the glow of an incandescent bulb.
- W: White. This is pure white light that’s suitable for where you’d use fluorescents.
- CW: Cool White. These have slightly blue, clean, bright light.
- CCT: Color Correlated Temperature. CCT lights usually include two channels of warm and cool light.
Brightness
Lighting power is described on LED packaging with a number followed by the letter “K." This represents Kelvin, the unit used for measuring light temperature. The greater the number, the brighter and cooler the light. For example, a 2700K LED will cast a warm, relaxing glow. For natural-looking lighting, the rating is usually around 3500K. Anything rated higher than 5000K will be cool, bright and possibly harsh.
Things You’ll Need
If you buy an LED strip light kit, it will have everything you need to install your lights. For more complicated jobs that require using individual parts, you’ll need:
- 16.6 feet of LED strip lights — the standard strip size
- LED light connector clips
- Aluminum channel or track for holding strip lights
- Diffuser for hiding strip lights
- Screws and brackets for holding the channel to the surface
- LED strip connector
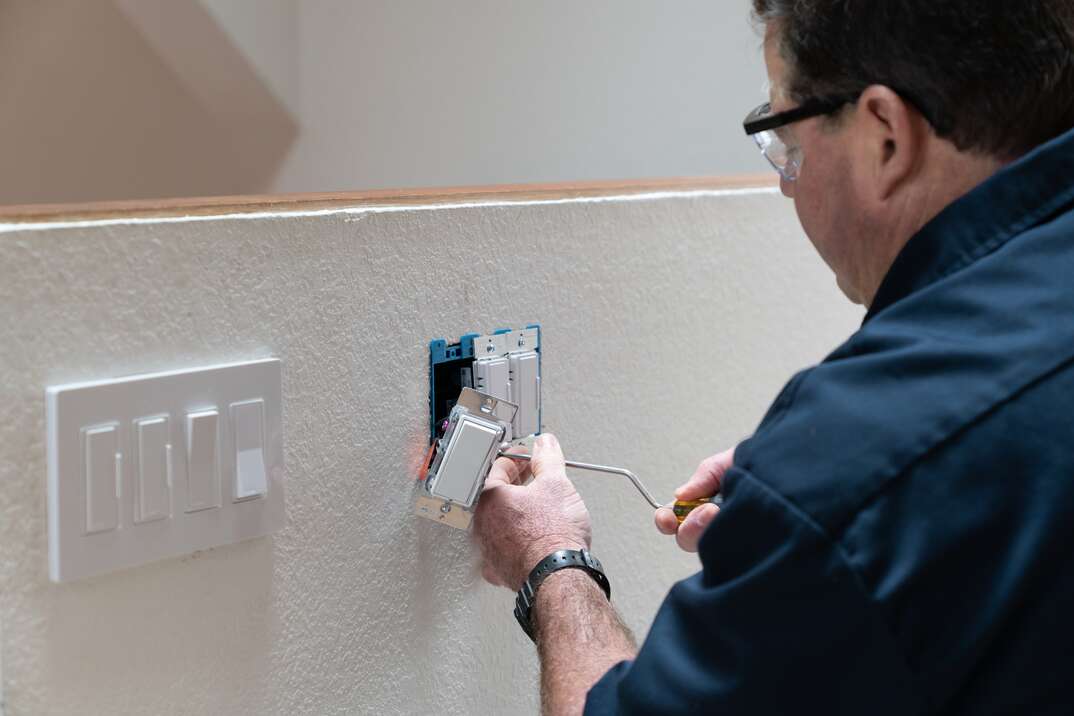
- On/off dimmer switch
- Power supply or converter
You should measure the length of where you intend to put the lights to ensure you buy enough. It’s also important to choose the correct LED power supply before you begin your project. This will depend on how long your strip lighting will be. If you simply want to place strips of lights under a bar or kitchen cabinets, a LED strip light kit will work just fine.
More Related Articles:
- Everything You Need to Know About Light Switches and Dimmers
- How to Clean and Maintain Light Fixtures
- How Much Does It Cost to Install Outdoor Lighting?
- Top 4 Benefits of Lighting Control Systems
- All Homeowners Should Know These Electrical Terms
How to Install LED Lights
Step 1: Clean the Surface and Attach the Channel
If you’re using peel-and-stick lights, clean the surface on which you plan to adhere the lights. If you’re using a channel, attach it using screws and brackets. The adhesive on strip lights will stick best on smooth, stable surfaces, so if you’re placing them in rough or textured areas, it’s best to put up an aluminum channel first. Use waterproof LED strip lights if you’re putting them in the bathroom or outdoors.
Step 2: Stick the Lights to the Surface
Unroll the lighting strip from the spool, remove the adhesive backing and carefully stick it to the desired surface. Gently press each part of the strip so it is firmly adhered to the surface with no air bubbles. If you’re using a channel, stick them inside the track.
Step 3: Cut and Connect Sections
If you’re putting lights around a corner or on an uneven surface, you’ll need to cut them and use connectors. It’s important to follow the manufacturer’s instructions and cut carefully to avoid damaging the lights. Make a clean, straight cut only in sections designated for separation of the strip.
To join strip sections, use plug-in connector clips. This is much easier than attempting to solder wires to the strip. Clip-on connectors fit over the copper dots at the end of each strip and are labeled with positive (+) and negative (-) symbols. Fit the red wire over the positive dot and the black one over the negative.
If you’re joining LED light strips at a 90-degree angle, use one corner connector and two connector clips. To put lights over something like a pipe that runs up the wall, you probably won’t need to use a connector, but there are flexible strips that work for this purpose.
Step 4: Connect to Your Power Supply
LED light kits usually come with a power adapter and controller. All you have to do is attach the strip to the controller and power adapter and then plug it into an electrical outlet. Your kit will most likely come with a remote control or dimmer as well. Once everything is plugged in, turn on your lights to test them.
Diffusing LED Lights
You can improve the look of LED strip lights by diffusing them. This hides the aluminum channel. Using an aluminum channel with a plastic diffuser is an easy way to soften and improve the distribution of LED lighting. Many kits include all these components, so you won’t have to do any guesswork to figure out what type of diffuser you need to buy. Once you’ve snapped in the diffuser, turn on the strip and bask in your new LED lighting.
Caring for LED Strip Lights
To clean the lights once they’re installed, use canned air to spray off dust or a damp rag to wipe them. If you use a damp cloth, make sure it’s not too wet. Unplug the LED light strip before wiping it down. Wait at least 30 minutes before plugging it back in, just in case any water or dampness lingers.
Since we’re all home now more than ever, being prepared for unexpected home repairs with a plan from HomeServe is important. Having a plan in place gives you peace of mind knowing that you can simply call our 24/7 repair hotline for covered breakdowns. See what plans are available in your neighborhood.


