How to Install Shower Doors: A Step-by-Step Guide
Not handy? No problem! Installing a shower door is a simple DIY project that even the most inexperienced individual can accomplish by following a few easy steps. Learning how to install a shower door is possible for anyone with enough patience. A second set of hands can make this whole process much simpler.
This May Also Interest You: How to Clean Shower Doors
To learn how to install a shower door, all you need is the correct tools and some uninterrupted time to complete the task. The most important aspect of the installation is ensuring the doors are properly aligned. Here’s our step-by-step guide.
Tools and Materials
To prepare for the installation, you'll need to gather the correct tools:
- Level
- Measuring tape
- Hacksaw
- Drill
- Screws
- Wall anchors
- Caulking gun
- Clear silicone caulk
Is It Hard to Install a Shower Door?
Compared to other home improvement tasks, installing a shower door is a fairly straightforward job. It just requires you to be precise in your measurements. A glass shower door is a luxurious addition to any home, and with a bit of patience and precision, you can install one yourself in no time.
How to Install a Shower Door
To install a sliding shower door in your home, you’ll want to follow the manufacturer’s instructions that come with the door you purchase. There is a simple step-by-step process that applies in most cases. Gather the required tools, set aside a few hours and get ready for a shower door upgrade in your bathroom. Here’s what to do:
1. Determine the Door Size
You'll want to start by figuring out what size door you need. Measure the width and the height of the shower opening. To measure the width of the door, you should measure it in three separate spots: top, middle and bottom. This is critical in case your walls are not perfectly straight. Choose the shortest of the three measurements as your width. Then, measure your door height.
2. Protect the Shower Floor
Before you begin any actual construction, place a drop cloth over your shower floor. This will prevent any debris from falling into the shower and clogging your drain.
3. Position the Wall Track
If you have a shower door with a fixed panel and moving panel, always hang the track for the fixed panel first. Do this on the side farthest away from the showerhead. This will make it easier to get into the shower without spraying water all over your bathroom.
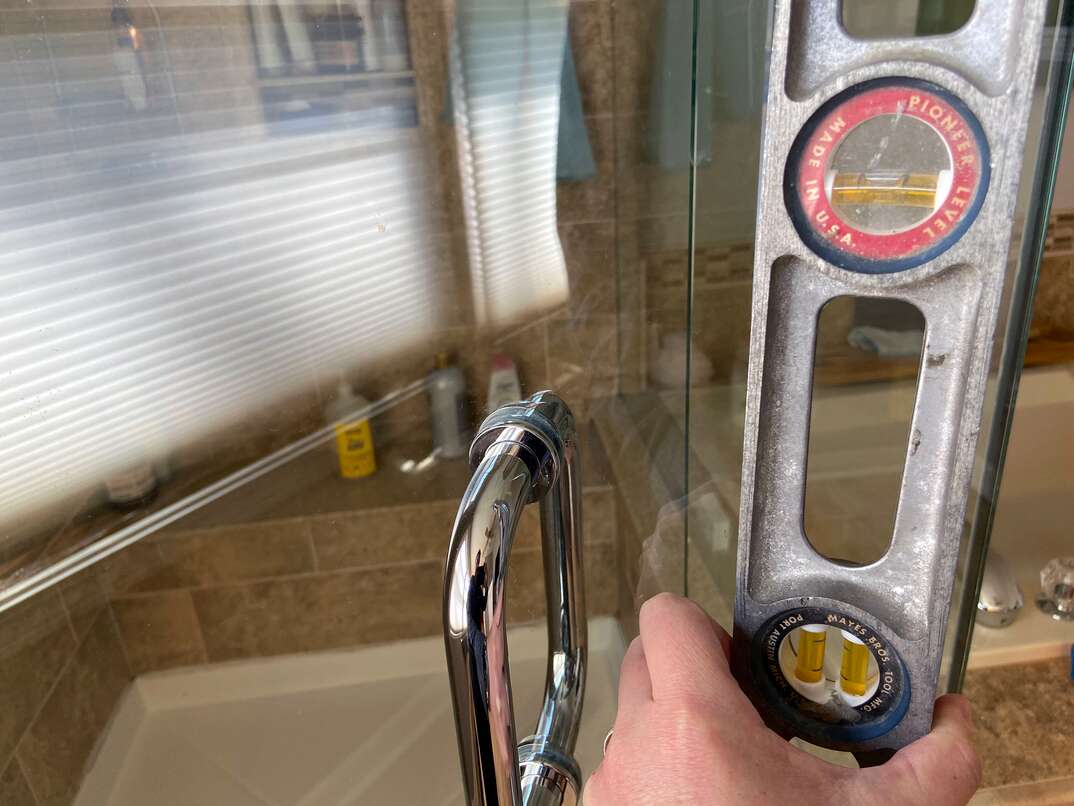
Place your wall track where you want it and use a level to ensure it's plumb to the wall. If your wall track has pre-drilled holes, use a pencil and mark the positions on the shower wall. If not, measure where you need the holes to be and mark this position on the wall and the track.
4. Drill for Wall Anchors
Use a drill with a quarter-inch bit to drill holes for wall anchors. If you're drilling into tile or ceramic, it's best to use a masonry bit. To avoid rusting, use stainless steel screws to secure the wall track. If you insert your screw into the wall and hit a stud or framing, you won't need to use an anchor. However, if your holes are drilled in a location where there is no framing to screw into, you will need to use heavy anchors. Typically, these will come with your shower door kit.
5. Insert or Hang the First Door Panel
Assuming you have a shower with a fixed door panel and a sliding or pivoting door panel, hang the fixed panel in the wall track you installed. Temporarily secure this panel at the bottom with the sliding door guide. Use caution as you proceed because this door is not fully fixed.
6. Cut Top Support Bar to Size
Your top support bar may come in a longer size than you require, so you'll need to measure and cut it to fit. Once you've measured so that the holes will align, you can cut the support bar using a hacksaw.
7. Level the Support Bar
Use a level to ensure your support bar at the top is not crooked. When the is bar level, make a mark on the wall with a pencil below the bar so you know exactly where to attach it. Ensure your support bar is also plumb with the glass shower door panel you've already temporarily installed.
8. Drill Holes and Secure
Using the pencil marks as a reference, drill the appropriate holes into the shower fiberglass or tile and then secure the support bar.
More Related Articles:
- How Much Does a Shower Remodel Cost?
- Making It Rain: How Much Does It Cost to Install a Shower?
- How to Replace a Showerhead
- How to Clean Shower Tiles
- Pay Attention to That Mold Behind the Curtain! A Shower-Curtin Cleaning How-To
9. Pre-Drill Holes for the Bottom Sliding Door Guide
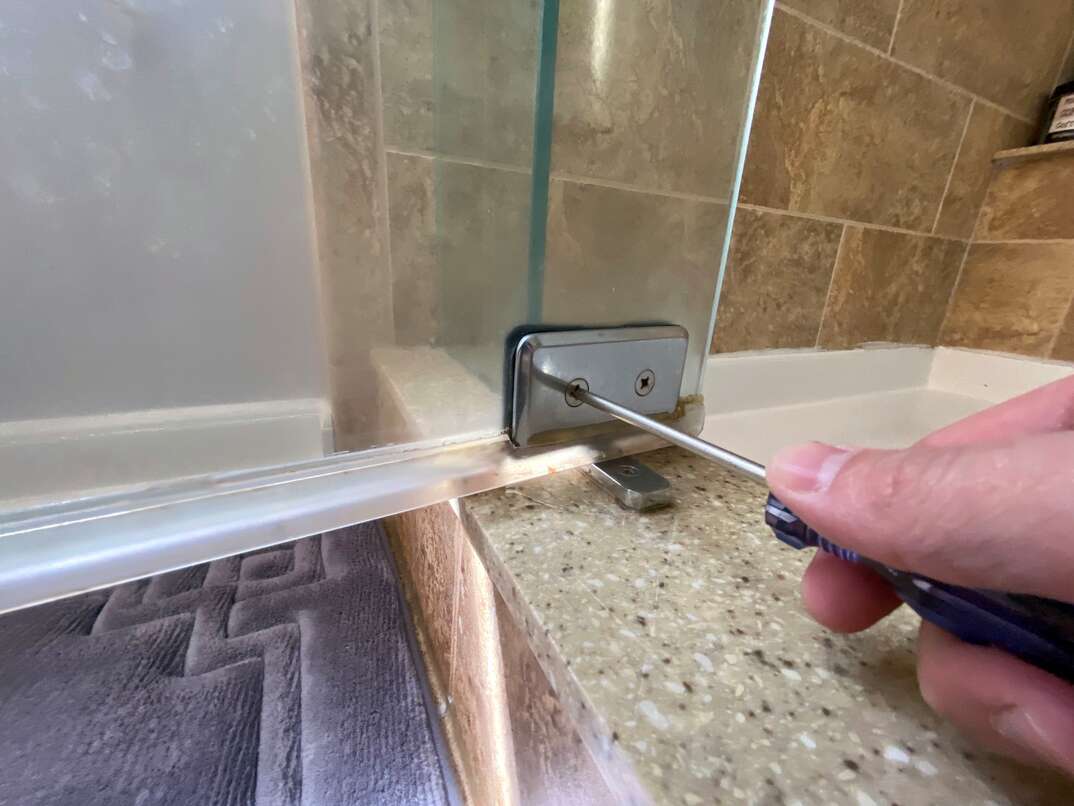
Once the top bar is secure, you can mark and drill the appropriate holes for permanently attaching the sliding door guide along the bottom. Add some caulking to the holes before you insert the screws to create a waterproof seal. Secure the door guide.
10. Hang the Sliding Door
With a secure frame, you can now hang the sliding door. This step will vary depending on the shower door kit you've selected. You may need to install a second wall track on the other side at this point. In some cases, you can simply hang the door on the top support bar.
Some sliding glass doors may not have a wall track on the moving side but rather a water seal that will allow the door to be flush with the shower wall and prevent water from leaking out. In that case, follow the steps provided by the manufacturer.
11. Seal With Caulking
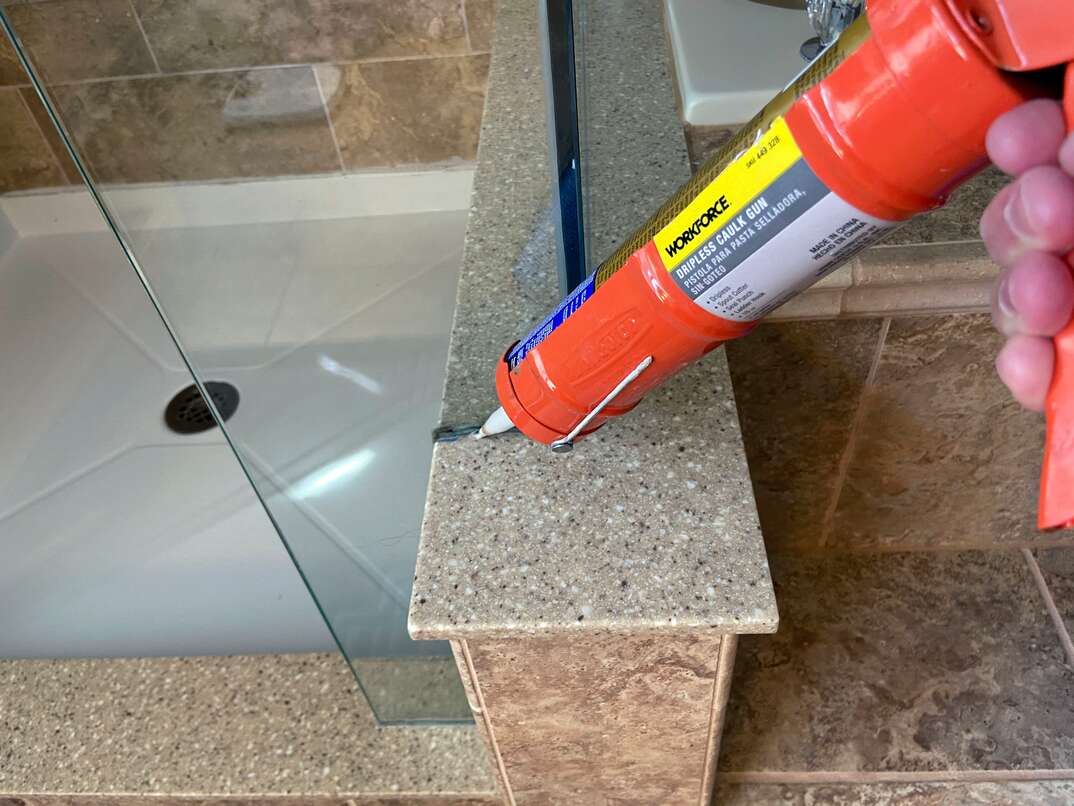
Use clear silicone caulking along all the fixed components of the shower to create a watertight seal. You should let this dry for roughly 24 hours before using the shower.
Be Aware of Variations
The method to install shower doors will vary depending on their configuration. Some pivoting or sliding glass shower doors will require you to install a bottom track rather than a sliding guide, or you may need to screw the wall tracks and top bar together for additional stability. Follow the manufacturer's directions closely to ensure you're taking the correct steps for your specific shower door.
Can I Just Replace My Shower Doors?
Replacing a shower door is easier than installing a new one, especially if your replacement door is the same size as the old one and you can use the existing frame.
If your replacement doors are a different size than the existing ones, you will need to remove the old door jambs and install new ones, similar to the process outlined above. A clear glass door replacement can offer a modern, updated aesthetic from an old frosted-glass look.
Since we’re all home now more than ever, being prepared for unexpected home repairs with a plan from HomeServe is important. Having a plan in place gives you peace of mind knowing that you can simply call our 24/7 repair hotline for covered breakdowns. See what plans are available in your neighborhood.
