How to Install a Smoke Detector

As a homeowner, keeping your family, pets and belongings safe is a top priority. Smoke alarms are a key safeguard and provide peace of mind for when you’re both home and away.
This May Also Interest You: Wood-Burning Stove and Fireplace Safety Guide
But how do you install a smoke detector? And how do you choose the smoke detector that’s best suited for your needs?
Different Types of Smoke Detectors
Generally speaking, there are two main types of smoke detectors: photoelectric and ionization. While both will detect smoke from a fire, each one is better suited for recognizing a distinctly different type of fire. Ionization smoke alarms, for example, typically respond more quickly to smoke from a flaming fire, whereas photoelectric smoke alarms respond to smoldering (slow-building, smoke-heavy) fires with greater efficiency.
Ionization Detectors
These feature electrodes that constantly conduct a low-level electrical current through ionized air. When smoke particles travel through the ionized air, the alarm is triggered. These ionization smoke detectors are better at detecting flaming fires than their photoelectric counterparts.
Photoelectric Alarms
These, on the other hand, utilize light beams and sensors to detect smoke. The detector’s light beam points away from the sensor, but when smoke particles cloud the sensor, the light is dispersed and redirected, triggering the alarm. Because these are better at detecting the presence of smoke, photoelectric alarms are better at detecting smoldering fires.
Which Type Is Best?
Because both types of smoke alarms are better at responding to different types of fires, the USFA recommends every home have both alarm types installed. However, in lieu of installing both types of smoke alarms throughout your home, you can install a dual-sensor alarm that contains ionization and photoelectric sensors.
Where Should You Place Smoke Detectors?
With smoke alarms, it’s all about safety. That’s why it’s important to have enough smoke alarms for your home in the right places. According to the National Fire Protection Association, you should have smoke alarms installed inside and directly outside each bedroom and on every level of the home. If a level doesn’t have a bedroom, install a smoke alarm near the stairwell and in each living area. By following the guidelines outlined by the NFPA, you can ensure your home is as safe as possible in the event of a fire.
Installing Battery-Powered Smoke Detectors
Installing a new smoke detector is a relatively easy task, depending on the type of detector you’re hoping to install. A battery-operated detector will come with a mounting plate that can be secured to drywall using wall anchors.
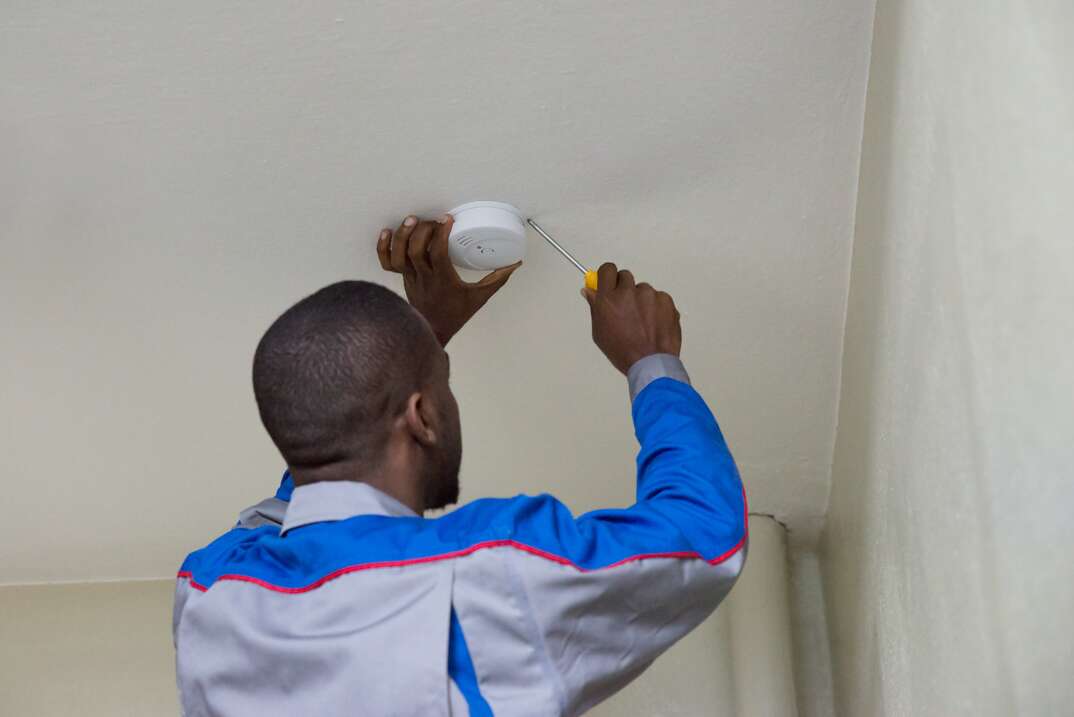
To install the mounting plate, use the wall anchors to secure it in place either on a wall or on the ceiling. Then, align the slots in the smoke detector to the notches in the mounting plate by twisting it into place.
More Related Articles:
- Heat Your Home Safely This Winter: Carbon Monoxide Safety Tips
- Space Heater Safety Guide: 8 Tips to Avoid Fires and Burns
- Is It Safe to Put Things on or Near Your Radiator?
- Watt’s Too Much? How Much You Can Plug Into One Outlet
- Hot Tips! 5 Backyard Fire Safety Suggestions
Installing Hardwired Smoke Detectors
Although they are generally more expensive to install than battery-powered smoke detectors, hardwired alarms outperform their counterparts in efficiency, upkeep and safety. However, in addition to a costlier installation, hardwired smoke alarms also require more in terms of installation.
As the name suggests, hardwired smoke detectors are connected to your home with a circuit cable that runs directly into the connection box on the device. Because these types of smoke detectors operate with a continuous electrical charge — and typically include a built-in battery backup in the event of a power failure — they’re largely considered the safest option and are often required by building codes across the U.S. Because installing hardwired smoke alarms requires handling live electrical wiring, it’s imperative that you always turn off the power at the breaker panel prior to beginning installation.
Step 1: Determine the Location
Start by identifying where your smoke alarm should be installed. As a general rule, smoke alarms should be either on the ceiling or roughly 12 inches down from the ceiling at most. Use a stud finder to determine where ceiling joists or wall studs are located–make sure that you are installing your smoke detector between joists or studs and not directly over them. Use a pencil to draw around a new electrical box to mark your cutout. Then, using a drywall saw, cut out the opening in the drywall.
Step 2: Run Connection Cable
From a central power source, like an existing wall outlet, switch or light fixture, run an electrical cable to the cable box location. More than likely, this will require “fishing” some cable through the walls from the power source to the connection box. Fishing cable can be difficult if you’re new to the task, so make sure you are using the closest, most convenient power source so that you won’t have to fish your cable too far.
Step 3: Wire and Mount the Cable Box
Make sure that you have roughly 8 inches of wire extending into the cable box. Then, using electrician's pliers, remove the cable’s outer sheathing. Insert the exposed wires into the clamps inside the box. Once the cables are securely clamped in the cable box, mount the box inside the opening of the drywall and secure it in place by screwing the screws in the box, which will tighten the retaining tabs and pull the box into place within the drywall.
Step 4: Attach the Mounting Plate
Once the cable box has been secured, attach the mounting plate that should be included with your new smoke detector. Simply align the plate and match the holes on the cable box and screw the plate to the box.
Step 5: Connect the Smoke Alarm
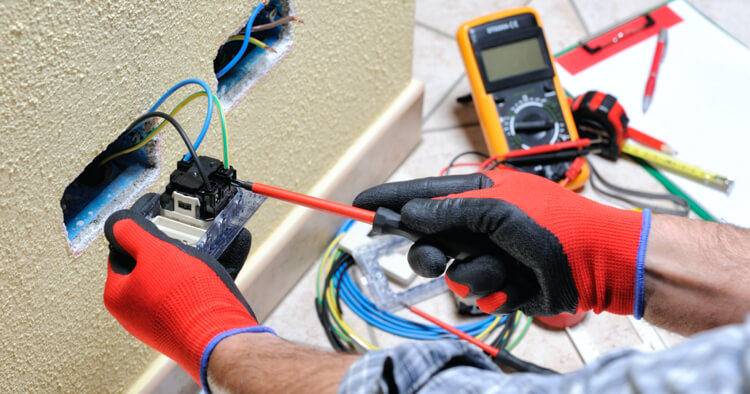
When the mounting plate has been attached, connect the smoke detector to the electrical cable in the cable box. If you’ve ever installed a light fixture or a similar electric device, the process is very similar. Connect the black circuit wire to the black lead wire on the smoke detector. Then, connect the white circuit wire to the white wire on the device.
From there, connect the bare copper wire — the ground wire — to the green insulated wire on the device. Once the wires are connected, attach the device to the mounting plate. In most cases, this involves sliding the notches on the detector into the slots on the mountain plate by twisting the device into place.
When your smoke detector is installed, turn your power back on. To ensure your hardwired smoke detector is as safe as possible, install a backup battery in the battery compartment. Consult your manual for details about what size battery the smoke detector uses.
Finally, when the power is connected and turned on, give your new smoke alarm a test by pushing the test button on the device. If the alarm is working, it will sound.
Safe and Sound
Smoke detectors are an easy way to up your home’s safety and ensure your house is up to code. Purchasing new smoke detectors won’t break the bank and can be installed by a licensed electrician if you aren’t feeling up to the task of hardwiring them in yourself. Like many home-related tasks, smoke detector installation might not be the most thrilling of upgrades, but the peace of mind they offer makes the effort more than worthwhile.


