How to Install Solar Panels: 6 Steps to Daylight Savings
It’s true that most of the electricity produced in the United States comes from fossil fuels like coal and natural gas. And, like all fossil fuels, extracting them releases carbon dioxide into the atmosphere, contributing more than any other factor to the catastrophic effects of climate change. While our dependence on these energy sources is driving up our carbon footprint, they can also be pretty expensive. In 2019, the Energy Information Administration reported that the average monthly electric bill for a family of four in the U.S. was $115.49. One way to combat your reliance on fossil fuels while driving down that utility bill is to invest in solar panels for your home.
This May Also Interest You: When to Install Home Solar Panels
Solar panels generate clean, renewable energy from one of the greatest, most abundant sources of energy available: the sun. And investing in solar energy is getting easier and more affordable every day.
Depending on the size of your home, solar panels can cost anywhere between $9,000 and $24,000 in total installation costs. However, the federal government offers a number of incentives for homeowners to invest in solar energy, including a nonrefundable tax credit that allows you to claim 26% of your installation costs. Additional credits vary from state to state, so double check the incentives where you live before you get started. Moreover, you can save money by installing solar panels yourself — provided you don’t mind spending the better part of a day up on your roof.
So, are you ready to start saving money on energy bills and helping to save the planet while you’re at it? If you decide you want to take a step toward energy independence, the following step-by-step guide will walk you through each stage of the installation process.
Step 1: Plan Your Project
Like any successful do-it-yourself project, careful planning and considerations are key. Of course, before beginning, be sure to check with your local zoning authority to determine whether you’ll need to apply for any permits for your project. While you’re at it, be sure to check with your local homeowner’s association, too, as they might have certain regulations regarding the addition of solar panels to your property.
Step 2: Determine the Size of Your System
Start by determining how big a system you’ll actually need. Are you planning to go full solar or are you looking to simply supplement your home’s main energy source? A good place to start is by analyzing your home’s energy consumption levels. A general rule of thumb is that 1 kilowatt of solar energy will generate 1,300 kilowatt hours per year. While every home is different, an average household will need an estimated 28 to 34 panels to fully power the home.
Step 3: Build the Mounting Structure
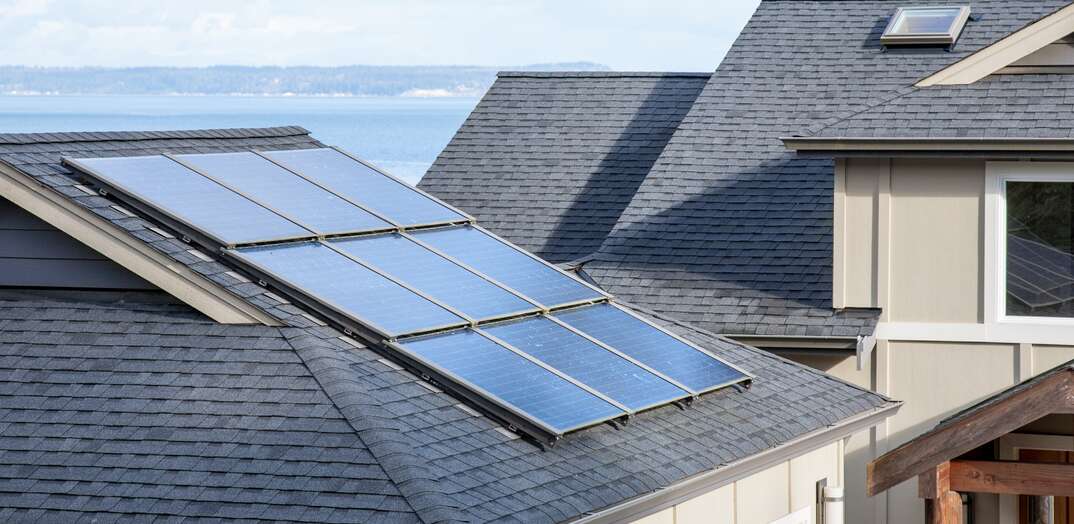
After you figure out how many panels you need, you’ll then need to determine the best possible location for your solar power system. For maximum energy production, find the spot on your roof that gets the best access to direct sunlight. It’s important to note, here, that you’ll want the solar panels to tilt toward the south, as that orientation will enable them to receive the maximum amount of sun. An eastward or westward tilt will also work, but north is the only direction you really want to avoid. While rooftops are the most popular location for solar panels, you can also install panels in your yard if you don’t have a great spot atop your house.
The next piece of planning you’ll need to complete is to determine where to place your stanchions. Stanchions are the mounting structure that your panels will attach to, so you’ll need to fasten these to the roof rafters. You can easily find rafters by knocking the roof gently with a hammer until you feel something solid under a shingle. Then, attach each stanchion to a flat mount that fits underneath the shingles.
Step 4: Assembling the Panels
Once the mounting structure has been constructed and attached successfully, you’ll then need to connect it to the solar panels. Each rail of the mounting structure will have small brackets that hold the panels in place. Use a drill to screw the frame of the panel to the brackets — but be careful, because if you fasten the brackets too tight you can crack the glass of the panel.
Step 5: Connect the Electrical Wiring
All solar panels are connected using MC4 connectors. There are two methods of connecting solar panels: parallel and series. In a parallel connection, it’s important that your entire array of solar panels are exactly the same in size and wattage output.
Parallel connections are generally considered simpler because, after connecting your panels, you’re left with two inputs: one negative and one positive. When connecting parallel panels, make sure all positive cables are connected together and all negatives are connected together.
However, in a series connection, you’ll connect the positive cable from one panel to the negative cable in the other panel. This increases the voltage throughout your solar power system to match the strength of the battery bank.
Step 6: Connect the Cables to Your Grid
After you connect your panels either by using a parallel or series connection method, you’ll then need to run cables from your solar power panels into your home. To get the cables into your home, you can simply drill a hole in your roof near your electric grid, but be sure to use a roof caulk to seal-off any remaining gaps.
You’ll then need to connect the panels into a power inverter that converts the solar power into electricity that you can use in your home. An inverter is necessary because the solar panels on your roof utilize direct-current, or DC, power and your electric grid at home uses alternating current, or AC, power. If you’d like to store energy for later use, connect a battery to panels before linking to your home power grid.
It goes without saying that, unless you have significant experience in electrical work, this might be a good place to hire an electrician with solar experience for these final hookups. While it’s certainly possible to tackle this work yourself, taking the added precaution of hiring an electrician is probably wise.
Stay Smart, Stay Safe
While installing a solar power system on your home is a doable DIY project, you need to take all precautions and considerations. As with any electrical work, solar panel installation can pose a significant risk to your health and safety if not done properly.
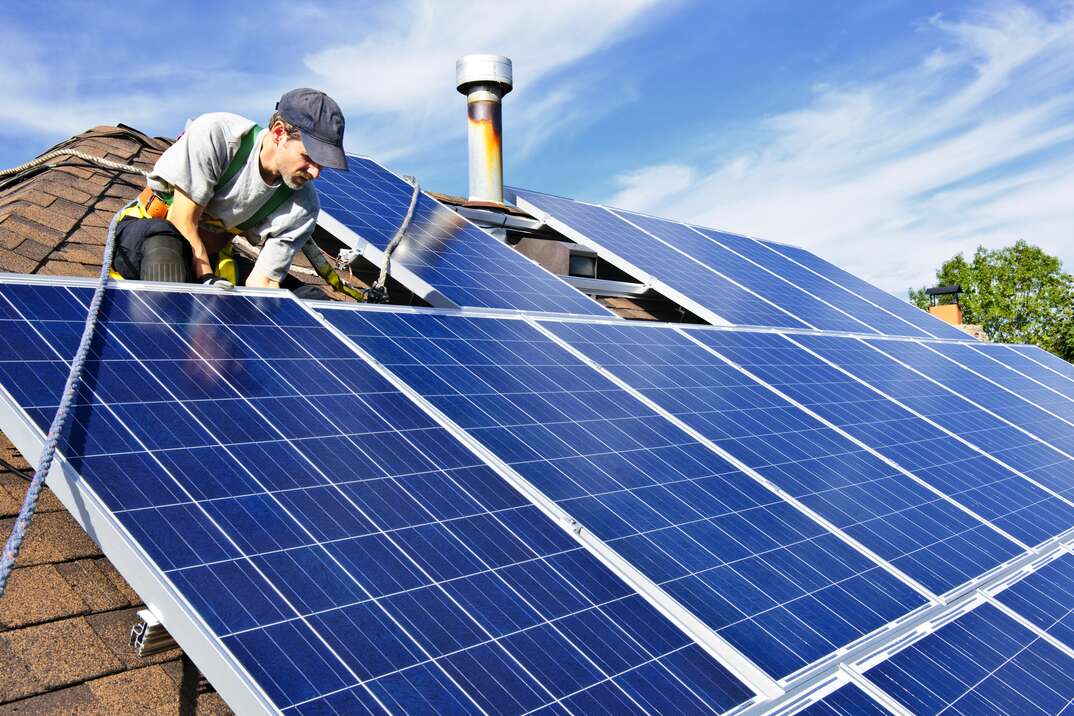
Furthermore, installing a home solar power system requires a lot of time maneuvering heavy materials on top of your roof. It’s absolutely crucial to wear appropriate footwear with proper tread as you work on your roof. In addition to wearing the right shoes, you should also consider installing a roof-anchor tool as a further safety measure. Simply attach the anchor to your roof and connect a rope from the anchor to your harness. Should you lose your footing, the anchor will keep you from falling completely off the roof.
Before wrapping up your solar installation project, double check your panels and connections for any damage that may have occurred during the installation process. For one, damaged products won’t work to their full potential, while faulty wiring or leaking batteries can also pose a safety threat and could even lead to a fire.
You’ll also want to make sure that you apply for all incentives and tax credits offered by the federal and state governments. Note that many of these incentives are time-sensitive and may not be applicable after a set length following installation. Solar installation companies generally offer to apply for these incentives for you, but with a DIY installation you may be required to research your state’s full solar benefits on your own.
Does installing a home solar power system sound right for you? With some time, careful planning and effort, you’ll soon find yourself able to sit back and enjoy saving money while reducing your carbon footprint.
Want to further look after your home's major systems? If so, being prepared with a plan from HomeServe is one way to go. Once you have a plan in place and a covered issue arises, you can simply call the 24/7 repair hotline. A local, licensed and highly trained contractor will be sent out to you to get the job done to your satisfaction. Learn more about plans from HomeServe today.

