How to Install Bathroom Vanity Lights: 7 Enlightening Steps

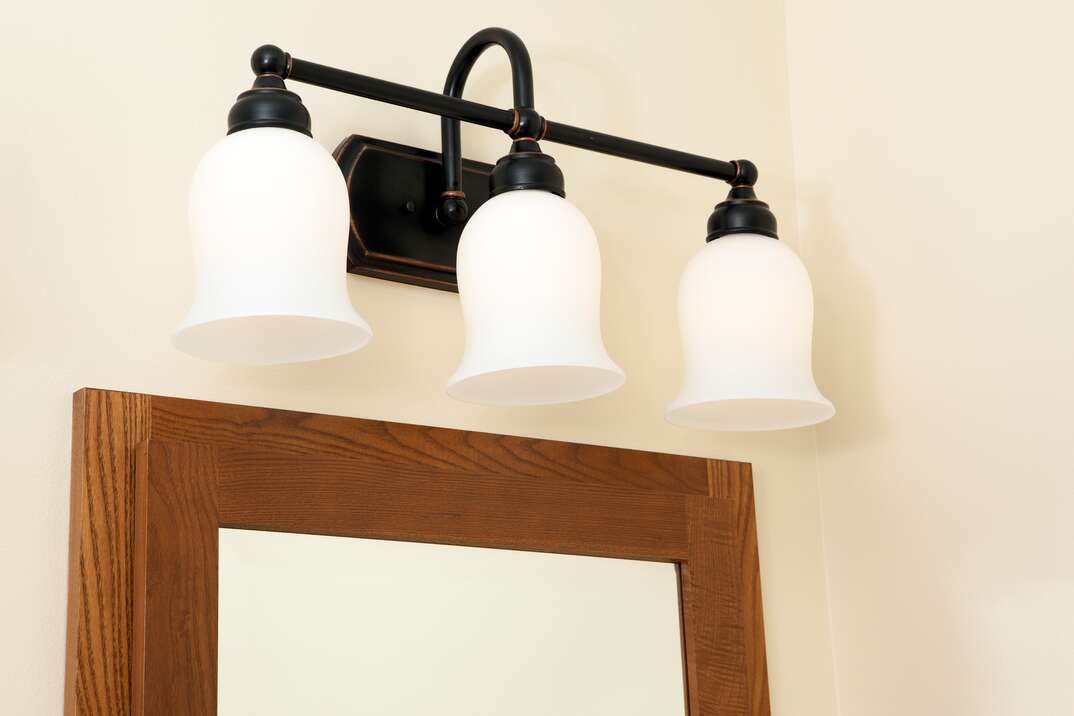
Good vanity lighting perfectly illuminates your bathroom mirror to assist with putting on makeup, shaving or doing your hair. Along with enhancing its function, installing a new vanity light is an easy way to update your entire bathroom.
This May Also Interest You: How to Install Recessed Lighting
Feeling inspired? Here’s a step-by-step installation guide.
How to Install Bathroom Vanity Lights
Things You’ll Need
- New vanity light
- Step stool (if necessary to reach)
- Screwdriver, wrench and/or pliers
- Non-contact voltage tester (optional)
- Electrical tape (optional)
Step 1: Turn Off the Power
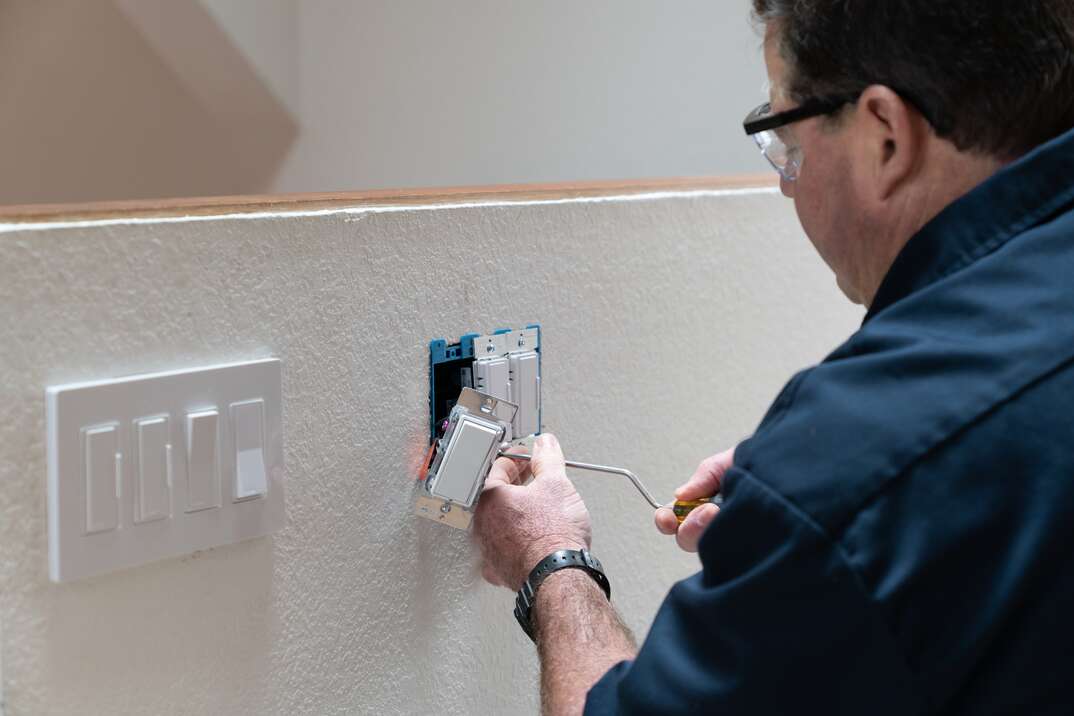
To prevent the risk of electrocution while you’re replacing the vanity light, turn off the breaker that controls the vanity light on your home’s main electrical panel. Verify that the power is off by operating the vanity light’s wall switch to ensure that it doesn’t turn on.
Step 2: Remove the Old Vanity Fixture
Set up a step stool in front of the vanity light if it’s too tall to comfortably reach from the ground. Start by removing the light bulbs and glass shades surrounding them from the fixture. Depending on the vanity light, the shades may be installed with small set screws that need to be loosened before the shades can be removed. Or, they may have a threaded base that needs to be unscrewed from the fixture.
Next, remove the screws and nuts that secure the fixture’s decorative plate to the mounting plate on the wall. Once the fixture is free from the mounting plate, pull it away from the wall to expose the wiring connections.
Step 3: Disconnect the Wiring
As an added safety precaution — even though you should have already turned the power off — you can touch a non-contact voltage tester to the black “hot” wire to verify that no electricity is running to the fixture.
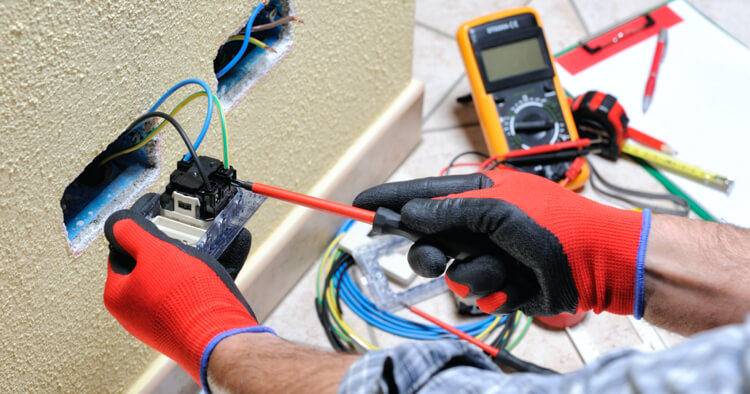
Unscrew the wire nuts that connect the black hot wire, white neutral wire and green or bare neutral wire coming out of the wall to matching-colored wires on the vanity light. On some fixtures, the ground wire coming out of the wall will be anchored to a ground screw (it usually has a green-colored head) on the vanity. If that’s the case, loosen the ground screw until the ground wire can be removed.
With the wires disconnected, you should be able to remove the entire fixture from the wall.
Note: It can be difficult to disconnect the wires while also supporting the vanity light fixture, so we recommend recruiting a helper to support the fixture as you disconnect the wires.
Step 4: Replace the Mounting Plate
Your new vanity light will come with a round or rectangular mounting plate that will be used to secure the fixture to the electrical junction box on the wall. Remove the old mounting plate by disconnecting the screws or nuts that secure it to the junction box. Then, pull it off the wall. Insert the wires coming from the wall through the hole in the center of the new mounting plate, then use the provided screws to secure the plate to the junction box.
Step 5: Connect the Wiring
Twist together the exposed ends of the wires coming out of the wall with the ends of the matching-colored wires on the vanity light fixture: black to black, white to white and ground to ground. Twist the provided wire nuts clockwise onto the wire ends until they’re clamped tightly together, then gently tug on the wires to ensure they’re securely connected. You can also make a few wraps of electrical tape around the wires and wire nut to help hold them together.
If the new vanity fixture uses a ground screw instead of a ground wire, loosen the ground screw enough to where it will accommodate the ground wire coming out of the wall. Twist the end of the ground wire around the ground screw and tighten down the screw until the ground wire is securely fastened.
Once again, use a helper if it’s too difficult to connect the wiring and support the vanity fixture at the same time by yourself.
Step 6: Secure the New Vanity Light to the Mounting Plate
Place the vanity light’s decorative plate onto the mounting plate and adjust the fixture until it’s level. Secure the fixture to the mounting plate with the provided screws or nuts.
Finally, install the new light bulbs and glass shades onto the fixture.
Step 7: Restore Power and Test
Turn on the breaker that controls the vanity light at the main electrical panel and flip on the light switch to confirm that the vanity light is working properly.
More Related Articles:
- Getting the Hang of It: How to Install Pendant Lighting
- How Much Does It Cost to Install Different Types of Decorative Lighting?
- Do Light Fixtures Add Value to Your Home?
- How to Install LED Strip Lights: A Step-by-Step Guide
- How Much Does It Cost to Install Recessed Lighting?
Can You Install a Vanity Light Fixture Without a Junction Box?
An electrical junction box is designed to contain electrical connections to prevent electrical fires or electric shocks, and installing a vanity light fixture without a junction box violates national electrical codes. If your previous vanity light didn’t have a junction box or you’re installing a vanity light for the first time in a location with a junction box, you will need to have a junction box installed. In most cases, this should be done by a professional electrician unless you have the skills and experience to do so yourself.
How High Should You Install a Vanity Light Fixture?
The standard height of a vanity light fixture is 75 to 80 inches from the floor to offer optimal lighting over the bathroom mirror. If you’re installing a new vanity light without an existing junction box, this is roughly the height the junction box should be installed at.


