Here's How to Install a Video Doorbell
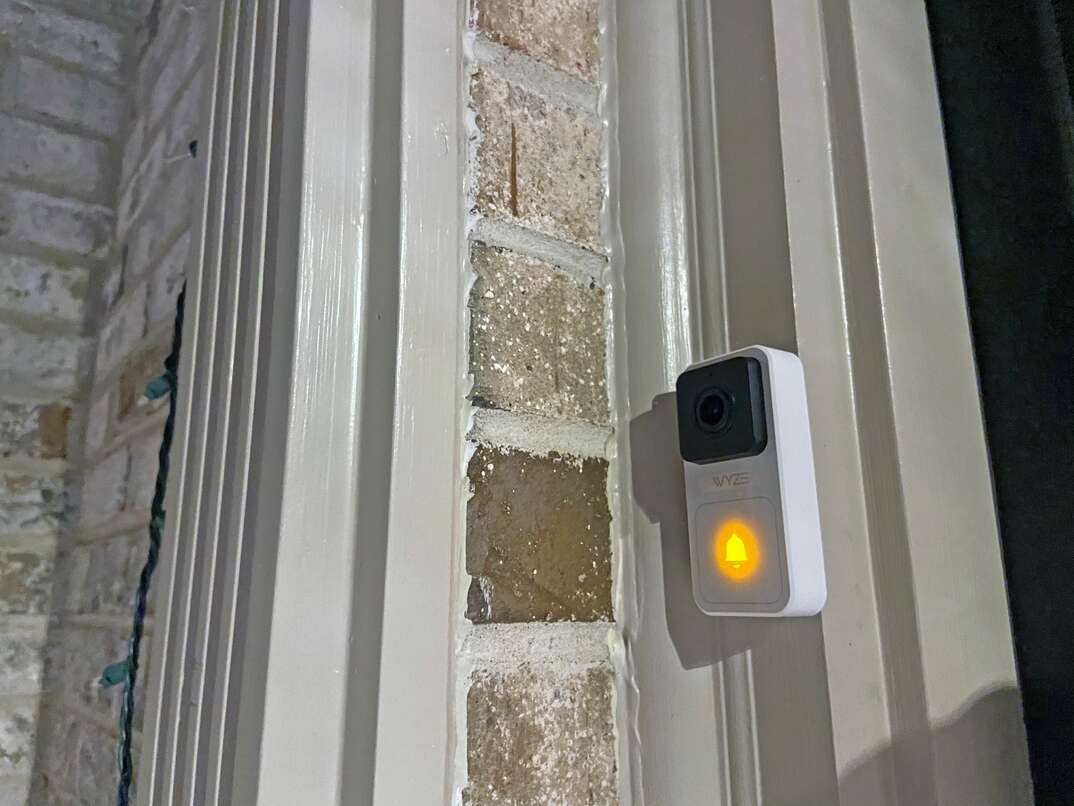
Video doorbells are all the rage in the home security world these days. Their presence alone can deter folks from grabbing packages off your porch or even attempting a break-in. Installing a video doorbell can also let you monitor the activity at your door, even while you’re away from home.
This May Also Interest You: How Much Does It Cost to Install or Replace a Doorbell?
Video doorbells typically come in hardwired and battery-powered forms. Here’s how to install both types.
Determine the Type of Doorbell You Need
Before purchasing your new video doorbell, determine whether your home currently has a hardwired doorbell. The easiest way to tell is to simply unscrew the existing doorbell. If there are two wires coming from the wall connected to the doorbell, it’s hardwired. If you don’t have an existing hardwired model, you’ll want to install a battery-powered model. However, if you decide you want to switch to a hardwired model (some hardwired models offer more features and functions), your best bet is to hire an electrician to run wire from your circuit breaker to the doorbell.
How to Install a Battery-Powered Video Doorbell
Step 1: Charge the Battery
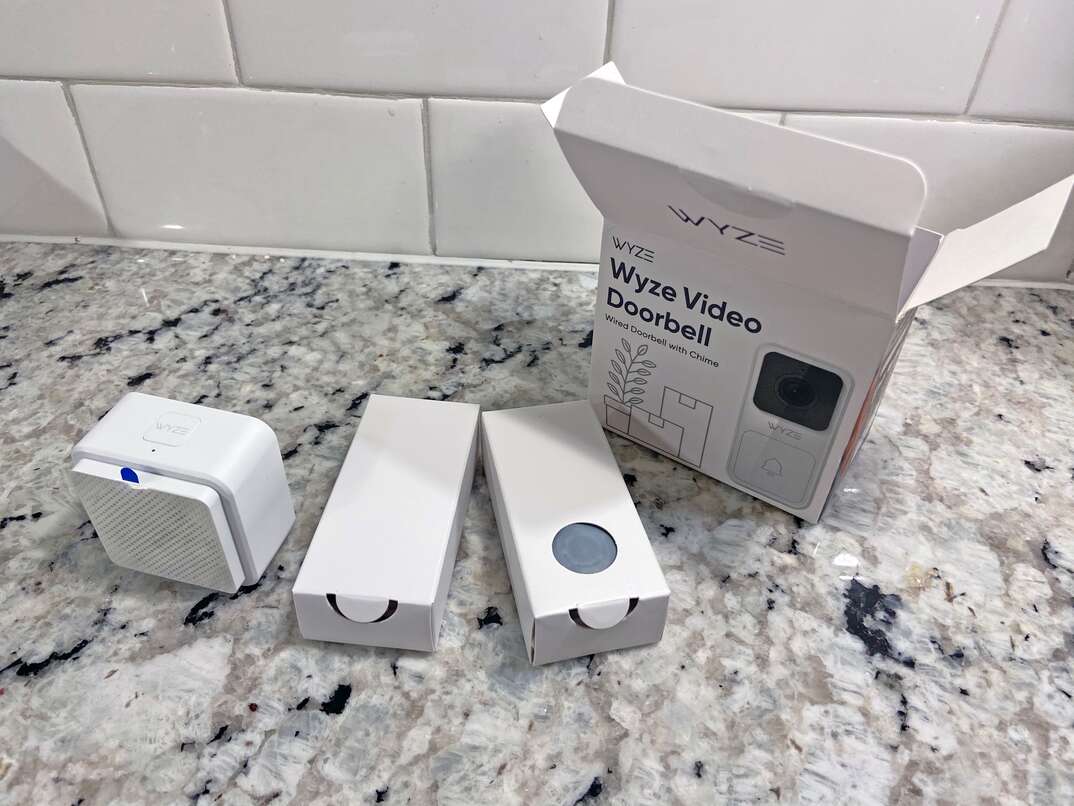
First, you’ll want to make sure that your doorbell’s battery is fully charged. This process might look a little different based on the brand of doorbell you’ve purchased. For example, most Ring and Nest models come with USB cables for charging the battery, while some might have removable battery packs. In any case, make sure you’ve got a fully charged battery before mounting the doorbell to the wall.
Step 2: Attach the Mounting Bracket
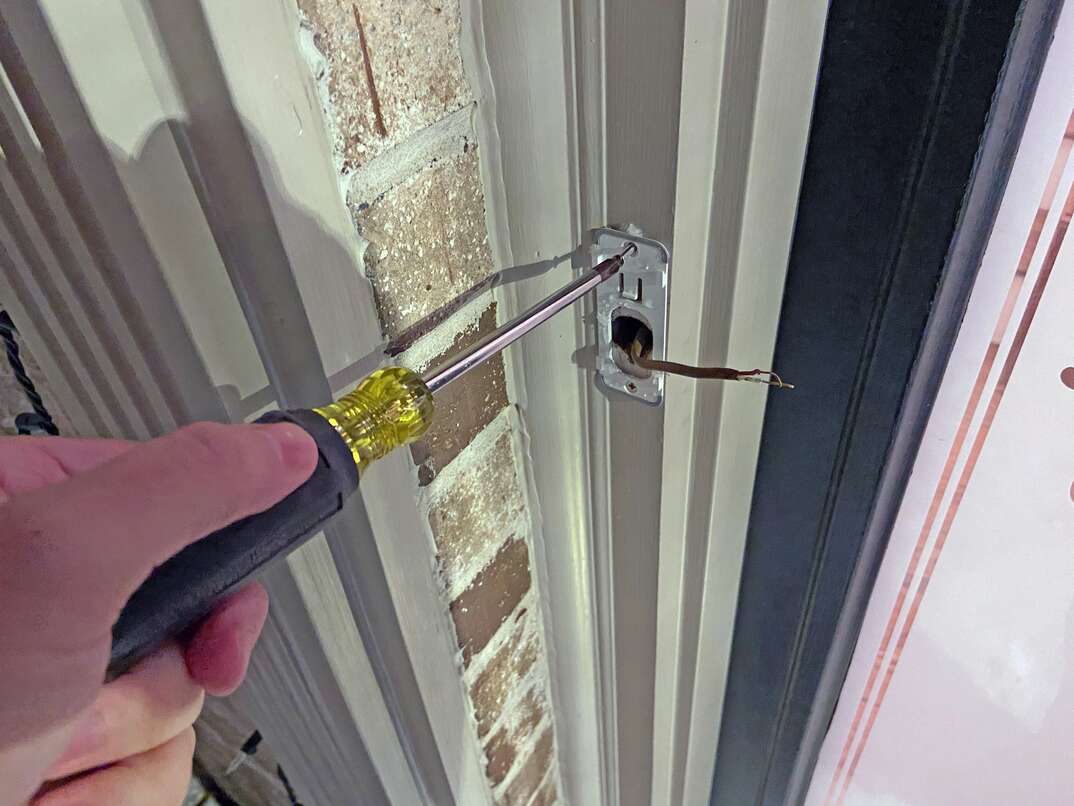
Most video doorbell models come with all the necessary hardware for mounting your doorbell to the exterior of your home. That said, if you plan on mounting the doorbell to brick, stone or concrete, you may need specialized drill bits and anchors designed for masonry projects.
Generally speaking, video doorbells are mounted on a mounting bracket, or backplate, that is screwed to the wall. To make sure that your doorbell is level, tape the bracket to your exterior wall first and see how it looks. From there, take the included mounting screws and drill holes in the proper locations on the mounting bracket.
Step 3: Attach the Doorbell
Once the bracket is attached, try to wiggle it with your hand to test its security. If all is secure, attach the doorbell to the mounting bracket. In most cases, this means simply sliding the doorbell on top of the bracket and snapping it into place. Some brands and models vary here, so consult the installation instructions included with your doorbell if you’re unsure.
More Related Articles:
- How to Install or Replace a Doorbell
- How to Set Up A Ring Doorbell
- How Much Does It Cost to Install a Ring Doorbell?
- Take a Ring Off It: How to Remove a Ring Doorbell
- How Much Does It Cost to Install a Nest Doorbell?
How to Install a Hardwired Video Doorbell
Step 1: Turn Off the Power for the Existing Doorbell
Hardwired doorbells rely on your home’s electrical system for power. As with any home electrical project, you’ll want to first find and shut off the proper circuit breaker that is connected to the doorbell. If the breaker isn’t labeled or you aren’t sure which one is which, try shutting off one at a time until the doorbell doesn’t ring when you press it.
Step 2: Remove the Existing Doorbell
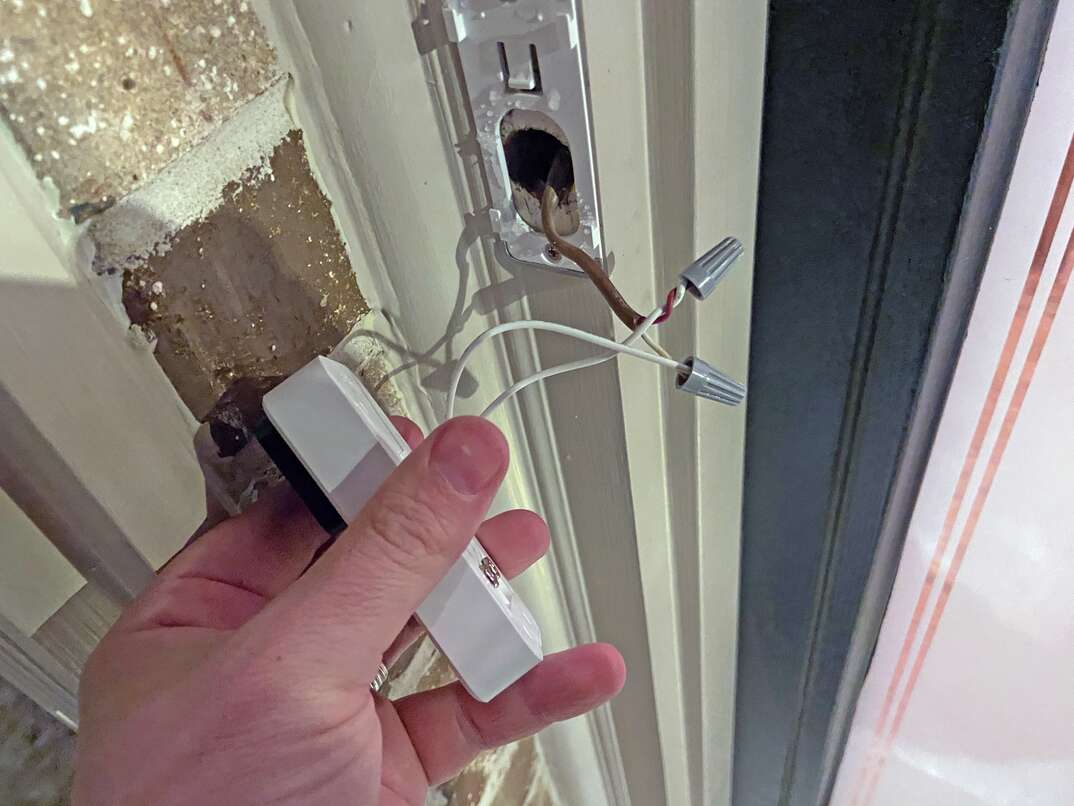
With a putty knife or a flathead screwdriver, remove the faceplate on your existing doorbell to expose the old mounting screws. Then, use a screwdriver to unscrew the doorbell from the wall and pull away from the siding, exposing the doorbell wiring. It’s important here to be extra careful not to pull the doorbell too hard when removing it from the siding. Because the wiring is wound around terminal screws inside the old doorbell, you could potentially damage the wiring by yanking too hard.
Once you’ve removed the mounting screws and have gently pulled the doorbell from the siding, use a screwdriver to loosen the terminal screws from the two terminals on the old doorbell. These wires are typically short, so be careful not to let them fall back inside the wall after you disconnect them from the terminal.
Step 3: Determine What Type of Doorbell Chime You Have
Before mounting and connecting your hardwired video doorbell, take a moment to determine what type of chime you have and decide if you’d like to keep or change it. Remove the cover of the chime box located inside the house. If you see a small speaker, chances are you have a digital chime. A mechanical chime comprises a small hammer that hits a physical chime. If you do have a digital chime, you’ll need to install the special diode adapter included with your new video doorbell. The installation instructions will vary depending on the brand you have, so make sure to consult those before you continue.
Step 4: Attach the Mounting Bracket
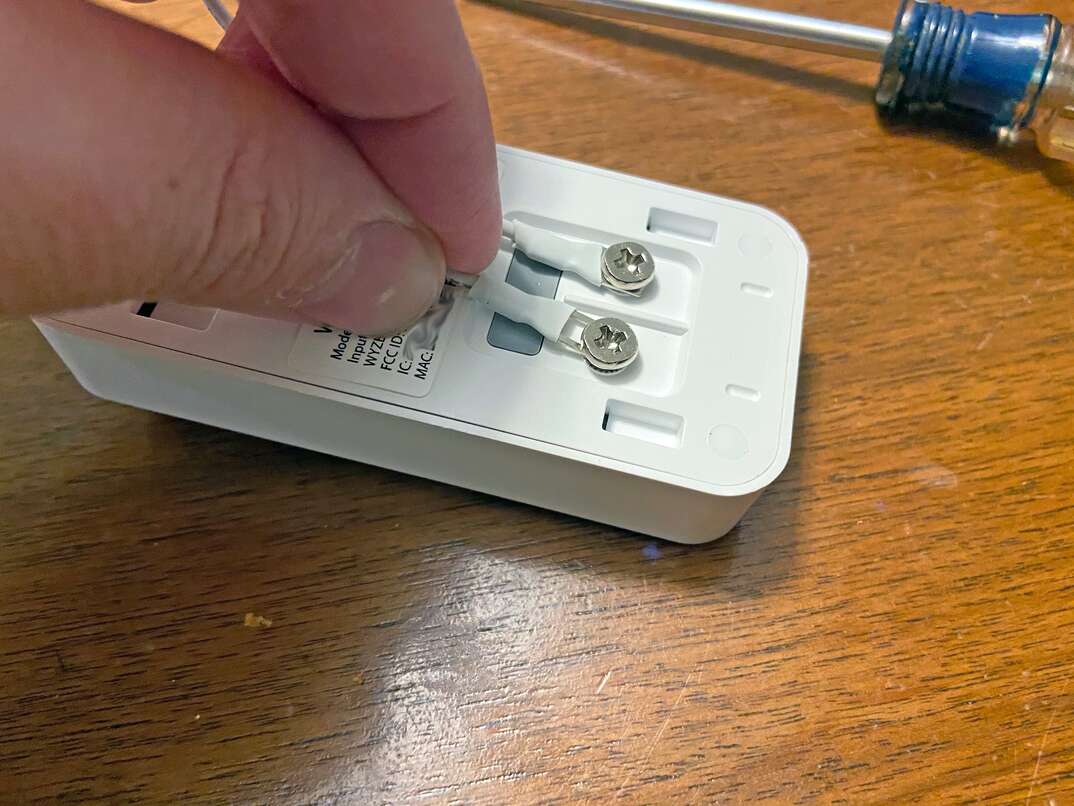
Once the existing doorbell has been removed, attach the included mounting bracket or backplate to the siding in front of the hole where the two doorbell wires are. Before attaching the bracket, pull the two wires through the center of the bracket so that you’ll be able to connect them to the new doorbell. It’s probable that the old mounting screw holes match the spot for the new holes. In that case, simply screw the mounting bracket to the wall using the old screw holes. If not, you’ll need to drill new ones.
Step 5: Attach the Doorbell and Turn on the Power
Once the bracket is attached and secure, connect the wires to the two terminals on the video doorbell. It doesn’t matter which wires connect to which terminal. Then place any excess wiring back into the wall and attach the doorbell to the bracket. Most models simply slide or click into place here. Many models come with an extra small security screw that will prevent anyone from running off with your doorbell. If yours has one, go ahead and screw it in. Once the doorbell has been attached, you are clear to turn the power back on.
Next Steps
Set up the Doorbell App
No matter if you are installing a battery-powered or hardwired video doorbell, you’ll still need to download the doorbell’s app before you can enjoy all of its features and functions. Once installed, you can connect the doorbell to your Wi-Fi network and customize your video doorbell based on the on-screen instructions. Refer to your specific model’s instruction manual for more details about how to set up the device.
Ring the Bell
A video doorbell is a relatively easy home upgrade that’ll help you feel more aware of the happenings at your home, even when you’re away. You’ll also have access to greater customizability through the doorbell apps — like the ability to adjust ringtones and raise or lower the volume of your doorbell.
