How to Insulate Your Attic in 7 Steps
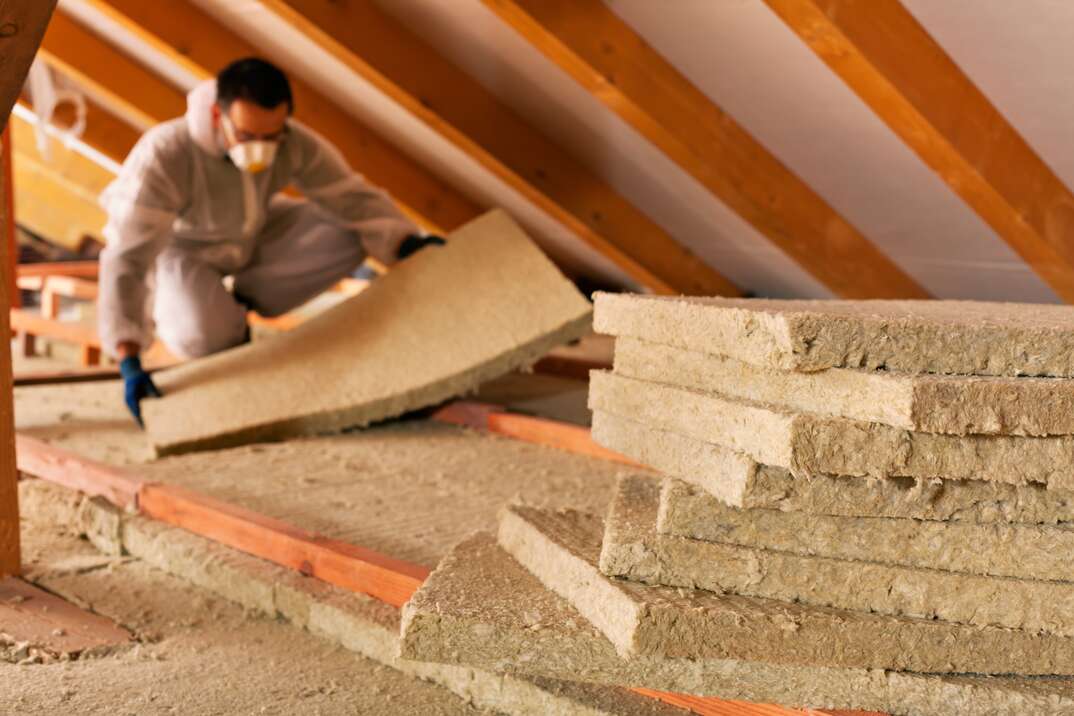
If you're bundling up to stay warm despite hefty heating bills, the trouble may be your attic. Poorly insulated attics can lead to high utility bills and difficulty regulating your home’s temperature. By properly insulating your attic, you can save money by reducing your heating and cooling bills while keeping your house more comfortable all year round.
This May Also Interest You: How Much Does Attic Insulation Cost?
Follow these seven steps to learn how to insulate an attic and create a more energy-efficient home:
1. Assess Your Current Insulation
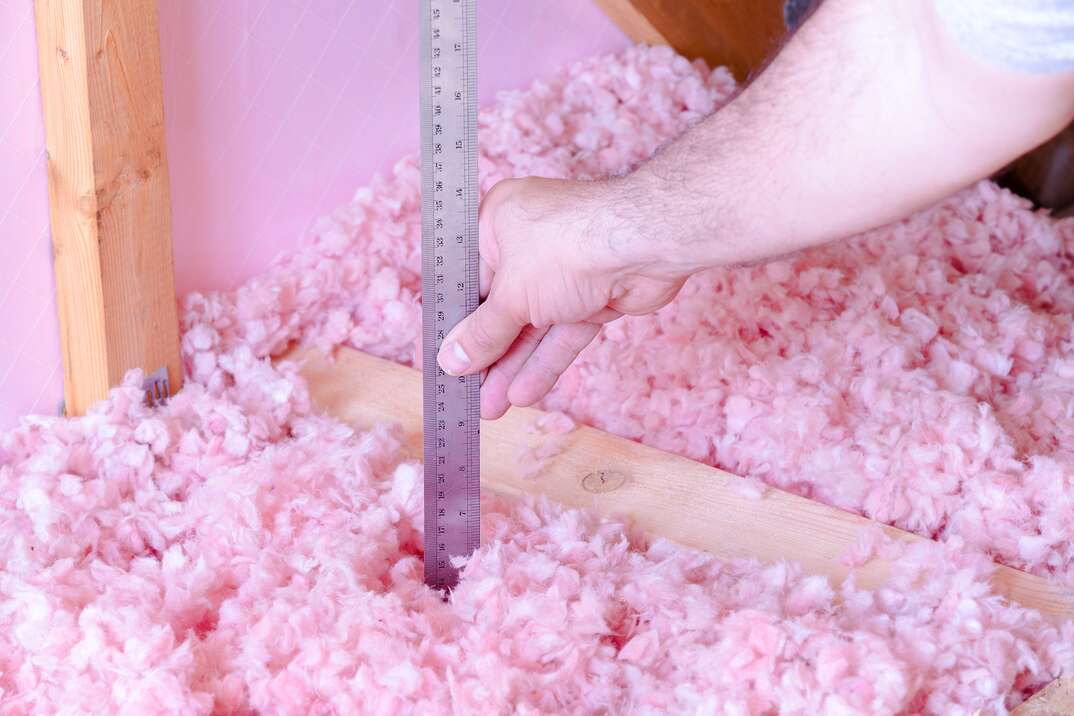
Before you spend money insulating your attic, take a look at what’s already there. By determining the type and thickness of your current insulation, you can calculate its R-value, which measures the thermal resistance of the insulating material. Once you know this value, you can compare it to the target value set by the Department of Energy to determine if it’s effective for the climate you live in or if new insulation is in order.
The condition of your current insulation is also crucial. Material that's moldy, water-stained or compressed is no longer effective and should be replaced. If your home was constructed prior to 1990, you'll also want to watch out for asbestos. Insulation that's loose, lightweight and grainy, and contains shiny flecks can be a sign of vermiculate mined from an area with asbestos deposits. If you suspect asbestos, call in a pro to test it and safely remove the material, if necessary.
2. Choose a Type of Insulation
Your choice of insulation material form and composition should be based on your household's needs and situational considerations, such as:
- Soundproofing
- Fire resistance
- Insect control
- Susceptibility to moisture
- Budgetary requirements
Types of Insulation
Several types of insulation are available for attics. They include:
Loose Fill Insulation
Loose fill comes in bags, and can be blown into place quickly and efficiently using equipment rented from home improvement centers. It may be composed of fiberglass, cellulose or mineral wool, and it's a good choice for:
- Topping existing insulation
- Attics with obstructions, limited headroom or poor maneuverability
- Attics that have nonstandard or irregular spacing between joists
Batt Insulation
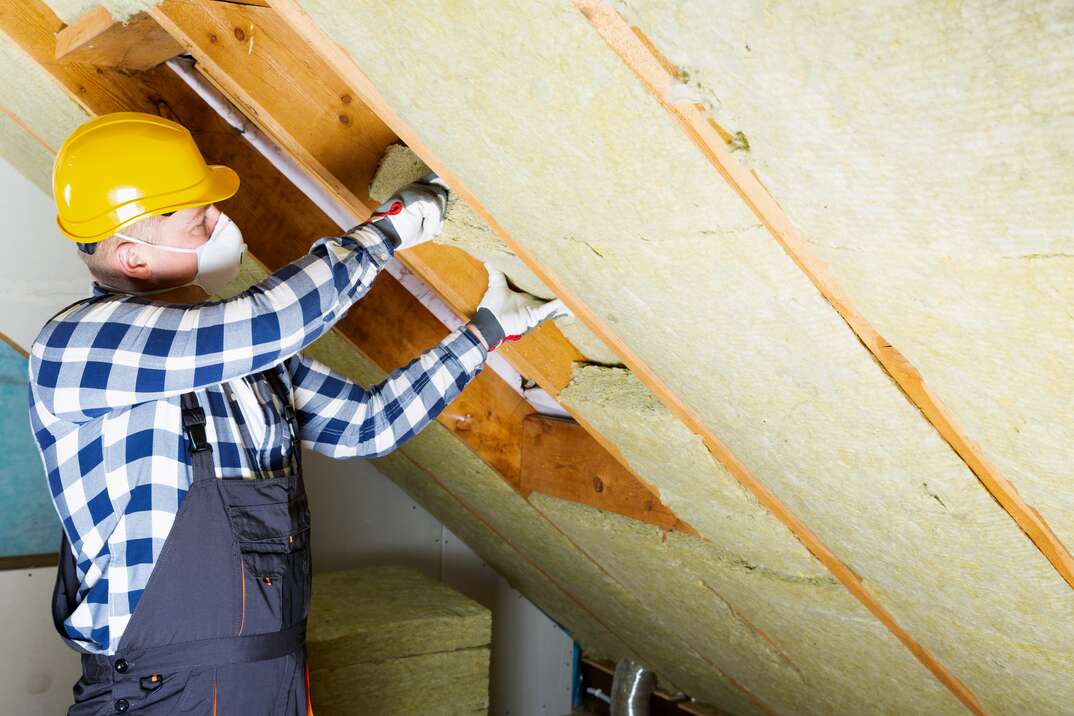
Batts come in rolls, and may include a facing that serves as a vapor barrier. This material must be cut to fit around obstructions and can be layered to achieve the desired thickness. Batts may be composed of cotton, fiberglass, cellulose or mineral wool, and are typically a good choice for:
- Attics with no existing insulation
- Attics with standard spaces between joists
- Attics with good maneuverability and few obstructions
- Do-it-yourselfers looking for an easy product to install
Spray Foam Insulation
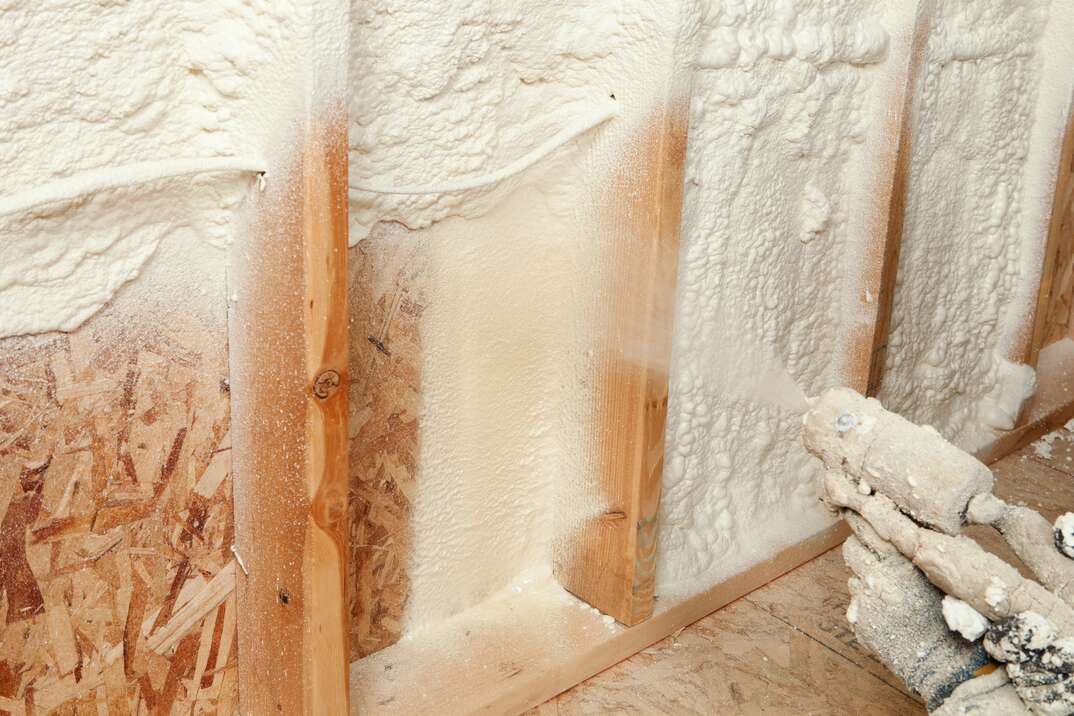
Closed-cell polyurethane spray foam expands to fit almost any space. Although spray foam insulation is typically more expensive than other materials, it also outperforms them, serving as both an air and vapor barrier. It's also resistant to mold, water, insects and other pests. Spray foam insulation is a great choice for:
- Attics with hard-to-reach spaces that require customized insulation
- Attics that could benefit from additional structural support
- Homes experiencing rodent problems
Rigid Foam Insulation
These panels, which are also known as foam boards, are sold as sheets. They have strong heat resistance, making them great insulators, but their rigid construction often requires them to be used in combination with other types of insulation. Foam boards are great for:
- DIYers who want lightweight, cost-effective insulation that's simple to install
3. Check for Rebates
Some state-specific energy departments offer incentives for creating a more energy-efficient home. Check the Database of State Incentives for Renewables & Efficiency to find deals in your state, or contact your utility provider to see what incentives they offer.
4. Prepare for Installation
Regardless of material choice, take the following steps when preparing to install insulation.
- Measure: You’ll need to know your attic’s square footage before purchasing materials.
- Repair roof leaks: Moisture can ruin insulation, so repair any roof leaks prior to installing new materials.
- Seal air leaks: Air leaks can occur in gaps between the attic and the outside or between the attic and your living space, reducing your insulation's effectiveness. Leaks typically occur around windows, pipes, chimneys, ducts and plumbing vents, and can be easily sealed using caulk, cement, weather-stripping or spray foam.
- Cover lighting fixtures: When insulation touches a light fixture, it creates a fire hazard, so cover lighting fixtures with metal flashing, hardware cloth or plywood, building in a 3-inch safety gap.
- Don protective gear: Insulation fibers can irritate your skin, lungs and eyes, so always wear a long-sleeved shirt, long pants, work gloves, goggles and a dust mask or respirator.
- Put safety first: During attic insulation installation, safety should always come first. Lay down temporary plywood flooring rather than standing on exposed joists, and make sure there’s plenty of illumination.
5. Install a Vapor Barrier
Unless the insulation you've chosen includes a built-in vapor barrier, you'll need to install one separately. Place the barrier closest to the warm side of the insulation, which can vary depending on your climate. Fit the sheeting neatly between the joists and seal the seams with foil tape to keep out moisture.
6. Start With the Attic Floor
Adding insulation to the attic floor is probably the easiest and least-expensive way to weatherize your attic. To do so, you’ll need to pull up plywood flooring, leaving just the exposed floor joists. Then add in a new layer of insulation atop any existing material. The one downside is that removal of the floor eliminates attic storage space for seasonal decorations and other less-frequently used items.
7. Install Insulation
You should always follow the instructions specific to the materials you've chosen, and heed these simple tips for successful attic insulation installation:
- Start at the outer walls and work inward toward the access point to minimize damage to the new materials being installed.
- Use enough material to reach your target R-value, and make sure to install insulation at a uniform depth throughout the space.
- If you're blowing in loose fill, block off the area you're working in so the material doesn't escape into your home, and always hold the blower parallel to the attic floor.
- When installing batts, make sure to lay heavier materials so as not to compress the lower layers.
- Always cut batts to fit neatly around obstructions to avoid compression.
- Insulate entry points by affixing rigid foam insulation to the attic side of the access door, and add weather-stripping as needed.
- If you find yourself stuck, or if installation requires work with electrical equipment such as outlets or breaker boxes, be safe and hire a pro.
- Always adhere to local building-code requirements.
From your attic to your basement, home maintenance emergencies can happen at any time. Having a home repair plan from HomeServe can help you prepare for unexpected household maintenance costs. Just call the 24/7 hotline to be connected with a licensed local contractor who can get your household back on track.
