How to Move Your Washing Machine
Moving a Clothes Washer at a Glance
- Tools and materials: Pliers, appliance dolly, moving straps or ropes
- Step 1: Run washer
- Step 2: Turn off water and power
- Step 3: Disconnect water supply hoses
- Step 4: Remove and empty drain hose
- Step 5: Install shipping bolts
- Step 6: Secure power cord
- Step 7: Move onto appliance dolly
Whether it’s because you’re remodeling, shifting things around or moving house, you’ll eventually need to move your clothes washer. While it might seem like a simple activity, there are certain things you should know before you begin the process.
This May Also Interest You: We Gotta Move These Refrigerators: A Step-by-Step Guide to Moving Your Fridge
When you’re dealing with heavy appliances, you always need to be careful and take precautions. Taking a few additional steps can also keep your machine safe and prevent a mess. It’s also in your best interest to enlist a buddy to help you. Having an extra hand certainly makes moving a heavy machine more manageable, and it’s always good to have someone else around in case of an emergency.
Tools for the Job
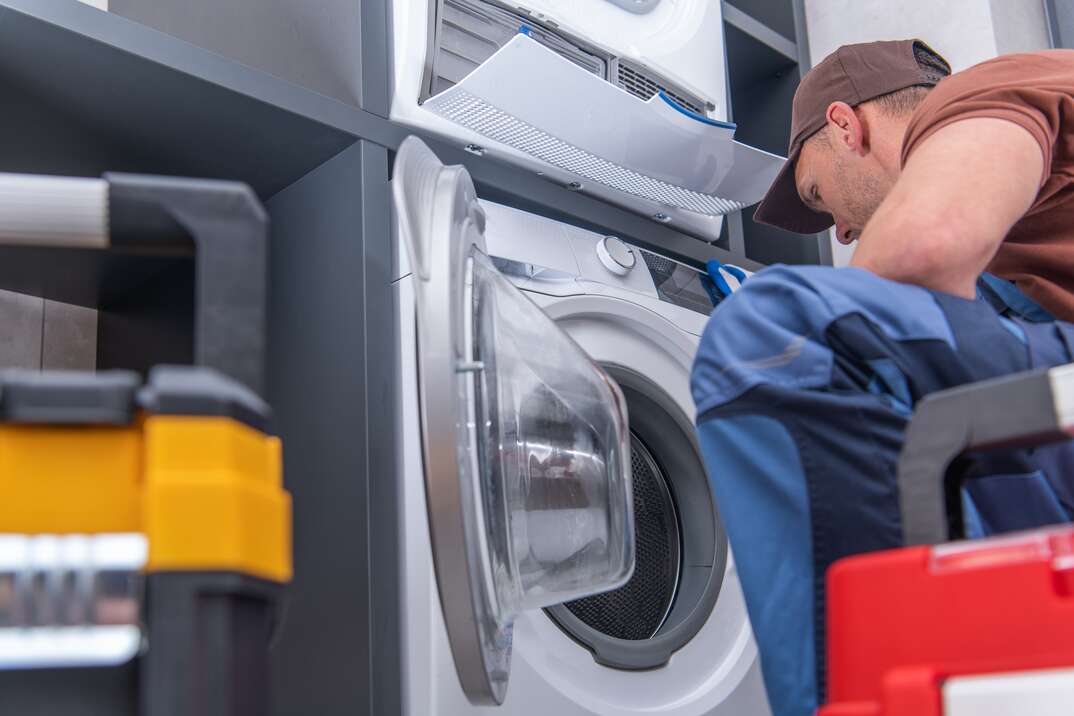
You don’t need an extensive array of tools for this job, but some of them aren’t too common, so you might need to take a trip to the hardware store. All that’s required are a set of pliers to remove any connections, an appliance dolly and moving straps or ropes.
Steps to Move a Washing Machine
Step 1: Run a Cycle
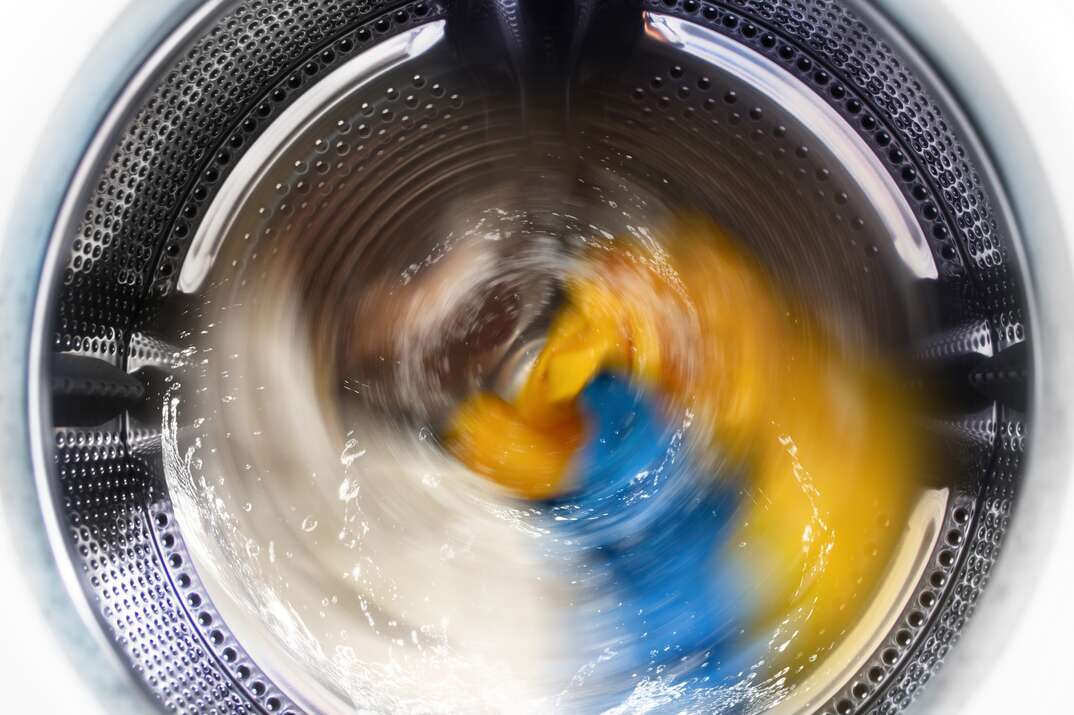
First, you’ll want to be sure the machine is completely empty. This means removing any clothes still inside of it. Also, there might be some leftover detergent. You should run a quick wash cycle to remove it. If there’s a machine-cleaning option, use that instead. Apart from cleaning your washer drum, this will also clean the drain lines. If you have time, open the washer’s door and leave it like that for at least a day so it can dry out.
Step 2: Turn Off the Water and Power
Before doing anything else, don’t forget to turn off the water. Whenever you do anything that involves touching plumbing fixtures, you should always turn off the water to prevent a mess. Also, turn off the power to the washer by removing the cord from the outlet.
Step 3: Disconnect the Water Supply Hoses
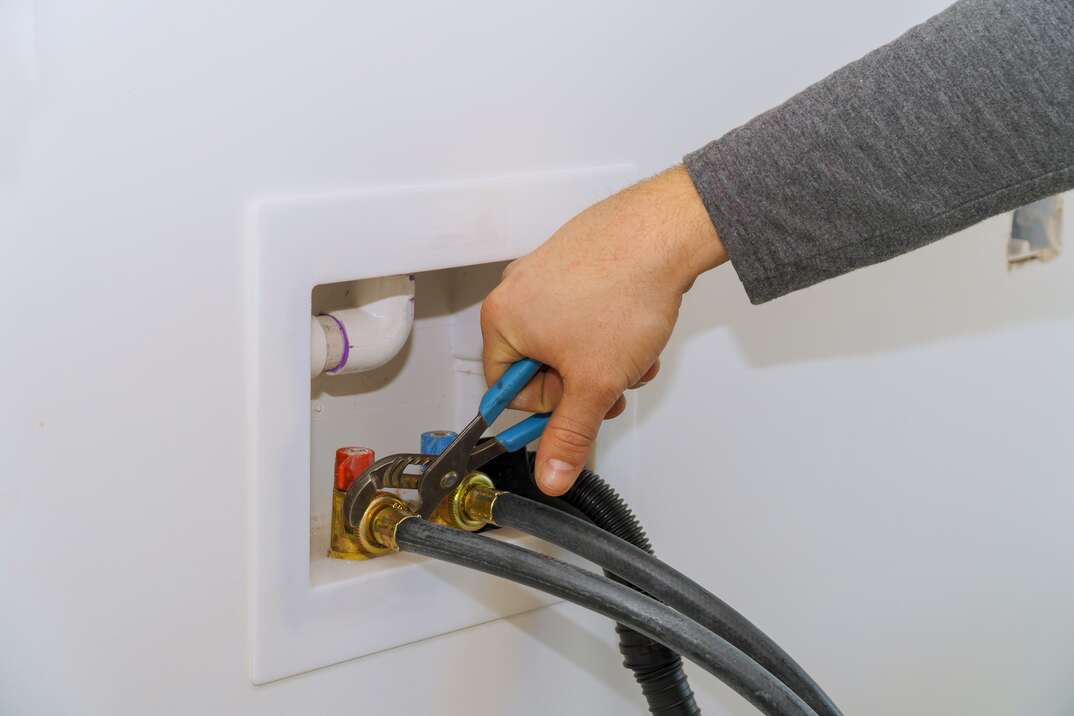
With the water fully turned off, you can now remove the water supply hoses connected to your machine. You might need to move the washing machine a bit to better access them. They’re attached tightly to prevent any water leaks, so they aren’t too easy to take off.
Once the washing machine is repositioned and you have better access to the connections, use a set of pliers to loosen up the hoses before removing them one at a time with your hand.
More Related Articles:
- Should You Repair or Replace Your Washing Machine?
- 5 Easy Steps to Get Water Out of Your Washer
- Pros and Cons of Stackable Washer and Dryers
- Common Washer & Dryer Problems and How to Fix Them
- How to Choose the Best Washer and Dryer
Step 4: Remove and Empty the Drain Hose
The next step is to remove the drain hose from the washing machine. The drain hose is responsible for removing any dirty water from the tub while the cycle is running. It’s located near the bottom of the machine or close to where the water supply hoses were. Remove it and empty any leftover water into a bucket. Your washer will have a specific place where you can hang or store the drain hose.
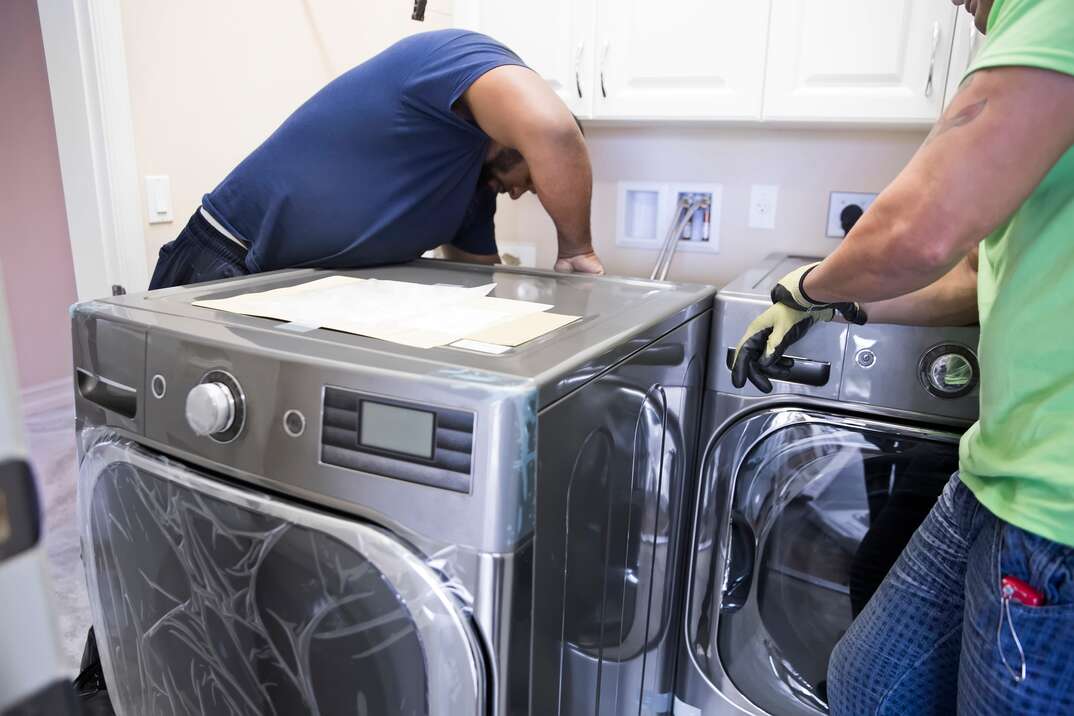
Step 5: Install Shipping Bolts
Shipping bolts are added to the back of the washing machine to protect it and keep things in place when it’s being transported. If you still have the washing machine’s user manual, it will have steps on how exactly to install the bolts since the process is a bit different per machine.
Once you move the washing machine to the desired destination, remove the shipping bolts. Using the washer with the bolts still attached can cause damage.
Step 6: Secure the Power Cord to the Back
To prepare the move, secure the power cord to the back of the washing machine and ensure it stays in place. This just helps things run more smoothly since the last thing you want when moving something as heavy as a washing machine is a cord swinging around everywhere.
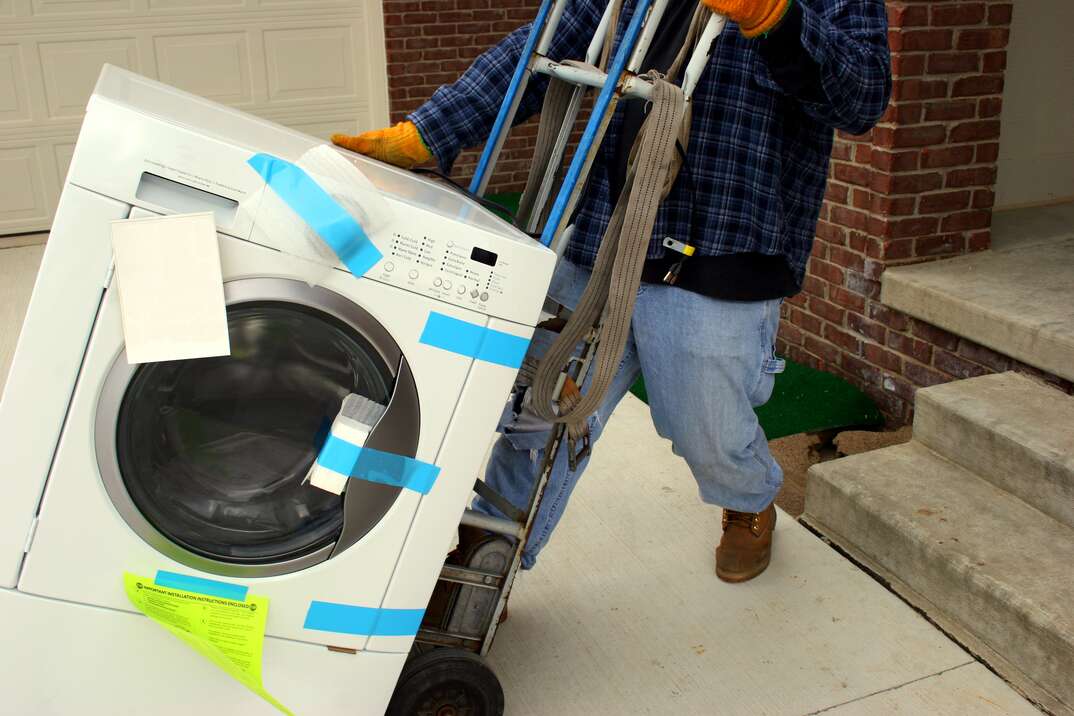
Step 7: Move the Machine Onto the Appliance Dolly
With one person holding the appliance dolly, the other person should slowly move the machine into the dolly. You should secure the appliance to the dolly using either moving straps or ropes. Carefully back out of the area and have one person hold the washing machine from the sides while the other person pushes the dolly around.
Since we’re all home now more than ever, being prepared for unexpected home repairs with a plan from HomeServe is important. Having a plan in place gives you peace of mind knowing that you can simply call our 24/7 repair hotline for covered breakdowns. See what plans are available in your neighborhood.
