How to Install a DIY Closet Organizer
Closet Organizer Installation at a Glance
- Step 1: Measure closet dimensions and draw up plan
- Step 2: Dismantle old closet
- Step 3: Mark height and hang track
- Step 4: Align, secure and secure uprights
- Step 5: Insert brackets and hang shelves
- Step 6: Place hanger rods and add accessories
Are you tired of rifling through your closet looking for something to wear? Do you just grab whatever is visible when you can’t find your desired outfit because your closet is too messy? If the answer is yes, or if the thought of opening your closet doors fills you with dread, then it might be time to get organized.
This May Also Interest You: Organize Your Closet and Make Your Life So Much Easier
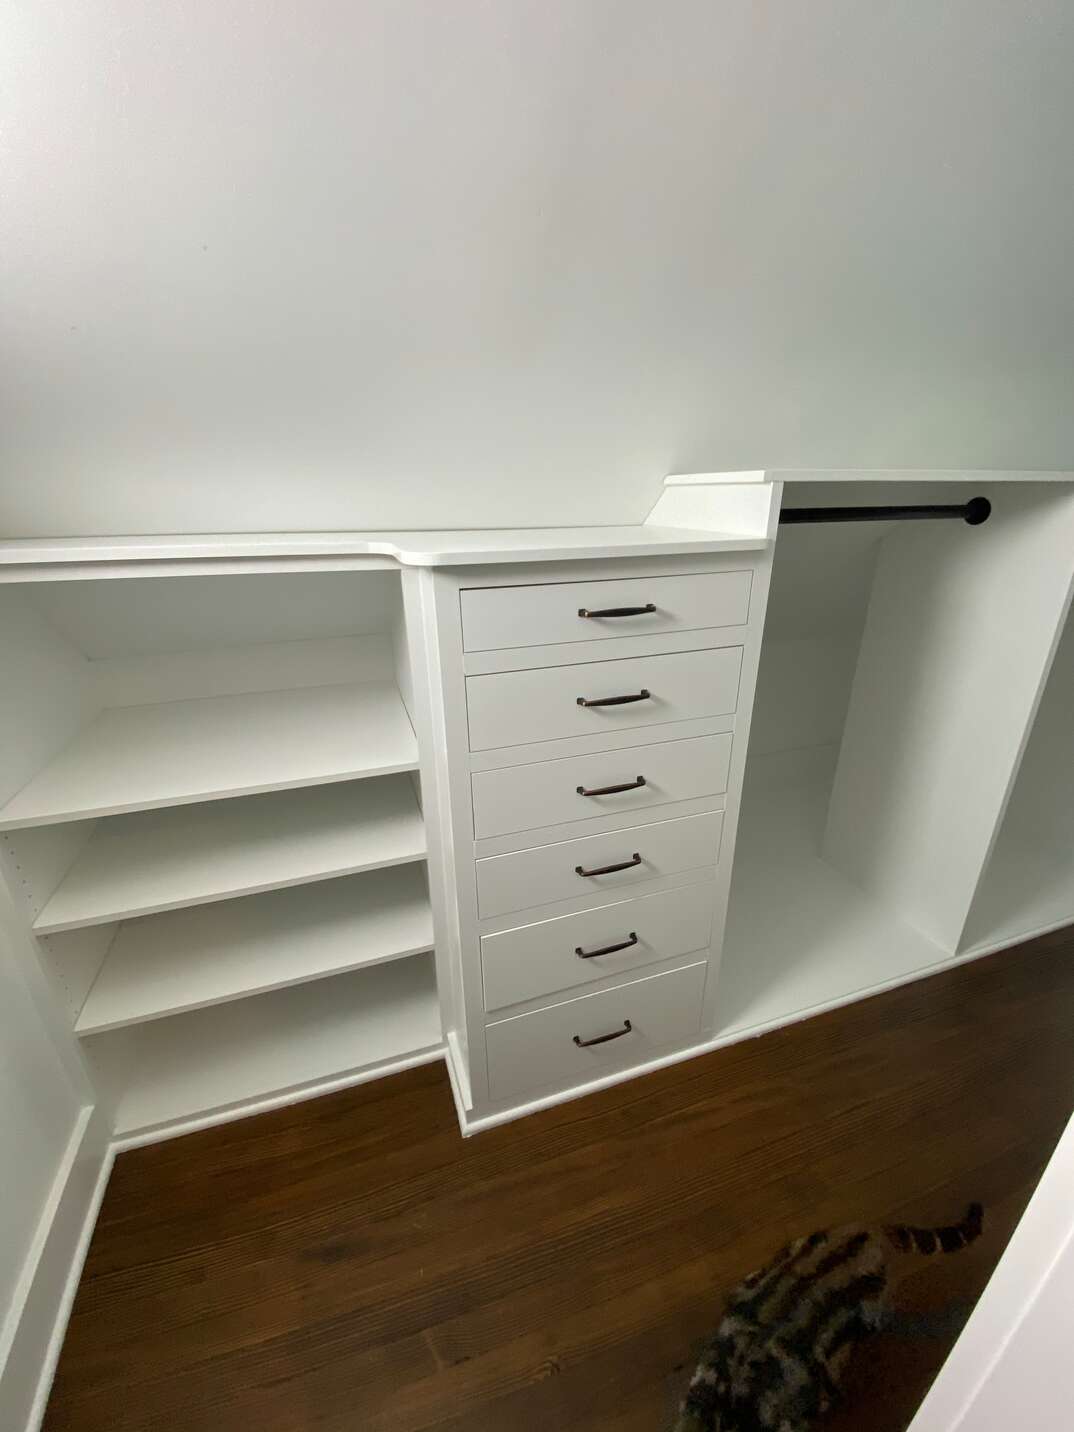
Installing a closet system to get rid of the clutter doesn't equate to spending big bucks on professional services. Read on for a step-by-step guide to help you install a closet organizer.
Do You Need a Closet Organizer?
The benefits of a well-organized closet cannot be stressed enough. For one, it means that when you purchase new clothes, your moment of joy won’t be followed by a moment of dread when you think about where you’re going to hang them. So, for power shoppers, a closet organizer isn’t just a convenience, it’s an investment strategy.
Eliminate the stress of risking running late to work, appointments or important errands because you’re unable to find a matching pair of socks. Having an organized closet can save you time, as you’ll be able to find what you need faster, get dressed and be out the door efficiently.
While closet organizers made from wood look good, from a DIY standpoint, a wire closet system is easier and cheaper to install. You can easily purchase a ready-to-assemble kit from The Home Depot, Lowe’s or Amazon that allows you to put together a track-mounted system in a single afternoon. Wire closet organizers are known for being extremely versatile and able to fit almost any space, allowing you to easily reconfigure them as your closet storage needs grow.
6-Step Installation Guide
Follow these steps for designing and installing your new closet organizer:
1. Measure and Imagine
Before you start installing your new closet organizer, you need to plan what sort of layout will best suit your needs. For that, you’ll need to start by measuring your closet space. For a reach-in closet, measure the height and width of the back wall. For a walk-in closet, the side walls need to be measured, as well. With those measurements in mind, visualize the closet and sketch it out (it doesn't have to be a Mies van der Rohe drawing or anything; you just need to get a picture in your head).
Let's briefly look at some rules of thumb in terms of the shelf height when designing your closet. If you want long hanging space, the recommended shelf height is 70 inches. For short, hanging space in double-shelved systems, the bottom shelf should be 42 inches high, with the top shelf being 42 inches high from the bottom shelf (84 inches high in total).
For shoes, you’ll want the height between shelves to be 5 inches to 7 inches. For folded clothes storage, 10 inches to 12 inches is good enough. If you plan on using wire bins to store some of your bulkier items, anything above 12 inches is fine.
Can’t think of a closet design that will be right for your needs? You can easily find tons of closet ideas on websites like Pinterest, Houzz and Dribbble. You can apply these designs exactly as they appear or use them as inspiration to create your own.
2. Dismantle the Old Closet
Now that you’re done with the design, you need to take care of the old closet system — as there can only be one. If you removed any nails and screws, there’ll be some small holes in the wall. These need to be filled in, which, don't fret, is an easy job. Fill the hole with spackling compound (a paste for filling in holes) using a putty knife, then leave it to dry. Once dry, sand the filled areas lightly and prime them. You can also use this opportunity to paint the closet any color you like.
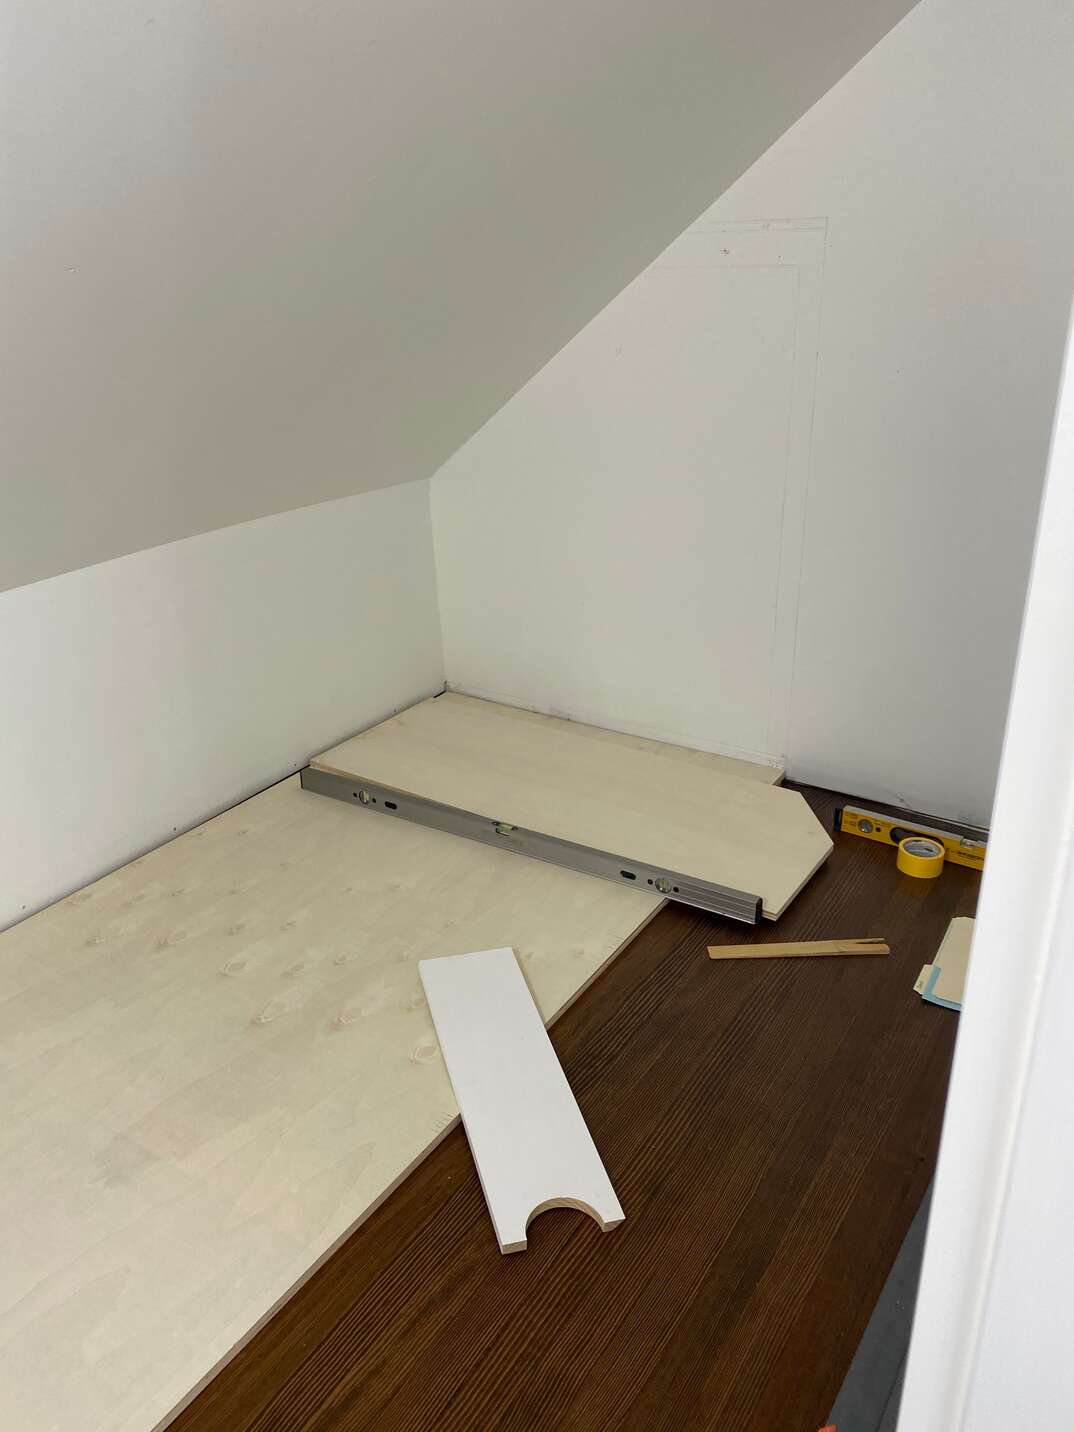
3. Mark Your Spot, Hang Your Track
Remember that drawing you did? Time to take if off the fridge and put it to use. That’ll be your guide moving forward. Using a level, mark a line where you want the unit to be hung on the back wall. Then, use a stud finder (if working with drywall) to locate all the studs and mark their positions. Studs provide structure and support to non-load-bearing walls. If you removed the wall, they would appear as vertical framing elements spaced 16 inches to 24 inches apart. Place the track above the line you drew and screw it into the studs to secure it to the wall.
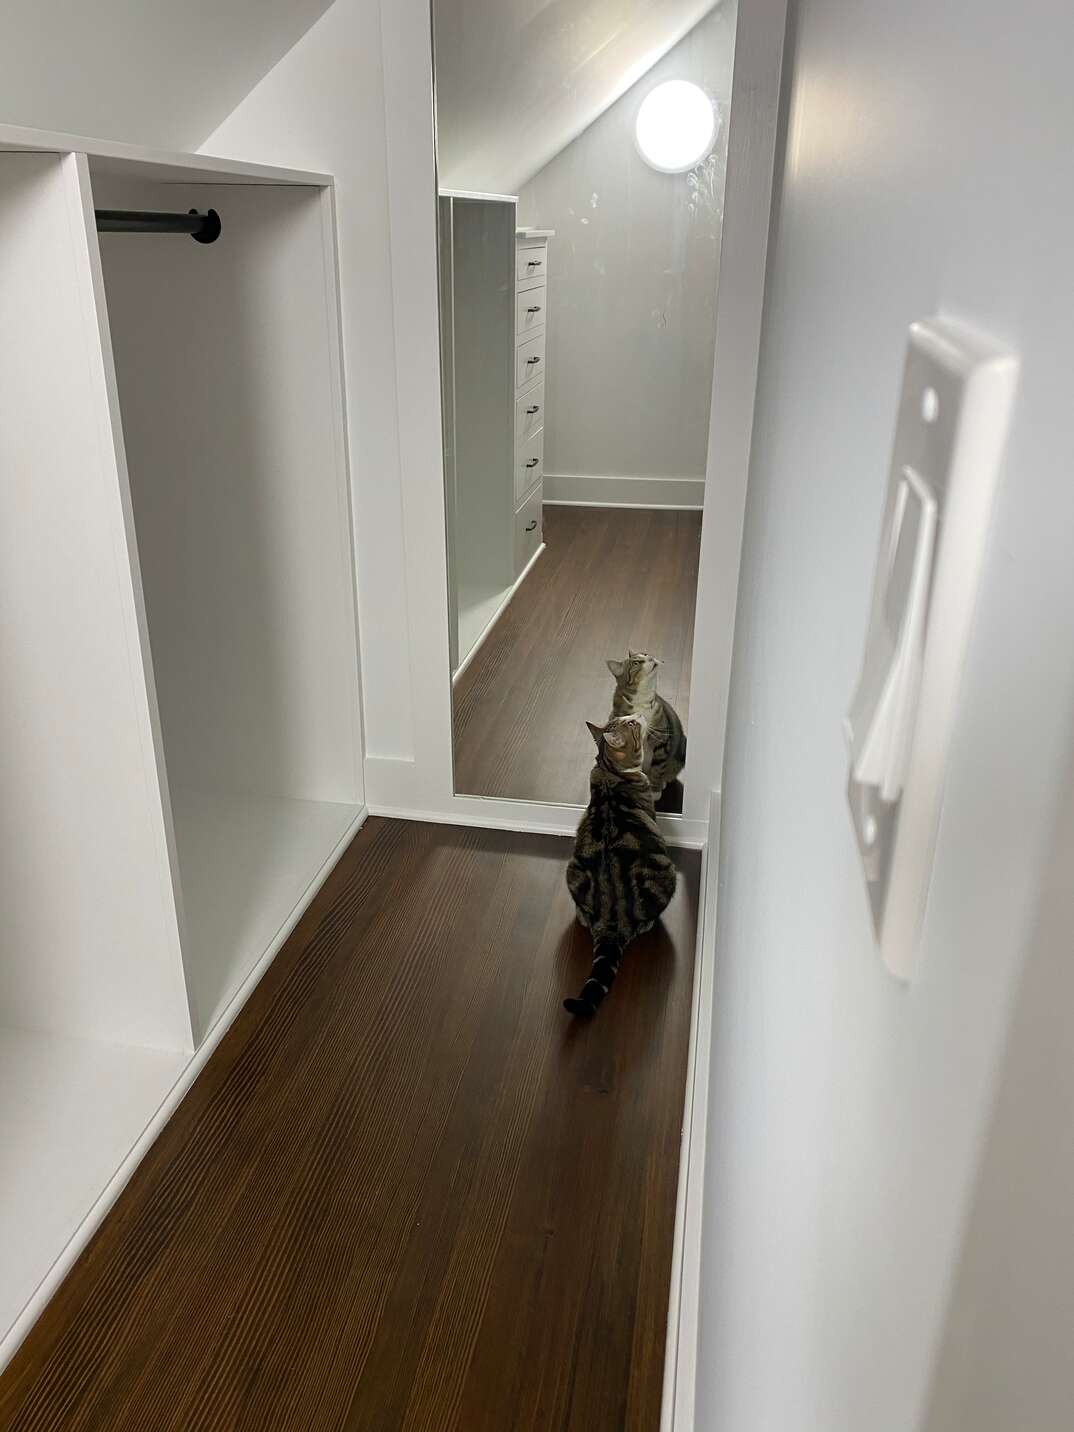
4. Align, Insert and Secure Uprights
Track-mounted systems come with uprights, which have multiple slots along their length on which to mount brackets. Insert the uprights into the lip of the track while ensuring they’re vertically flat (plump). Make sure each upright is aligned with a stud before screwing it in to secure it.
5. Insert Brackets and Hang Shelves
Next, insert the brackets into the slots of the uprights and lock them in. Brackets provide support for the shelves on both sides so they’re sturdily affixed to the uprights. Snap the shelves into the brackets to finish setting up the closet shelving (keep your plan in mind when placing shelves).
6. Place Hanger Rods and Add Accessories
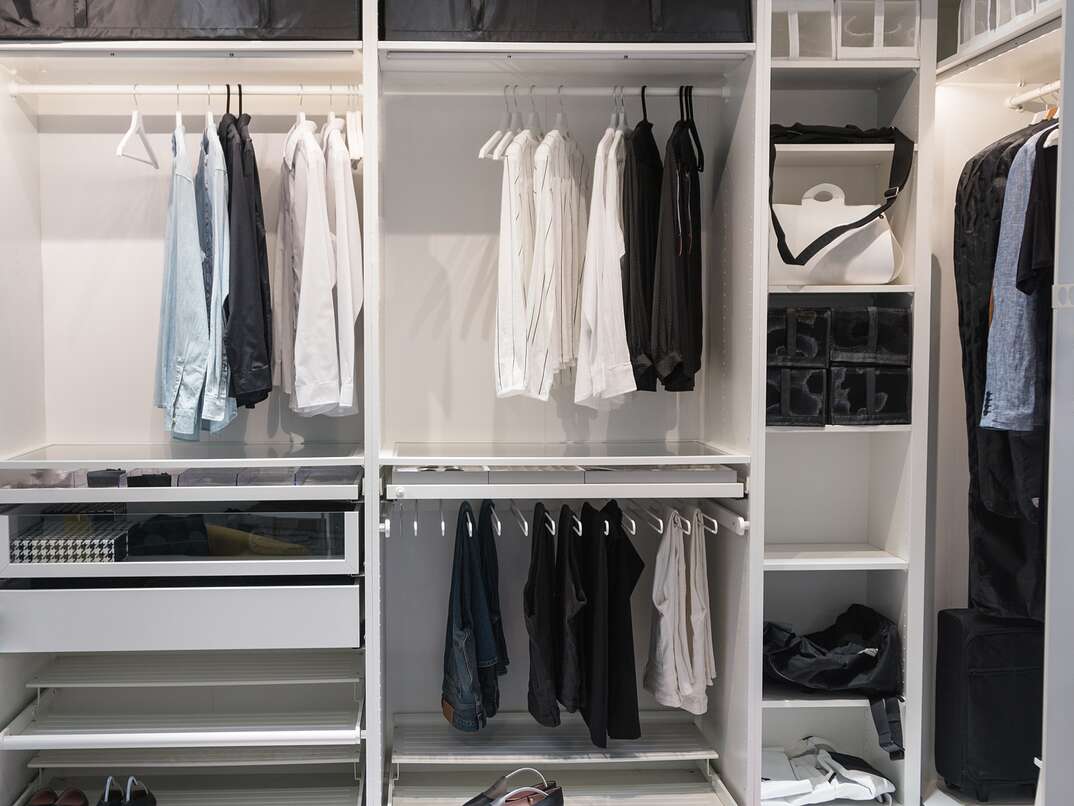
To complete the setup, place the closet hanger rods on the brackets for hanging your clothes. You can also add in any accessories you need, such as shoe racks and wire baskets.
More Related Articles:
- How to Install Floating Shelves (It’s Not as Hard as It Looks)
- DIY Tips for Organizing Your Garage
- 10 Awesome Home Improvements That Won't Break the Bank
- Stop Lying Down on the Job: Here’s How to Clean Your Mattress
- How to Clean an Oven: Wipe Away Your Kitchen’s Dirty Secret in 8 Steps
Disorganized No More
You don’t have to live with a messy closet as long as there are easy-to-install closet organizers in the world. Now, the next time you need to find your favorite jacket or lucky blanket, you won’t have to dig through a pile of clothes just to find it.
A closet organizer system saves you time and frustration by making your life a little easier and so can being prepared with a home-maintenance plan from HomeServe. Once you have a plan in place and a covered issue arises, you can simply call the 24/7 repair hotline. A local, licensed and highly trained contractor will be sent out to you to get the job done to your satisfaction.
