How to Refinish or Reglaze a Bathtub
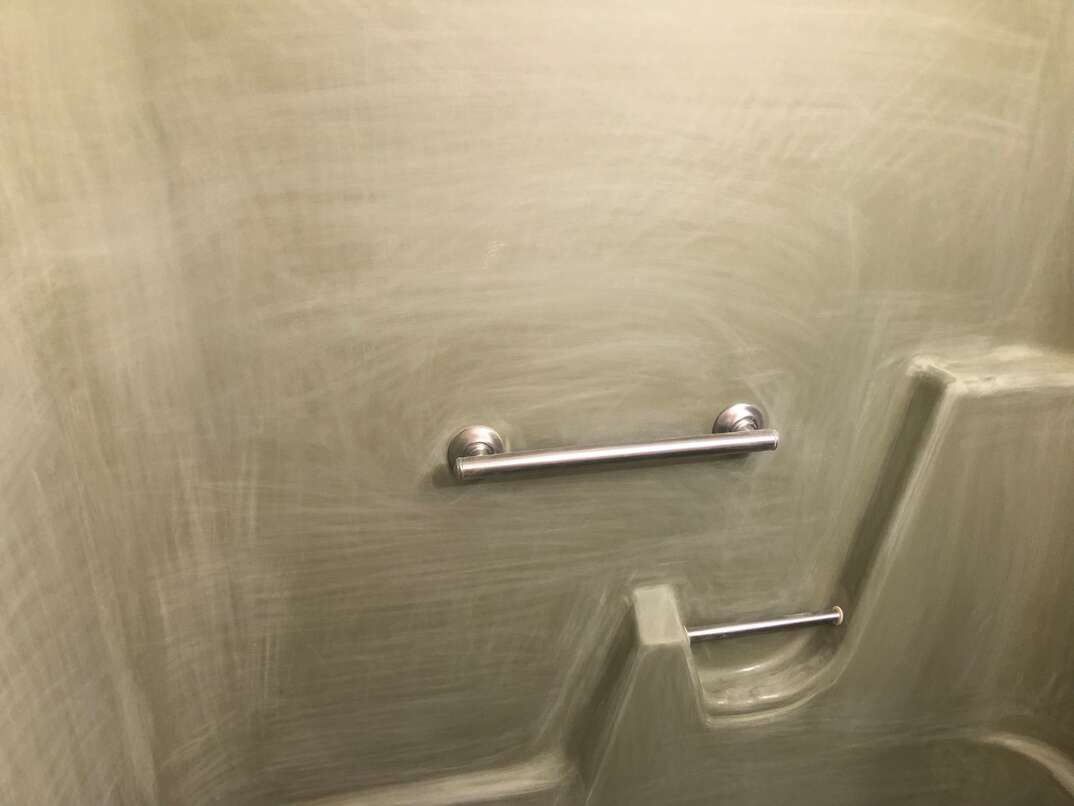
Refinishing a Bathtub at a Glance
- Tools & Materials: Putty knife, screwdriver, masking tape, scraping tool, Lysol cleaner, palm sander, refinishing kit
- Step 1: Remove caulk
- Step 2: Remove drain and overflow plate
- Step 3: Clean and prep area
- Step 4: Prep coating
- Step 5: Apply coating
- Step 6: Add caulk
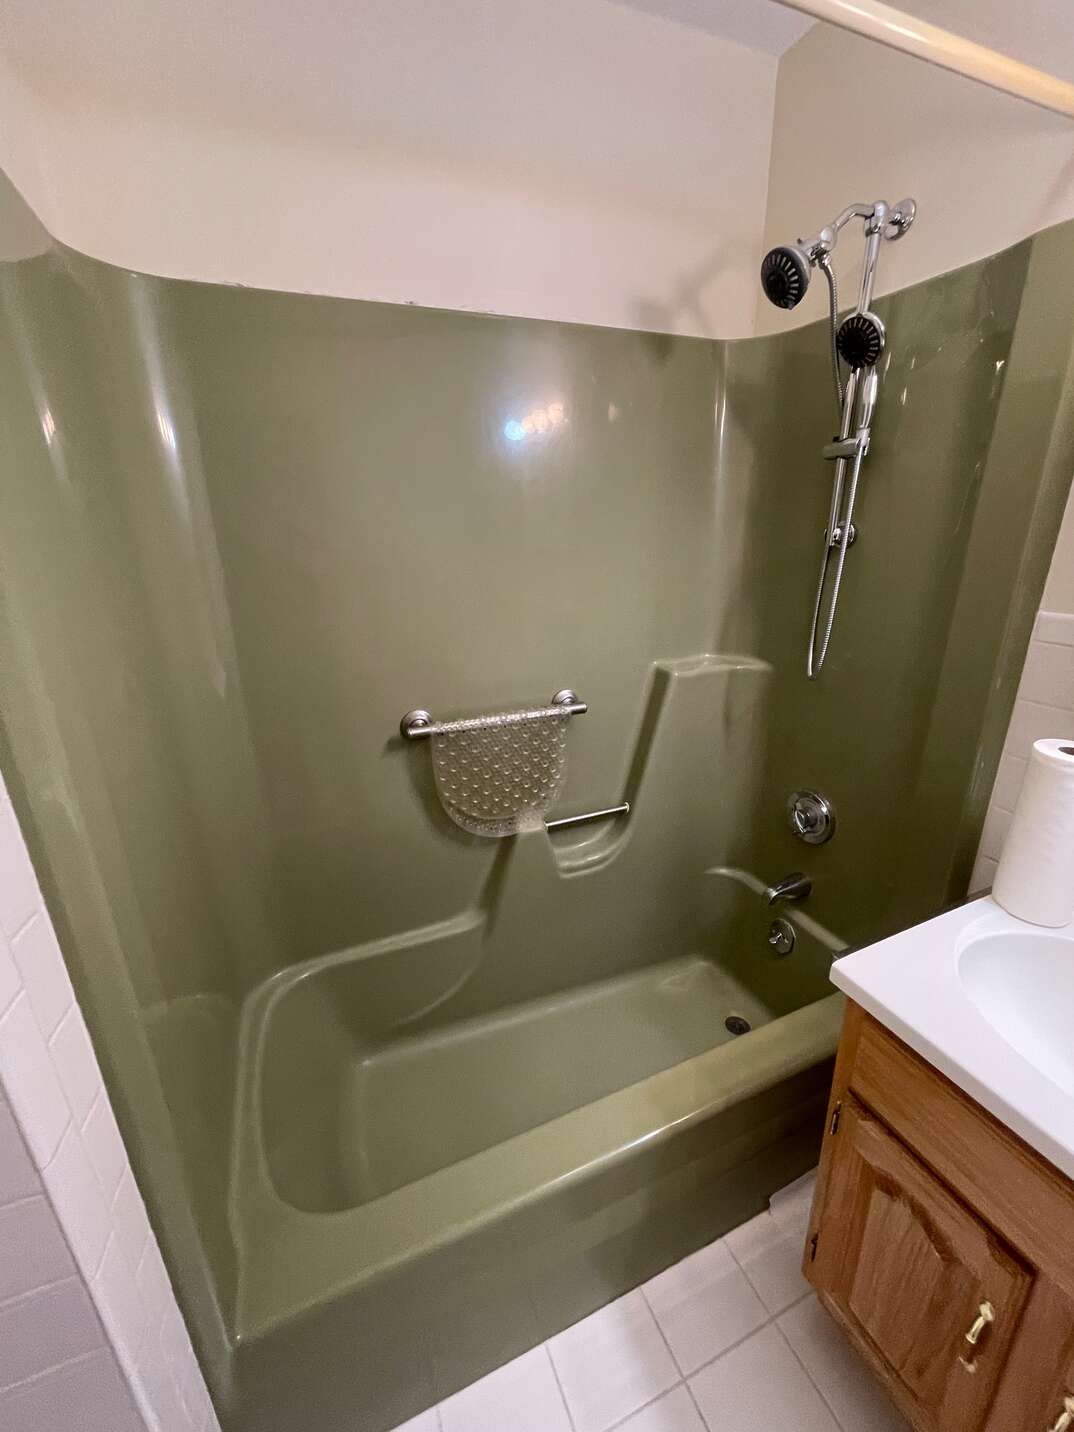
When your bathtub has grown old and becomes worn out, you might consider replacing it. Unfortunately, replacing a bathtub isn’t the easiest thing, and the costs can quickly add up. But getting rid of your old tub isn’t the only option if you want to make your bathroom look fresh. You can always refinish or reglaze the bathtub instead.
This May Also Interest You: How to Remove a Bathtub in 4 Simple Steps
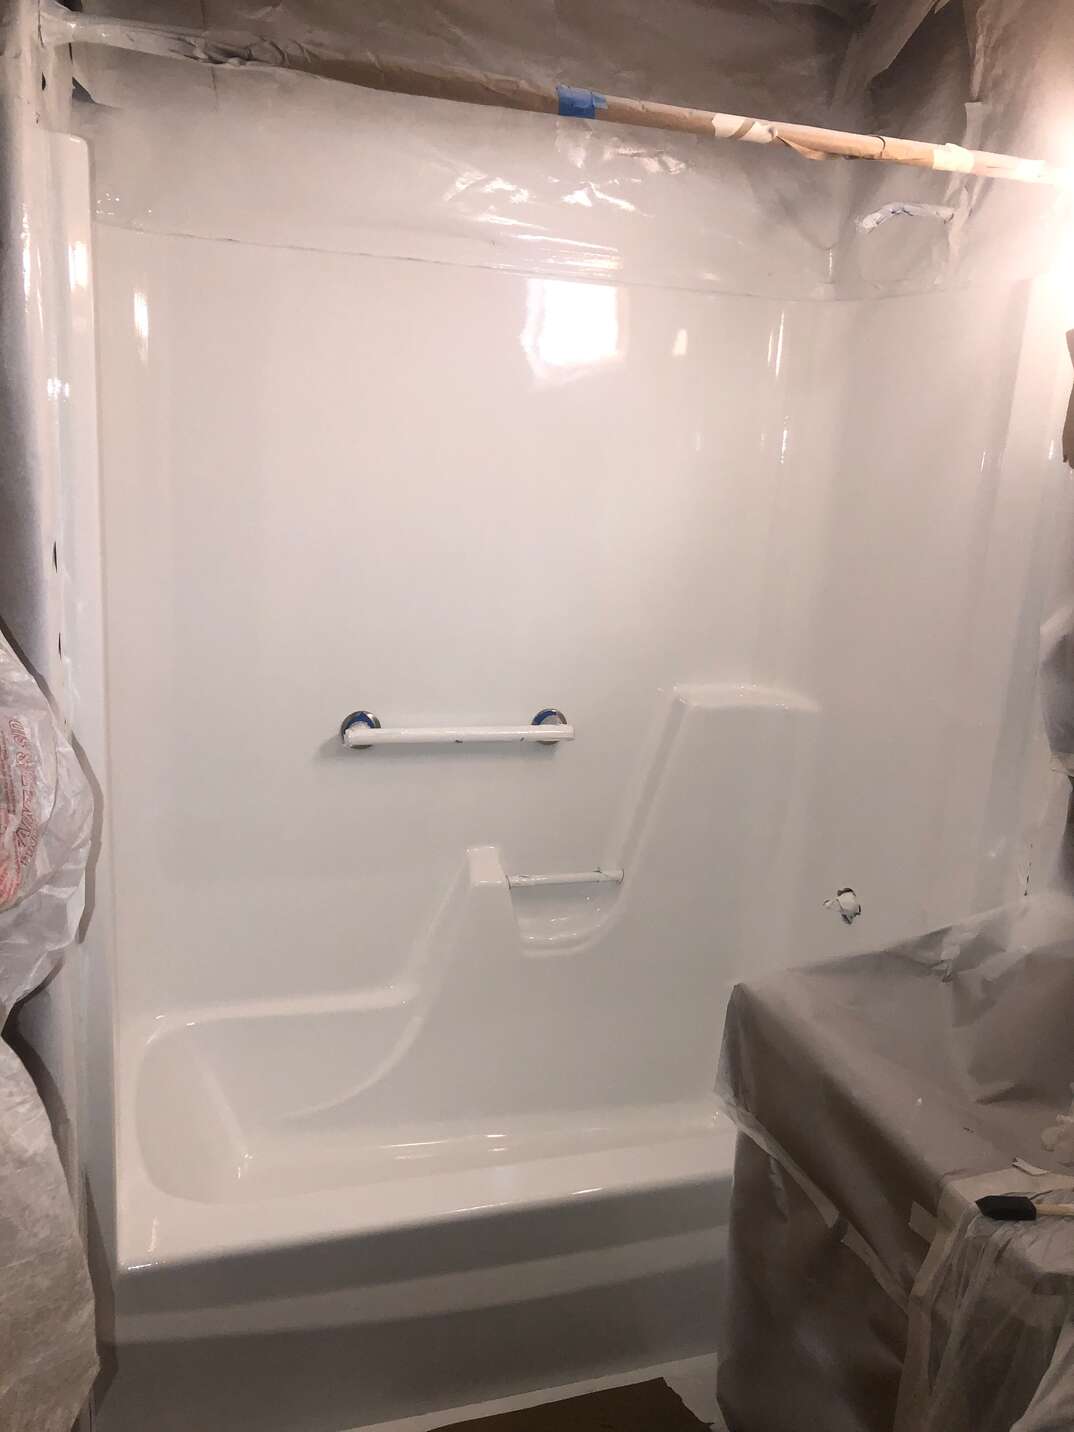
Tub reglazing or refinishing costs significantly less than a full tub replacement. By applying a new layer of epoxy paint to your bathtub, you can make it look brand new again. Here’s how to do it.
 ----------------------------------------
What’s the Difference Between Reglazing and Refinishing?
“Reglazing” and “refinishing” both refer to the same process of restoring an old bathtub and making it look new again. You might hear some professionals call the process “refinishing” and others call it “reglazing,” but at the end of the day, they’re the same thing.
Can You Reglaze a Tub with Rust Spots?
As the topcoat of the tub deteriorates and exposes the metal surface, it can lead to rust. The continuous mix of air and water helps speed up the rusting process. Luckily, it’s entirely possible to still reglaze a tub with rust spots. You just need to sand it adequately before you cover it up with the new coating.
Refinishing a Bathtub: 6 Steps
Bathtub refinishing fumes can be harmful to people, so make sure you wear safety equipment and send everyone else out of the house when doing this. If you don’t feel too comfortable or confident with this project, it’s better to hire a professional that knows exactly what they’re doing.
Tools and Materials
You will want to wear safety equipment like gloves and safety glasses. Tools required for the job include a putty knife, screwdriver, masking tape, scraping tool, Lysol cleaner and palm sander. You can buy a bathtub finishing kit that comes with epoxy paint and application tools to apply it.
Step 1: Remove the Existing Caulk
Part of the process for reglazing is adding new caulk. You will want to remove any existing caulking around the entire bathtub. Use a scraping tool to scrape all around the tub, including the open side bottom, and remove all the caulk.
Step 2: Remove the Drain and Overflow Plate
One of the most common mistakes inexperienced DIYers make is leaving in the tub drain and overflow plate. You will want to remove these to get the most out of your refinish and ensure it lasts for years. To remove the overflow plate, use a screwdriver.
Removing the drain is a very crucial step to ensure you get a smooth finish. When the drain is not taken out, the area around the drain will deteriorate since it wasn’t adequately refinished. In the worst-case scenario, some of the coating may go inside the drain and cause issues.
To remove the drain, you can use a drain tool. If it’s an older drain, you’ll need to use pliers and force it out of there. After that’s done, add a cup below the drain hole so that when you apply the material, it falls into the cup rather than your pipes.
Step 3: Clean the Tub and Prepare the Area
You should clean the tub at least one day before you plan to do the refinishing. Any water that remains will make the process more complicated. To clean the tub, use a Lysol cleaner and spray it across the entire area. Then, dip the scrub brush in water, scrub the tub gently and wash it down with more water. After washing it, wait a day before proceeding.
Add cardboards or newspaper to the floors to catch any accidental spills and prevent stains. Tape around the tub. When you’re taping the open side of it, ensure that the tape on the bottom is also slightly taped to the tub instead of just the floor. When you tape the enclosed sides of the tub, you can just tape the tile. The benefit of cleaning the tub the day before is that it will be easy to tape around the area without worrying about moisture.
More Related Articles:
- How to Install or Replace a Bathtub
- How Much Does It Cost to Install or Replace a Bathtub?
- Scrub-a-Dub-Dub: How to Clean Your Bathtub
- How to Remove a Bathtub Drain
- How to Install or Replace a Bathtub Drain
Step 4: Prepare the Coating
If you ordered a bathtub finishing kit, you’ll have two containers. Part B is the activator which you will want to pour into the main base container. Then, use the stirring stick that comes with the kit and make sure the epoxy paint is thoroughly mixed.
As a side note, you shouldn’t use any mixing tools for this since mixers will bring in air and often lead to bubbles in the material, which is not ideal. It can only be done by hand, so do it gently. According to Home Repair Tutor, the minimum amount of time you should spend stirring is 10 minutes. It’s an essential step to get a quality finish. After you finish mixing, let it sit for another 10 minutes.
Step 5: Apply the Coating
Pick up the can and pour it onto the edges of the tub, letting it slide down them. Then, use a roller to distribute the material all around the tub. Ensure you gently spread it along the edges and let the material roll down the sides. The key here is to use the roller gently and let it spread the epoxy all around.
A scooper will come along with the kit that you can use to scoop the epoxy and add it all around the tub. You can also use a putty knife to apply the paint to other places if that’s easier. Make sure all the areas are covered, especially around the overflow plate and drain hole. Another common mistake is not getting the material into the corners, so make sure those are covered.
Since the material falls down the sides on both ends, use a scooper or putty knife to pick up large quantities before they build up on the bathroom floor.
Step 6: Add Caulk
Let the material sit for the next 24 hours before you apply the caulk. When you come back, the material around the caulking areas will have hardened around the tub, so use a knife or glazing tool to cut through it. After that’s done, remove all the tape and caulk the edges.
How Many Times Can You Reglaze a Tub?
While you might have done a perfect job refinishing the first time, things always become worn out after years of use. It’s possible to reglaze or refinish a bathtub that has already been refinished once. However, the underlying layer will require more preparation in terms of cleaning and sanding, so it’s best to let a professional do it the second time around.
As an alternative, you can always install a tub liner instead. A tub liner is a PVC sheet or acrylic mold that is added over your existing bathtub. You will also want a professional to do this job since accurate measurements are crucial for manufacturing one that fits well with the tub.
How Long Does Reglazing Last?
A reglaze can last anywhere from 10 to 20 years, depending on the quality of the job. Performing routine maintenance, like cleaning the bathtub, can help extend its life. A professional reglaze will also last longer than a DIY project.
