How to Remove a Ceiling Fan

It’s no secret that ceiling fans are a welcome addition to any room. They keep you cool in the summer, help refresh stale air and can also tie the style of the room together like little else. That said, an old, outdated, nonfunctional fan can be a major eyesore. And while it may seem like a complicated process, removing a ceiling fan is a surprisingly simple home project that can be completed in just a short amount of time.
This May Also Interest You: Why Your Ceiling Fan Is Making Noise (And How to Make It Stop)
Interested in swapping out that old, dusty ceiling fan with a sleek new design? Look no further than this step-by-step ceiling fan-removal guide.
Before You Begin
As you would with any fixture that’s powered by electricity, make sure that you’ve shut off power at the circuit breaker before removing any parts of the fan. It can also be a good idea to use a voltage tester before you disconnect any wiring. When you’re dealing with electricity, it’s always better to err on the side of caution; one mistake can lead to serious injury and even death.
Ceiling Fan Removal: Step-by-Step
Step 1: Remove the Light Kit
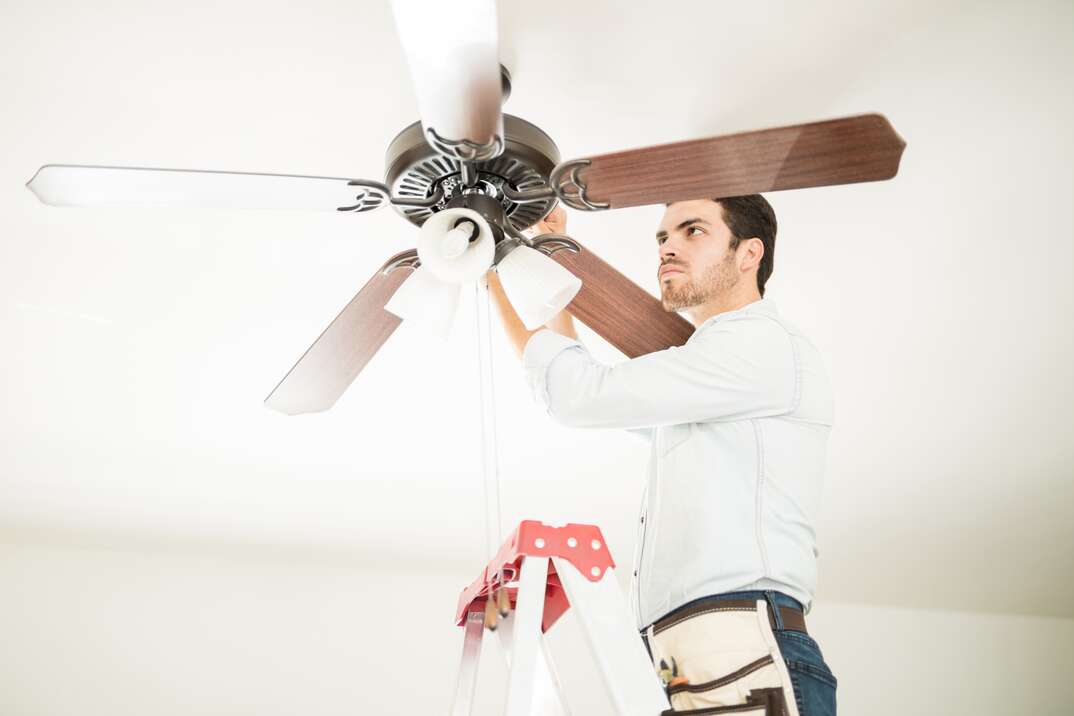
If your ceiling fan has a light kit, you’ll want to remove it first. Depending on the kit's style, you might be able to simply unscrew the light bulbs and their covered globes by hand. Some styles have a single bowl light kit with support screws holding them in place. Other styles might even require you to disconnect the wiring that connects the light kit to the fan. Start by examining the fan’s light kit to determine what tools you’ll need to get it removed.
Once the light kit has been disassembled, place the old light bulbs in a safe spot. You might be able to use them again in the replacement fan, or in another light fixture at a later date.
Step 2: Take Off the Fan Blades
In the majority of cases, the fan blades are screwed to the ceiling fan motor housing with metal brackets. Although the fan blades can technically be unscrewed from these brackets, it’s far easier to just unscrew the brackets from the fan body, keeping the brackets and the blades attached. Otherwise, you’ll be stuck with the tedious task of removing double the amount of screws. Once the blades have been removed, set them aside.
Step 3: Remove the Fan Body
Before you can access and disconnect the ceiling fan wiring from the house wiring, you’ll need to unscrew the fan body from the mounting bracket.
Downrod Fans
If your ceiling fan has a downrod, remove the canopy first. The canopy is the decorative cover at the top of the downrod that hides screws and wiring from the ceiling. Use a screwdriver to remove the canopy’s support screws. When the canopy is removed, you’ll have access to the connected wiring and mounting bracket. Downrod fans typically have a ball at the end of the downrod that can slide out of the mounting bracket and be removed from the wall. Be careful, though, because ceiling fans tend to be heavy. It may be helpful to have someone nearby to help you steady the fan while you work.
Flush-Mount Fans
If you’re dealing with a flush-mount fan, you can go ahead and remove the fan body directly from the mounting bracket. Typically, flush-mount fans are attached to the bracket by a screw on one side of the fan body and a hinge on the other. This allows you to disconnect the fan body and rest it on the hinge while you disconnect the wiring.
Step 4: Disconnect the Wiring
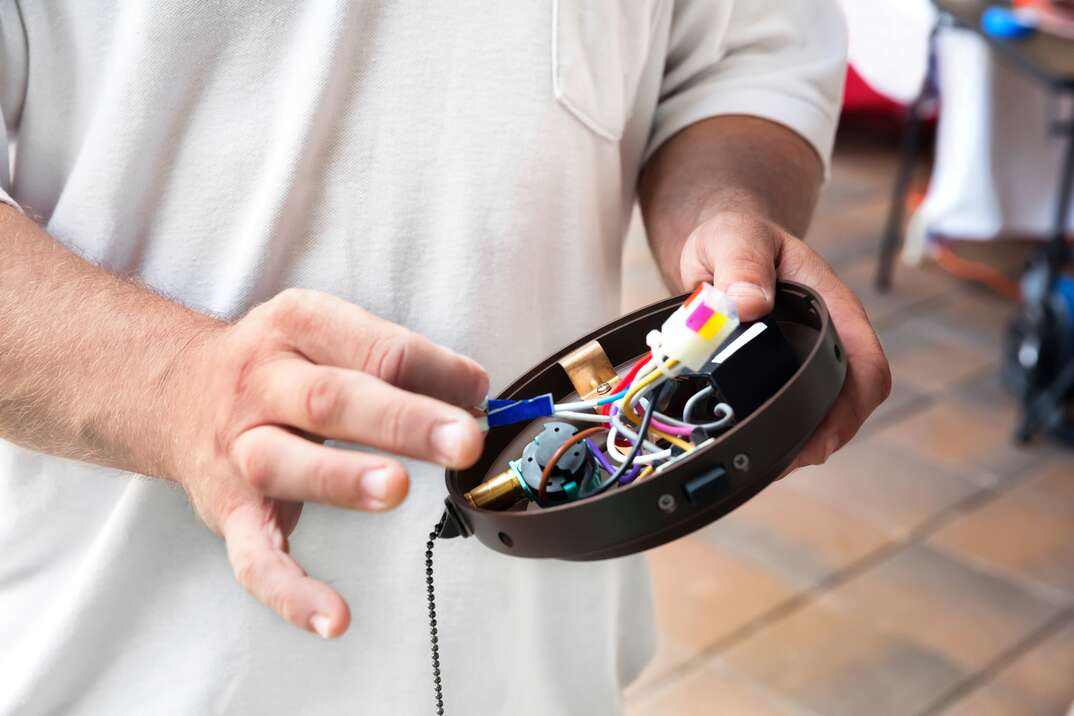
No matter what style of fan you have, disconnecting the wiring will look roughly the same: Twist to remove the wire nuts that connect the wires from the fan to the wires from the ceiling and then remove the fan body from the ceiling.
Step 5: Remove the Ceiling Fan Bracing
While it may seem like every ceiling fan bracket is the same, but don’t be fooled! It’s crucial that you always use the ceiling bracket included with your new fan. Brackets are designed to fit and support each individual fan; using an old bracket just isn’t a safe choice.
Ceiling mounting brackets are attached to the electrical box in the ceiling with at least two mounting screws. Use a screwdriver to remove the screws and remove the bracket. If you plan on reusing the old fan, make sure that you keep it with the rest of the old fan’s hardware.
However, if you’re not planning on using your old ceiling fan, consider donating it to your local Habitat for Humanity Restore or Salvation Army, provided it’s still in good, working condition. If not, you should check with your local recycling center to find out if they will accept your old fan before disposing of it in the garbage.


