Time to Swap Seats? Here's How to Install or Replace a Toilet Seat
Installing a Toilet Seat at a Glance
- Tools and materials: Replacement toilet seat, tape measure, combination/socket wrench, pliers, screwdriver, penetrating oil
- Step 1: Unscrew existing toilet seat
- Step 2: Clean toilet bowl
- Step 3: Position and install new seat
- Step 4: Replace caps
Your toilet seat may not seem like an integral element of your home. However, it’s something you use multiple times a day. You need to be able to count on it being in good condition so you can be comfortable. After years of use, some toilet seats can become loose, bend or crack. And at that point, it’s time to replace them.
This May Also Interest You: What’ll a New Toilet Do to Your Bottom Line? Here’s What It Costs
If your toilet seat is looking worse for the wear these days, it's time for an upgrade. Following a few simple steps, you can replace a toilet seat yourself.
Do All Toilet Seats Fit the Same?
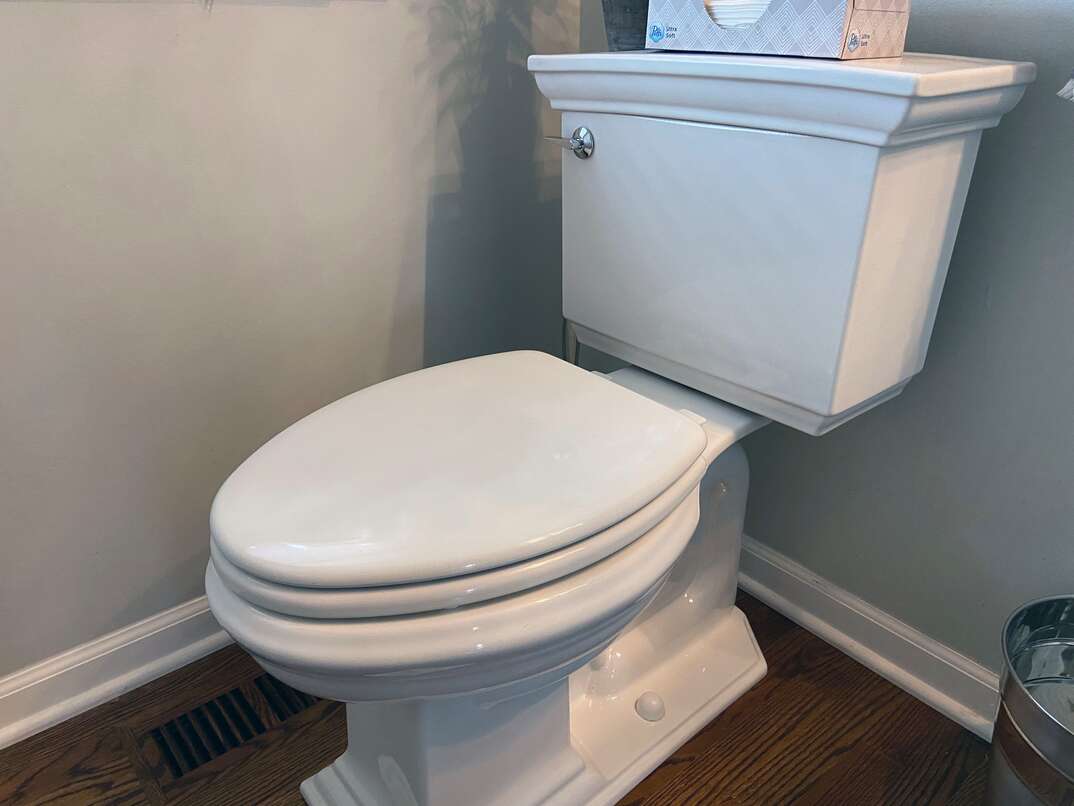
No. There is no one-size-fits-all solution for toilet seats. Because there are so many shapes and styles of toilets, there are a variety of toilet seats on the market to match. There are, however, two standard toilet seat shapes. While some older toilets have a round bowl shape, others have a more modern, elongated design that requires an oval toilet seat.
How to Measure for a New Toilet Seat
The best way to go about finding the right toilet seat for your toilet is to take accurate measurements of your toilet bowl before shopping. Measure the width of the bowl at the widest point. To measure length, place your tape measure exactly between the seat bolts at the back and across to the front edge of the bowl. On average, you'll find that elongated toilet bowls are roughly 18 inches long, while round ones are approximately 16.5 inches long.
Is It Easy to Replace a Toilet Seat?
The good news is that changing a toilet seat is an easy project that anyone with the correct tools can tackle. Once you assemble all the appropriate materials and tools, the actual toilet seat installation process takes just a few short minutes. That said, if you feel uncomfortable performing DIY repairs yourself, you can always contact a professional for help.
Things You’ll Need
You’ll need a small set of tools and materials on hand before beginning your toilet seat replacement:
- Replacement toilet seat
- Tape measure
- Combination wrench or socket wrench
- Screwdriver
- Pliers
- Penetrating oil
More Related Articles:
- DIY Plumbing: How to Install a Toilet
- Condensation on Your Toilet? Don’t Sweat It
- How to Properly Clean Your Toilet in 4 Steps … and Don’t Forget No. 2!
- Taking Out a Toilet? Be Sure to Drain It First
- Never Flush These 11 Things Down Your Toilet
How to Replace a Toilet Seat
Once you've gathered your tools and have measured for the correct toilet seat size, you're ready to begin the replacement process. Be cautious when using tools so that you don't chip the porcelain of your toilet bowl. Let's break the process down step by step:
Step 1: Remove the Old Toilet Seat
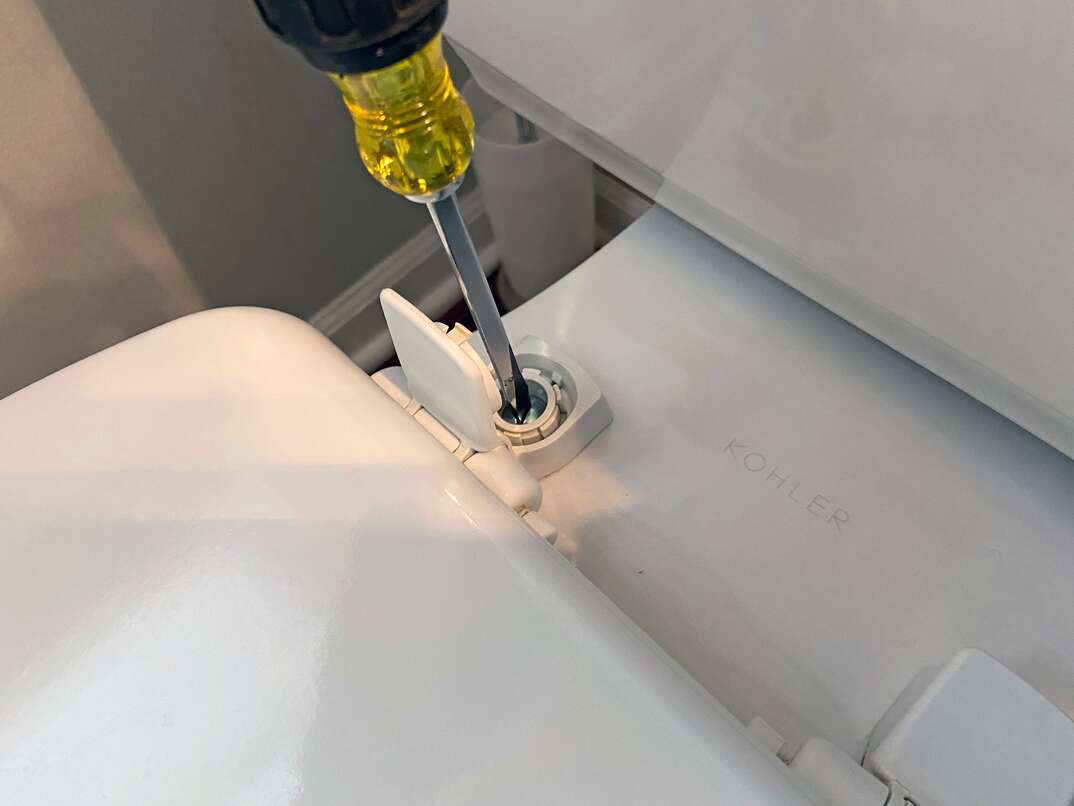
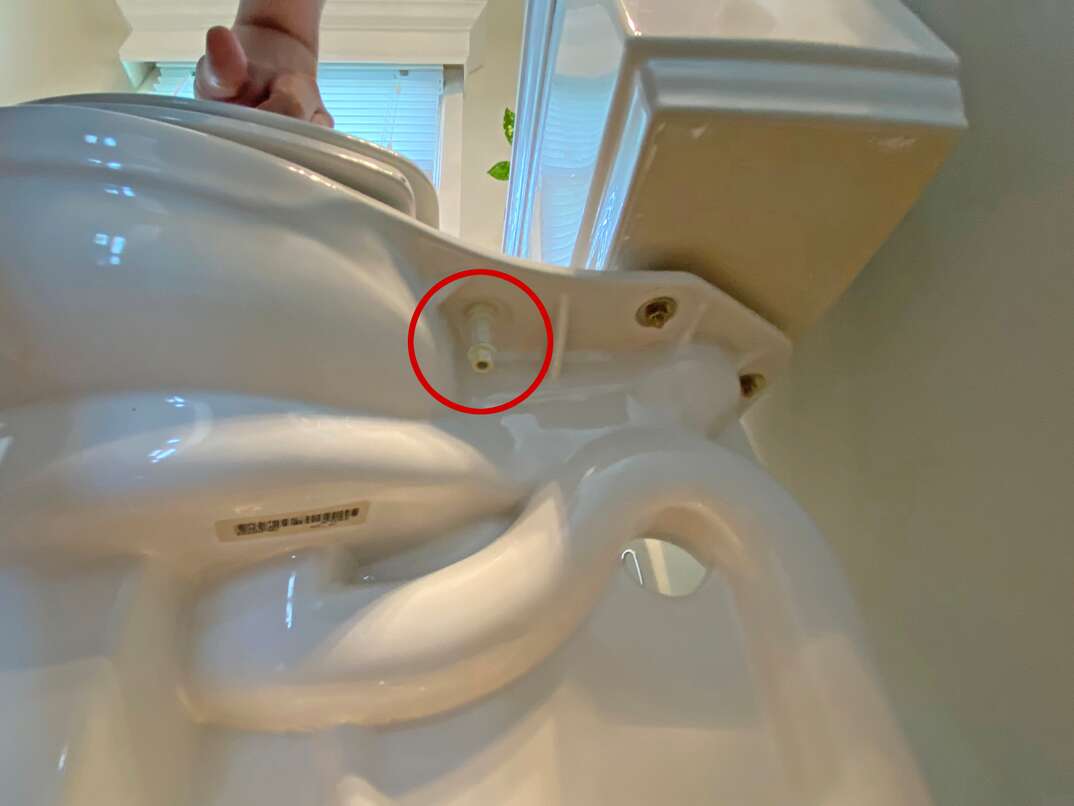
There may be plastic caps covering the bolts at the back of your toilet seat. Start by popping these open to expose the bolts. Grab your screwdriver and unscrew the two bolts that are holding the toilet seat in place. Use your pliers to hold the nuts underneath the toilet bowl while you turn the bolts with the screwdriver. Unscrew until the bolts come loose, removing the old seat.
To cleanly remove the nuts on the bottom, you may need to apply penetrating oil and let it sit overnight.
Step 2: Clean the Toilet
The open bolt holes may look dirty or stained. Before you install the new toilet seat, give them a thorough cleaning. You can do this effectively using baking soda, which will remove any traces of dirt or rust. When the toilet bowl looks clean and shiny, you're ready to install the new toilet seat.
Step 3: Install the New Toilet Seat
Grab your new toilet seat and position it so it's aligned with the holes in your toilet. Reinsert the bolts and tighten them with your screwdriver while simultaneously tightening the nuts on the bottom by hand. When the nuts are tight, use pliers to hold them in place and continue tightening the bolts with your screwdriver. Be careful not to overtighten the bolts because this can damage the porcelain.
Step 4: Replace the Plastic Caps
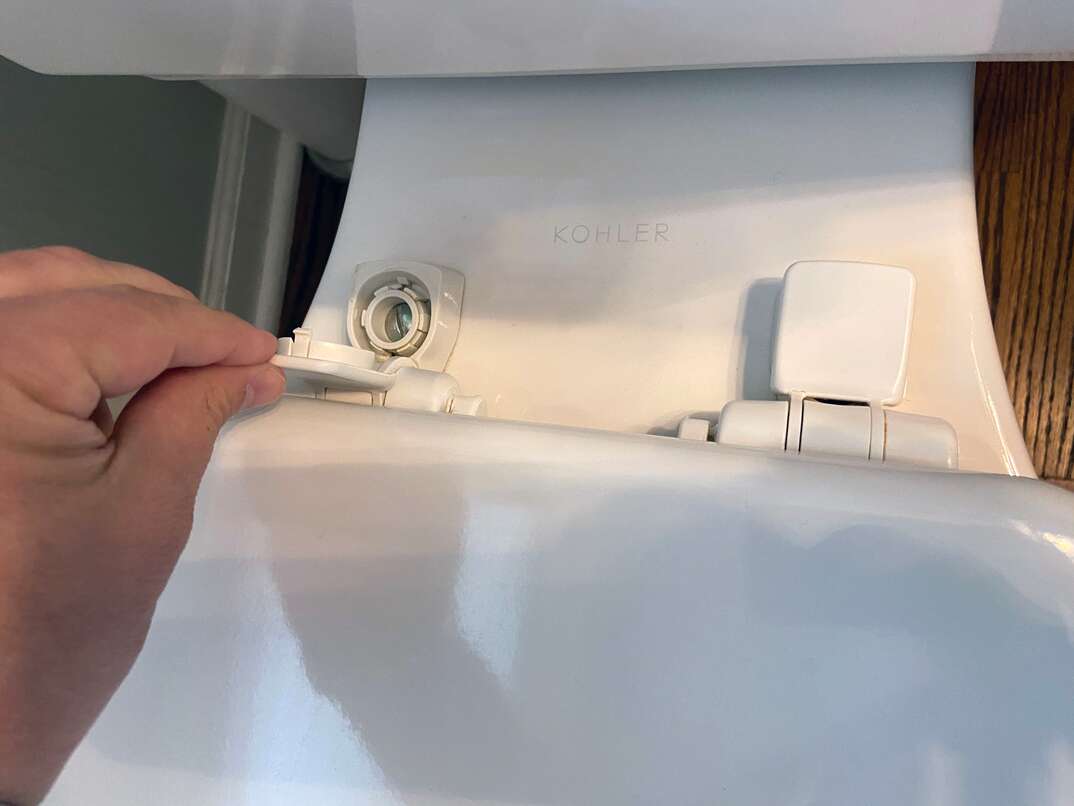
Pop the plastic caps back over the bolts to secure the seat. Now, you can sit down and ensure that your replacement seat is comfortable and stable.
Unexpected repairs can crop up at any time, and sometimes, they may be beyond your scope of knowledge. A home repair plan from HomeServe can help ease your mind. With a plan in place, you can contact our 24/7 repair hotline whenever a covered issue arises. See what plans are available where you live.
