Do I Need to Seal My Concrete For Winter? Probably. Here's How

Sealing Concrete at a Glance
- Step 1: Pick a warm, dry day
- Step 2: Clean surface
- Step 3: Removing existing
- Step 4: Apply new sealant
- Step 5: Let it cure
Concrete is one of the toughest materials out there. With the proper preparation, it can withstand the elements. Though concrete is extremely durable, it can get damaged during the winter if you don’t prepare it well enough. If you want to protect concrete during the winter, you should seal it.
This May Also Interest You: How Much Does Concrete Leveling Cost?
Concrete is very permeable and allows moisture to get through pores created due to cracks or damage. When the moisture gets into the concrete, it can cause deformation by enlarging when it freezes. This is why it’s essential to use a concrete sealer before the winter arrives, so it repels water and prevents moisture from seeping in.
Applying a concrete sealer is not as simple as simply applying it over the surface. You need to choose the right day, time, and temperature. There are also critical details you need to know so you end up with a proper finish. Here’s a step-by-step guide on how to seal concrete and key points to take into account while doing it.
How to Seal Concrete: A 5-Step Guide
Step 1: Choose the Right Day and Temperature
To ensure that you get a smooth finish, you need to be careful when choosing when you apply the sealer. According to Richard Fung, owner of Forever Homes, a temperature between 45 to 85 degrees Fahrenheit (7 to 29 degrees Celsius) is considered a suitable temperature to use a concrete sealer. Anything lower than that can cause issues when it comes to drying and curing. Higher temperatures can cause the sealer to stick to the tool you’re using to apply it.
The ideal time to lay concrete sealer is in the late afternoon or evening as the air temperature starts to decline. Due to the fading sun, the concrete gets enough time to cool and gets sealed fast without exposure to the sun’s rays.
Each concrete sealer will have its own specific requirements about the temperature and best time for application, so it’s important to read the exact instructions for it. You can use our guidelines as a general rule of thumb.
Also, if you just recently had new concrete poured, you’ll need to wait at least 30 days before applying a concrete sealer.
Step 2: Clean the Surface
Before you begin the sealing process, it’s important to remove all the stains like dirt, oil, grease and dust from the concrete surface and clean it as much as possible to get rid of any debris. Use specialized cleaners for each of these stains. You want these stains removed because, if you don’t, they can cause the sealer not to stick properly to the surface. Stains may also affect the sealer’s appearance, as they will still show even when you apply it. Once you clean the surface, you can use a mop and then a shop vacuum to collect anything leftover.
At this point, it’s also important that you also patch and repair any cracks in the concrete. (See below.)
Step 3: Remove Any Sealant
If you’ve previously applied a concrete sealer, you need to strip it away before applying the new one. Before you strip away the existing concrete sealer, you need to know if the previous one was water- or solvent-based. Fung says the method you use to strip it away will depend on its type.
For a water-based concrete sealer, use a coating remover like Aqua Mix or other similar products. Consider using acid etching with the concrete. Mechanically, it’s possible to remove the previous water-based concrete by scarifying.
To remove a solvent-based sealer, use a solvent-based stripper such as Xylene. Before that, remove any sort of peeling and flaking on the concrete surface. Pressure wash the concrete surface and allow it to dry properly before you strip it.
On a smooth concrete surface, a blade scraper is considered the best tool to remove sealers. Use a broom or stiff-bristle, nonreactive scrub brush to clean after removing it.
More Related Articles:
- Let This Sink In: Save Your Sinking Patio With This Step-by-Step Guide
- How to Pour a Concrete Sidewalk
- Ready? Set. Here’s How to Prepare and Use Ready-Mix Concrete
- How Much Does a Concrete Sidewalk Cost?
- Weeds, Whacked! 5 Ways to Kill Weeds in Your Driveway Sidewalk
Step 4: Apply the New Sealant
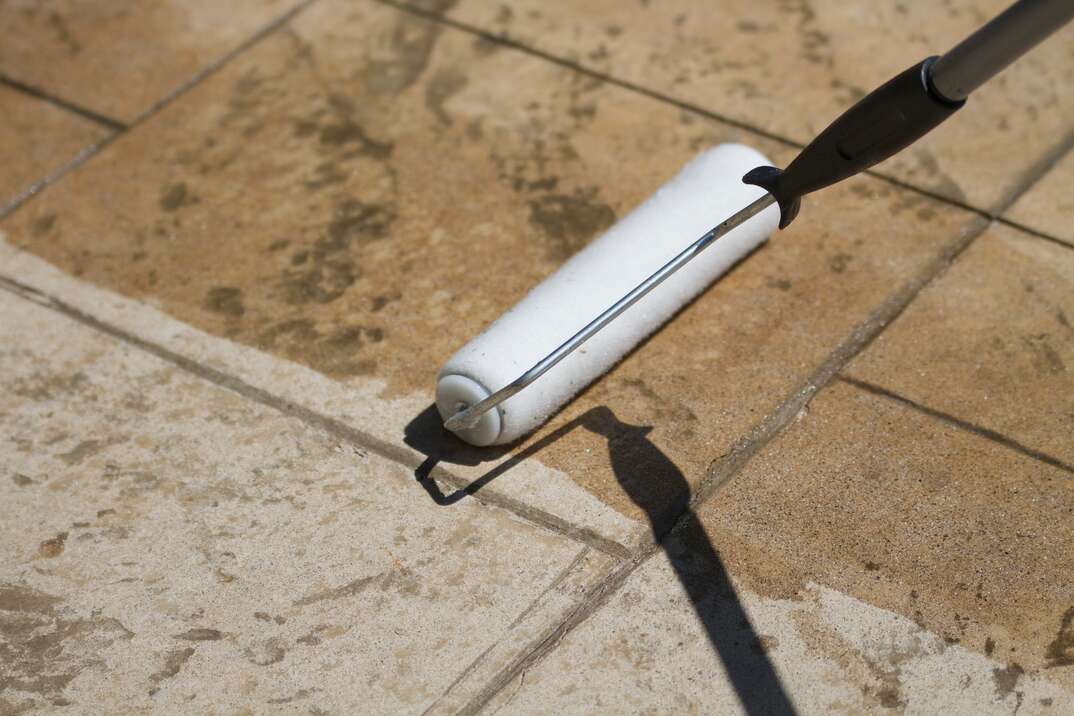
Afterward, you can open up the sealer with an etching solution and start to apply it with a thin coat using a roller or any sprayer. Your sealant will have specific instructions about the number of coats it requires and how much time you should let it sit between each coat.
As a rule of thumb, after applying the first coat, you can let it sit for one or two hours before using the second one. When you apply the second layer, you will want to apply it in the opposite direction.
Step 5: Let It Cure
After you finish applying it, you need to let the concrete cure. Most sealers take up 3 to 4 hours to dry, and some could take as low as one hour or as high as 12 hours. This will largely depend on the sealant you use, so carefully read the instructors.
The time you should let your concrete completely cure after applying sealer depends on the types of sealer you use. Fung mentions topical sealers take 48 hours, while penetrating sealers need at least 24 hours.
Other Ways to Protect Concrete During Winter
Apart from sealing concrete to protect it during the winter, there are other things you can do. Patching and repairing cracks is another essential item you’ll want to finish before winter arrives. You will want to consider doing this regardless of whether you seal. If you choose to seal, you will definitely want to do this to end up with a smooth look and to ensure the sealer sticks.
Repairing Concrete Cracks
To repair small cracks in the concrete, you will want to use a concrete crack filler. There are many types of products for this, like Sakrete Crack Filler or Quikrete Crack Filler. For larger cracks, you can concrete patching compound to patch them up. Just make sure to remove any loose concrete so you don’t end up with any crumbling parts. Any existing cracks are bound to worsen during the cold weather, so this is a must-do winterization task.


