Here's How to Put Soft-Close Hardware on Your Drawers

Installing Soft-Close Drawer Hardware at a Glance
- Step 1: Remove drawers
- Step 2: Remove hardware
- Step 3: Measure drawer
- Step 4: Install soft-close slides
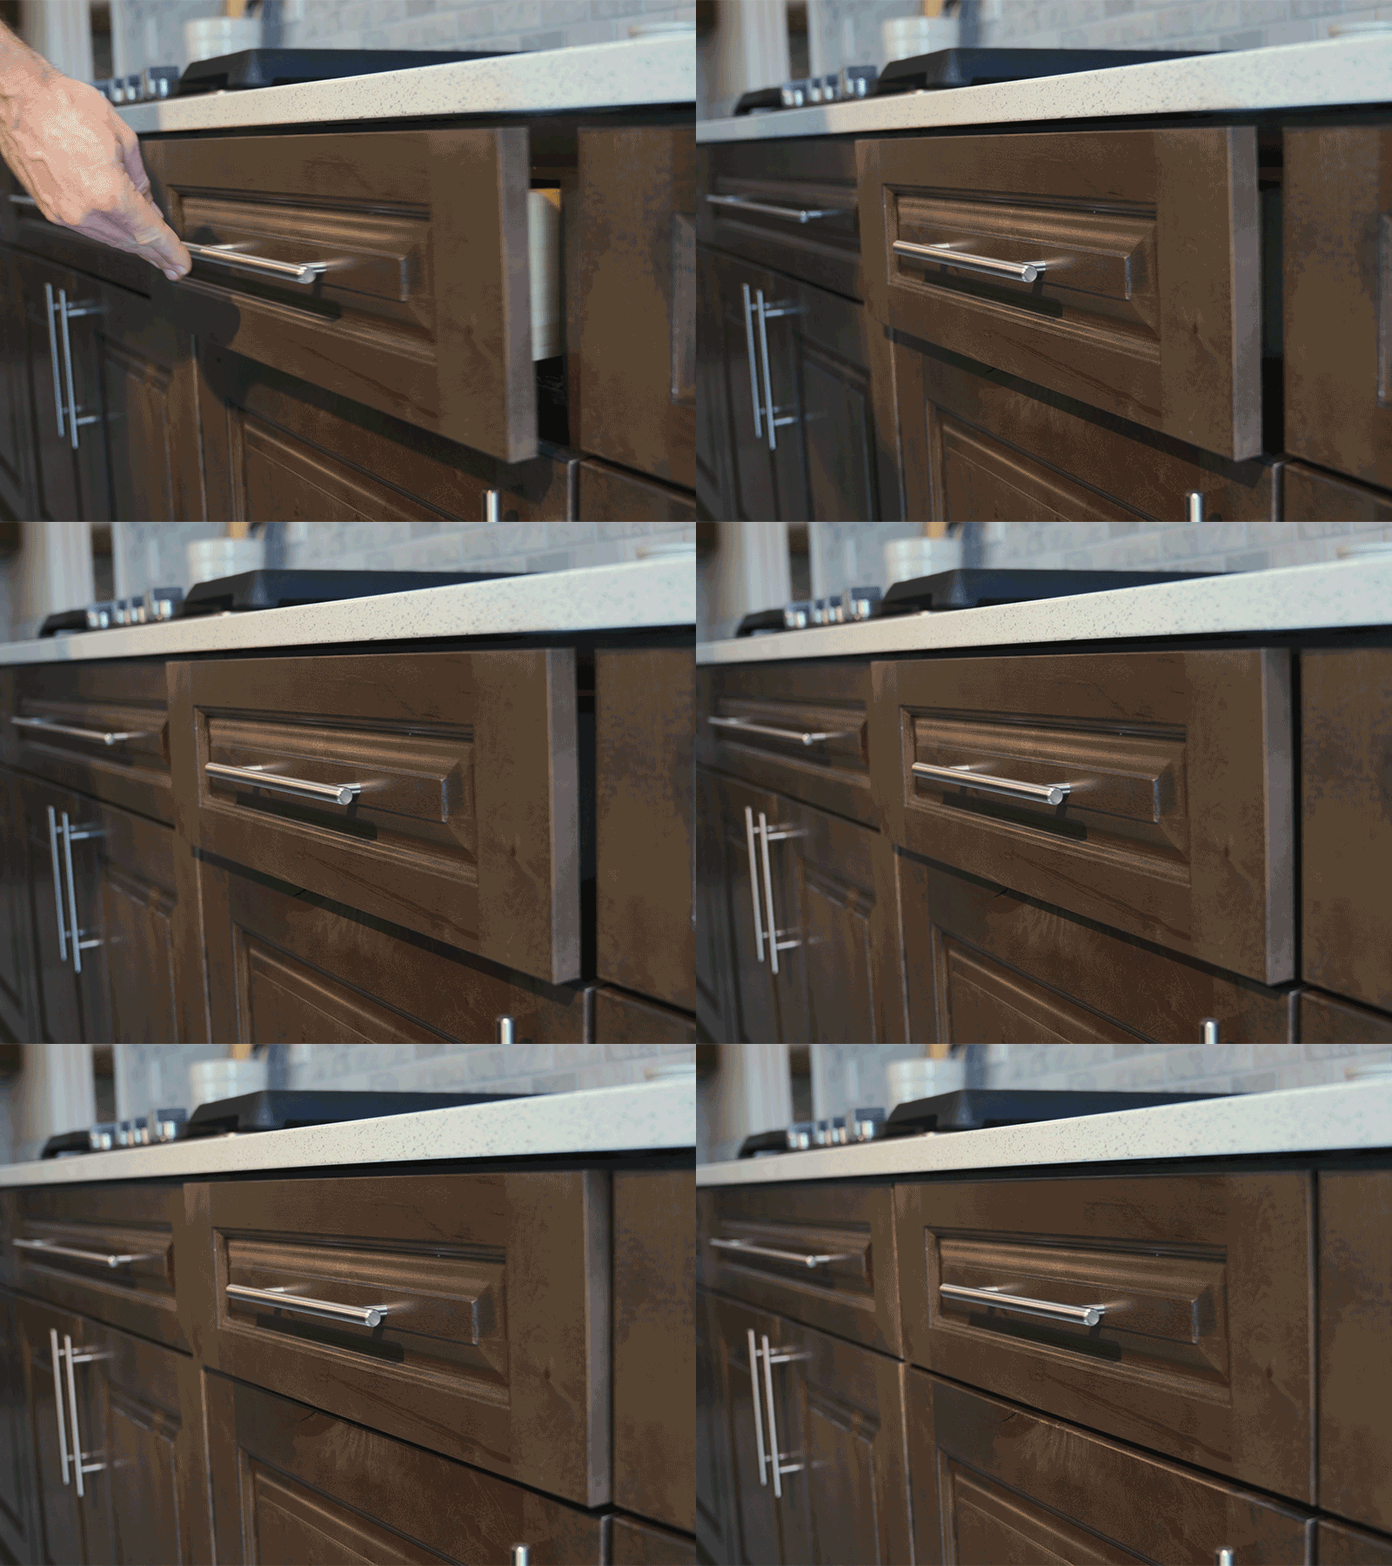
We’ve all been there: It’s those wee hours of the morning (or night), you or someone in your family closes a drawer, the sound sends a jolt around the house, and suddenly everyone’s awake. It’s a well-known fact that drawers can be rather loud and obnoxious, even when you’re not trying to be quiet. If your drawers have been bothering you, you might be wondering if you can add soft-close mechanisms to your existing drawers. Well, not only is it possible, but it’s also a surprisingly easy DIY project. In fact, you might be surprised to note that soft-close technology has come quite a ways in recent years.
This May Also Interest You: How to Install Kitchen Cabinets
Looking to upgrade your loud, squeaky drawer with one that opens and closes quietly and smoothly? Follow these steps to enjoy a quieter home in no time.
How to Put Soft-Close Hardware on Existing Drawers
Step 1: Remove the Existing Drawers
In order to upgrade your existing drawers to soft-close drawers, you first need to remove the existing drawers from the cabinet. Removing drawers is relatively simple, but depending on what type of sliders your drawers use, the process might vary.
Metal and plastic sliders are the most common. If you’re working with a free-standing cabinet, start at the top and work your way down, this will keep the furniture from getting too heavy at the top and potentially toppling over. Additionally, if your drawers are full, it might be a good idea to go ahead and empty them out before proceeding.
To remove the doors, slide the drawer open as far as it will go. If you’re dealing with plastic rollers, you should be able to simply tilt the drawer up and lift it out.
For metal sliders, the process is a little more complicated. Locate the track levers, which will generally be in the center of each drawer track. Depending on the particular piece of furniture, the levers will either be straight or curved. From there, use both hands to press both levers. For a straight lever, press down as far as you can. For a curved lever, push on the curved area until it flattens. As you hold down the levers, pull the drawer out of the cabinet.
Step 2: Remove the Old Hardware
After you’ve removed the drawers, you’ll want to remove the slider hardware from the drawers themselves. Sliders are located on the drawers as well as inside the cabinet. They’re usually fastened by screws and typically won’t require anything more than a manual screwdriver to take them off. With undermount slides, the metal track will be underneath the drawer. If not, you should be able to find them on the sides of the drawer.
Step 3: Measure the Drawer
Generally speaking, soft-close drawers come in two different varieties. Hidden sliders are less common and are installed underneath the drawer box and will need clips to fasten to the drawer. The other, more common variety is mounted on the side.
If you’re installing the side-mount style, use a tape measure to measure the length of one of the old slides. While the standard size drawer is 14 inches, it’s still a good idea to hold off purchasing new slides until you know the exact length you need. If you’re working with brand-new cabinetry, you can just measure the drawer from front to back.
When you’ve got your new soft-close slides, align the smaller slide with the bottom of the drawer. Keep in mind that the slide will need to be flush with the bottom edge of the drawer, so you might need to lay the drawer on its side to make sure. Make sure that the thicker slide is flush with the front edge of the drawer, as well. If you’re using undermount slides, attach one on each of the left and right edges. If you’re using center-mount slides, you’ll only need one per drawer that attaches to the center of the bottom of the drawer.
Once you’ve got your slides in place, take a pencil and mark the slide placement. Trace a line above both ends of the slide, but also make sure that you’ve marked the screw holes if the previous screw holes don’t match up. If you need to screw new holes, take time to pre-drill 2/3-inch holes into the drawer. Pre-drilling holes will help to prevent any damage when you screw the slides on.
Step 4: Install the Soft-Close Drawer Slides
After your new slides have been fit and measured, it's time to attach them to the drawer. Align the edge of the slide with the line you traced earlier, then screw a 1/2-inch screw in each hole.
When you attach the soft-close slides to the cabinet, you’ll need to make sure the slides are completely level. To keep your drawer level when installing the new slides, it might be necessary to use a special tool called a drawer slide jig. It’s a triangular tool that is designed to make sure that your drawer is perfectly level. When the jig is placed on either side of the drawer, you can rest the new slides into position and screw the new slides to the cabinet. From there, add your drawer box back into the cabinet and test your new soft-close slides.


