How to Stamp Concrete: Your 6-Step Stampin' Guide

How to Stamp Concrete at a Glance
- Step 1: Prep area and lay forms
- Step 2: Pour concrete
- Step 3: Screed the slab
- Step 4: Apply stamps
- Step 5: Cure slab
- Step 6: Cut contraction joints and seal
Have you ever coveted a gorgeous tiled or flagstone patio, only to balk at the installation costs? Stamped concrete is a relatively affordable way to give a similar effect to a bespoke patio, pool area or driveway without the hefty price tag. By imprinting freshly laid concrete with specialized stamping mats, you can create the impression of individual tiles, stones or bricks.
This May Also Interest You: How Much Does It Cost to Install a Patio?
While you can hire a professional to apply stamped concrete patterns, it's also possible to do the job yourself. Follow the steps below to learn how to stamp concrete.
Step-by-Step Guide
Preparation is key to creating DIY stamped concrete because you'll have a relatively short timeframe to work before the concrete becomes too solid to stamp. Draw out a stamping plan beforehand so that you know exactly where to apply the mats in advance. Reading this guide thoroughly and planning a timeline is crucial to make sure that the process goes smoothly.
Step 1: Prepare the Area
It's essential to prepare the substrate correctly before pouring concrete over the top because it protects the soil underneath and prevents cracks further down the line. So, the first preparation step is going over the ground with a compactor machine.
Next, stake around the area perimeter and attach forms to prevent the concrete from flowing outside the space. Pay particular attention to corners and any areas where the forms abut buildings.
Finally, place reinforcement across the area where you want to lay the concrete slab. Ideally, you should use wire mesh or steel bars. Reinforcing the concrete slab is essential to stop it from cracking and help it withstand shocks.
Step 2: Pour the Concrete
Before pouring the concrete, protect the surroundings using plastic sheets. It's crucial to use the correct concrete mix for your purpose and environment, and it's worth asking a professional for advice if you're unsure.
Once you're ready to pour the concrete, park the mixer truck as close to the area as possible and release the load where you intend it to lie. Pouring the concrete in one location and then spreading it across a wider area isn't advised because this can affect its integrity.

Step 3: Screed the Slab
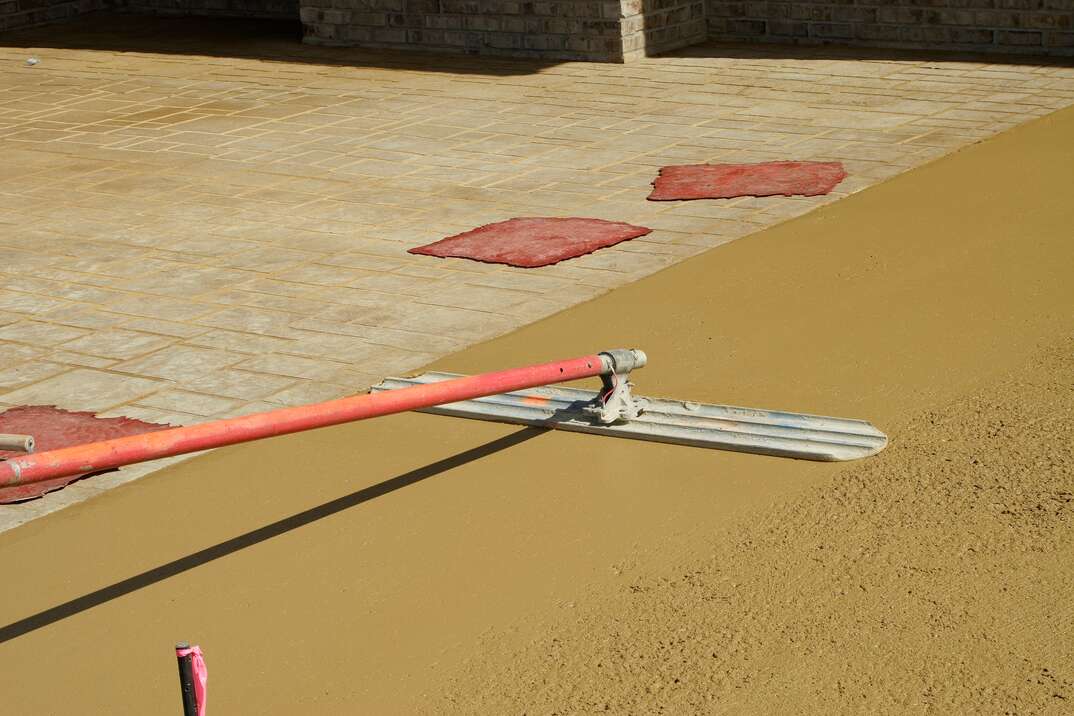
As soon as you've poured the concrete, use a screed machine to create a smooth surface. This process draws the cement paste to the top, which makes for a more defined result. Make sure that the surface is perfectly level before moving to the next stage.
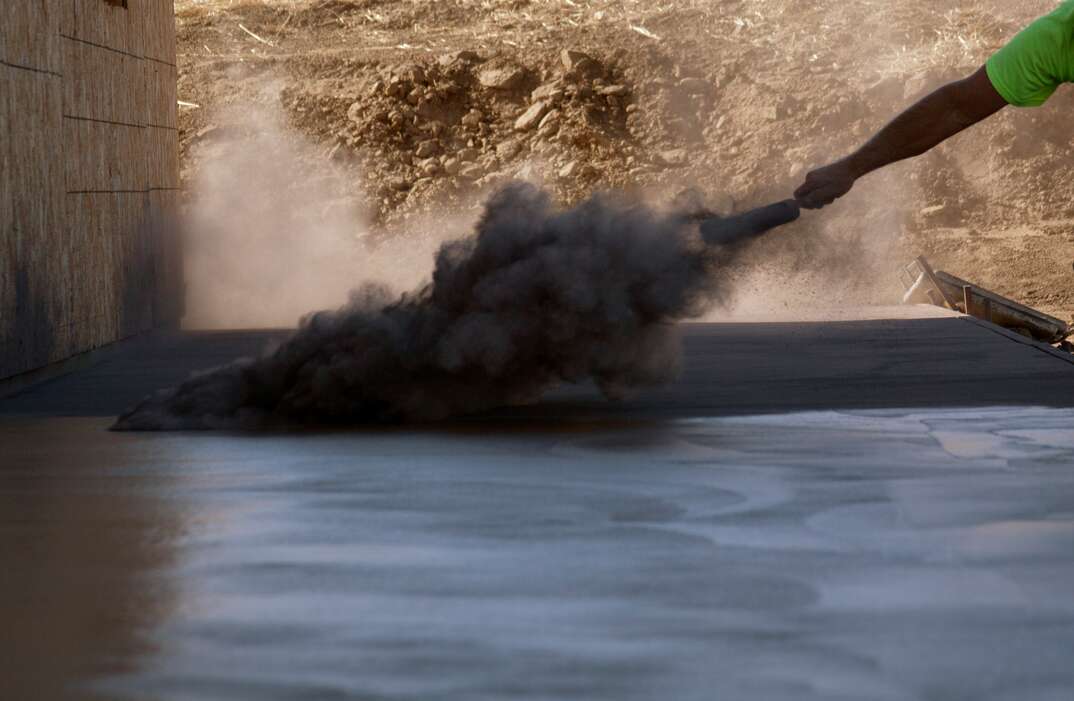
If you want to add color to your concrete slab and didn't include integral color in the mix, now is the time to apply it.
Step 4: Apply the Stamps
It's best to have plenty of helpers on hand to apply the stamping mats because you'll need to place them as quickly as possible. Start by applying the stamping mats around the edge of the concrete.
Next, apply the larger mats starting from the area where you first poured the concrete. Working in the order that the concrete was poured reduces the chances of it drying out before you can place the mats. It's worth taking extra care when laying the first row, as you can then use it as a point of reference for the rest of the slab. You can press the pattern into the surface by walking on it and tamping it down.
Check the alignment against your plans regularly as you lay the stamping mats. Otherwise, you could make an unsightly error that will be impossible to correct later on.
Step 5: Cure the Surface
Curing the concrete is essential if you want to avoid cracks. Curing involves keeping the surface wet to prevent it from drying out too quickly while it solidifies.
There are a few curing methods to choose from, and the simplest is to mist the area regularly with water. Alternatively, you could place damp burlap or canvas over the top, or apply a chemical membrane. If you're unsure, consult a contractor for advice on how to cure your concrete slab.
How long it takes to cure stamped concrete depends on several factors, including which mix you used and the weather conditions. As a rule of thumb, you should avoid walking or driving over the surface for at least seven days.
Step 6: Cut Contraction Joints and Seal the Slab
Contraction joints are grooves that direct where your concrete will crack as it settles. Before sealing the slab, cut contraction joints as deep as one-quarter of the overall depth at strategic points using a saw. As a rule, you should space these joints around two to three times the distance of the concrete's depth to protect the surface against stress and random cracking.
Finally, apply a sealer to the entire surface of your concrete slab. Sealer can enhance its appearance and make the color more vibrant. It also helps protect the surface against stains and discoloration.
More Related Articles:
- How Much Does a Concrete Driveway Cost?
- Is a Concrete or Asphalt Driveway Cheaper?
- How to Build a Patio: 9 Steps to a Backyard Paradise
- How Much Does a Concrete Pool Cost?
- How Much Does an Inground Pool Cost?
FAQs
Can You Stamp Your Own Concrete?
It's definitely possible to create decorative concrete using cement stamps, but don't underestimate the amount of planning and work involved. Laying a DIY stamped concrete patio or driveway is a major undertaking, and it's crucial to feel confident that you understand the numerous processes involved before you get started. Incorrectly laying a stamped concrete slab could cause issues down the line, and the surface will be prone to cracking and sinking.
If you love the look of stamped concrete but lack the time or technical skills to see the project through, it's probably best to entrust this job to professional contractors. Even calling in a professional is still a more affordable option than laying individual stones.
How Long After Pouring Concrete Can You Stamp It?
You'll need to wait until your concrete is the correct firmness before you start stamping it. One way to test whether the concrete is ready is to press your finger into it. If you can leave a 1/4-inch fingermark without sand transferring onto your fingers, the concrete is ready for stamping.
Alternatively, try applying a stamp to one of the edges. If it can accommodate your body weight and sinks in gently, it's ready for you to make impressions. However, if it starts sinking deeply or feels unstable to stand on, wait a little longer.
It's important to keep a close eye on the slab's progress and get to work as soon as it shows signs of readiness. If you wait too long, the stamping mats won't leave a clear enough impression.
Does Stamping Concrete Weaken It?
Stamping concrete makes it less durable than many other paving options, which is worth bearing in mind if you're planning on stamping a driveway that sees a lot of use or needs to accommodate heavy vehicles. Overall, stamped concrete is more prone to cracking due to age and weathering, so you should consider whether it will be more cost-effective in the long run to pay more for individual paving stones that’ll hold up to more wear and tear.


