How to Install a Vinyl Fence
Installing a Vinyl Fence at a Glance
- Step 1: Stake fence line
- Step 2: Mark fence line
- Step 3: Measure for posts
- Step 4: Dig post holes
- Step 5: Fill holes with gravel and concrete
- Step 6: Set posts
- Step 7: Attach fence panel hardware
- Step 8: Install gate
Fencing can be a great way to define your property, increase your privacy and give your kids and pets a safe place to play. These days, you have more options than ever when it comes to materials. Vinyl is a great alternative to traditional wood or chain-link. It’s attractive, durable and virtually maintenance-free. There’s no need to worry about rust, rot or water damage, either. Plus, installing a vinyl fence can be a DIY project.
This May Also Interest You: How Much Does It Cost to Build a Fence?
You’ll need the right tools and some experience using them, but installing a vinyl fence is a relatively straightforward process. To make it easier on yourself, you might also want to seek out a few helping hands. Here’s what you need to know about vinyl fencing, plus a step-by-step installation guide.
Is It Hard to Install a Vinyl Fence?
Installing any type of fence can be a laborious process, and vinyl fences are no different. The biggest challenge when installing a vinyl fence is setting the posts correctly. To ensure the integrity of your new fence, they must be set in a straight line, perfectly spaced and level. Once that’s done, installing the vinyl panels is fairly simple.
If you plan on completing a vinyl fence installation on your own, you’ll need to have basic carpentry skills and access to standard tools such as a drill, level and circular saw.
Types of Vinyl Fencing
Vinyl fences typically come as preassembled panels, which you can find at most large home improvement stores. The type of fence you choose depends on your needs. There are three basic vinyl fence styles:
Picket
Picket fences are ideal for homeowners who want a traditional aesthetic. At a height of 4 feet or less, picket fences can define boundaries and corral children or small dogs without blocking the view from your deck.
Privacy
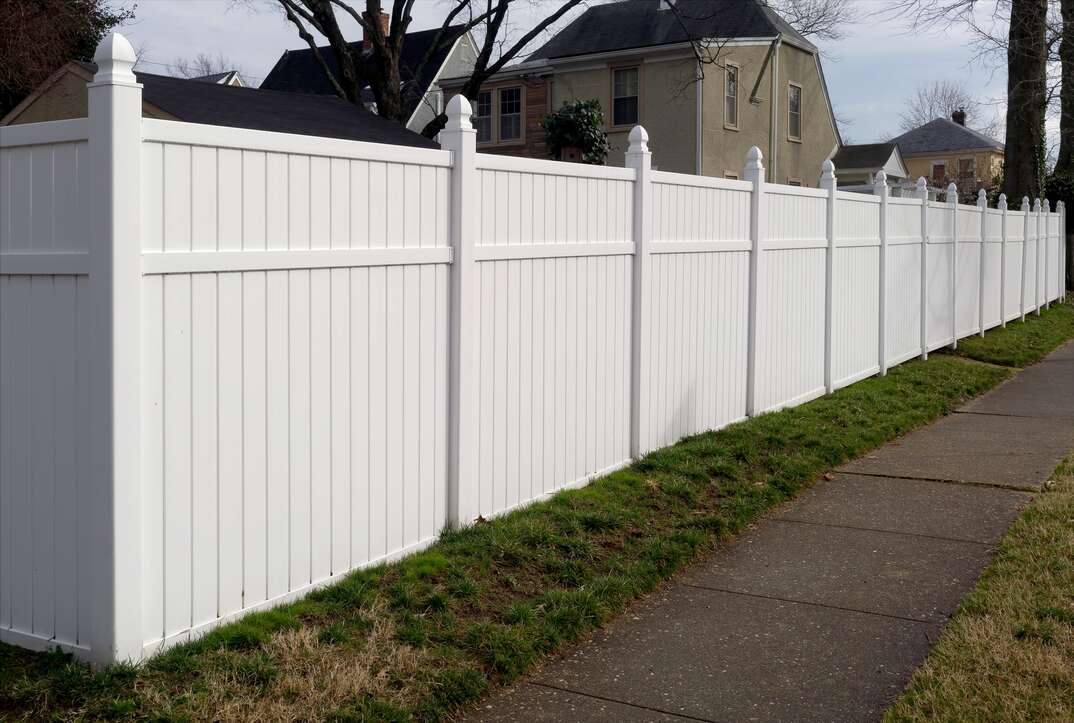
Privacy fences generally stand between 4 to 6 feet tall, providing a solid barrier that’s ideal for concealing unsightly views or busy roadways. They’re great for containing larger dogs or for setting apart a swimming pool or children’s play area. Privacy fences may include post toppers, latticework or other decorative elements.
Shadowbox
Shadowbox fences use alternating boards to create an identical look on both sides of the fence. They often have the look and height of a privacy fence, but they won’t block the breeze.
Before You Begin
Installing a fence is a major undertaking and typically involves work done along property lines. Before you get started, take these crucial preliminary steps:
- Talk to your neighbors to make sure you all agree on property lines. You may need to access your county’s database to double-check your property lines are where you think they are.
- Check your deed for easements, which grant utility companies or other parties access to your property.
- Dial 811 (or your local before-you-dig number) to confirm the location of underground lines and other utilities before digging.
- Check local zoning regulations and neighborhood association guidelines. Get the appropriate building permits.
How to Install a Vinyl Fence: Step by Step Instructions
If you have basic carpentry skills and access to standard tools, you should be able to install your own vinyl fence. Just follow these eight steps to get started:
1. Stake Your Claim
Using landscape stakes, stake out your intended fence line. Be sure to account for corners and gates.
2. Mark Your Territory
Define the fence line by tying a string or mason line between corner posts. Alternately, you may use spray paint to mark off the area.
3. Plan Post Position
Decide where each post will go. For this step, you’ll need to know the exact measurement of your fence panels so you can place your posts properly. Vinyl fence panels can’t be trimmed, so double check your measurements and mark the position with a stake, making sure it touches the layout string.
4. Dig ’Em!
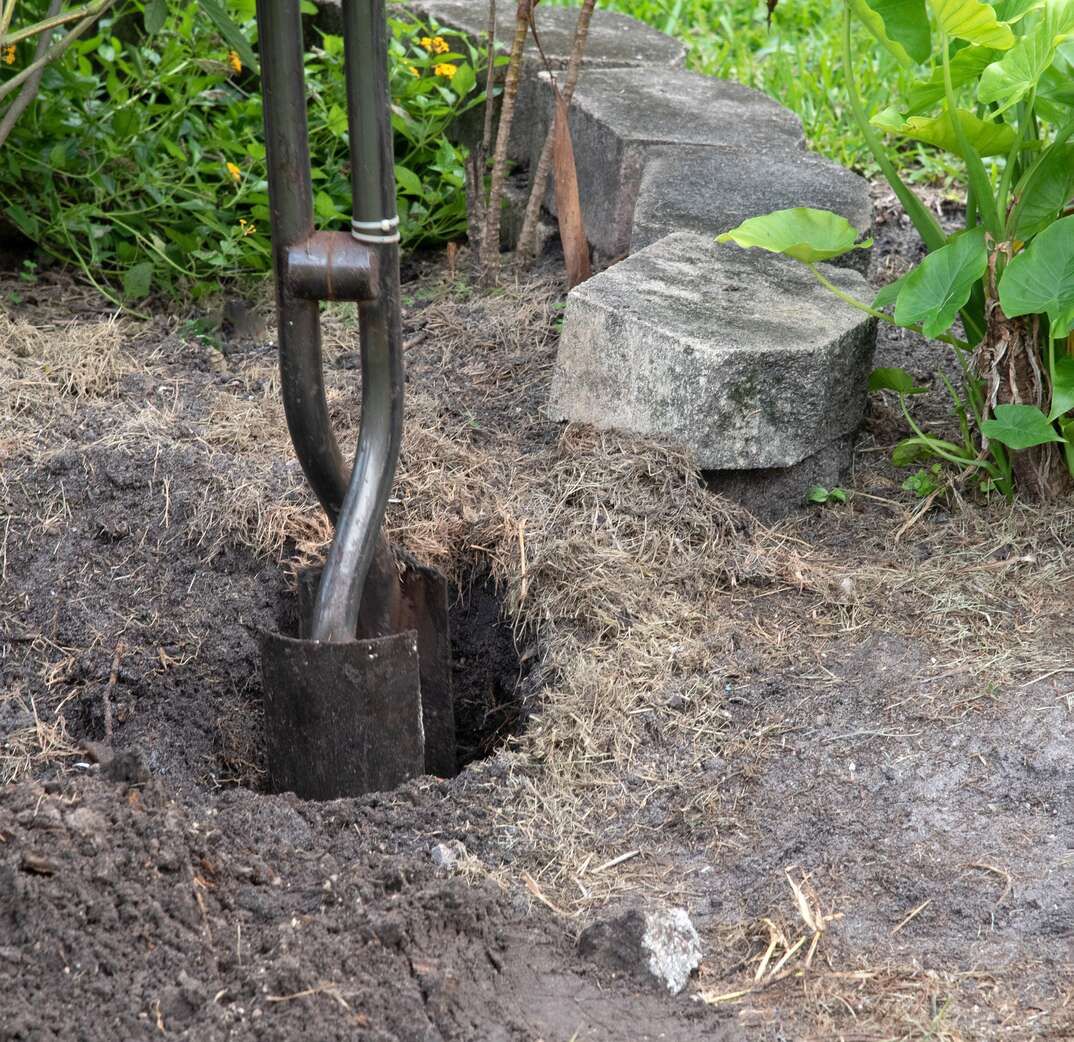
Dig the post holes using a power auger or post hole digger. The holes should be about 10 inches in diameter and deep enough to hold about one-third of the pole’s length plus 6 inches of gravel backfill. Gate posts and main supports should generally be 6 inches deeper than other posts to increase strength. All post holes should comply with local codes.
5. Fill ’Er Up!
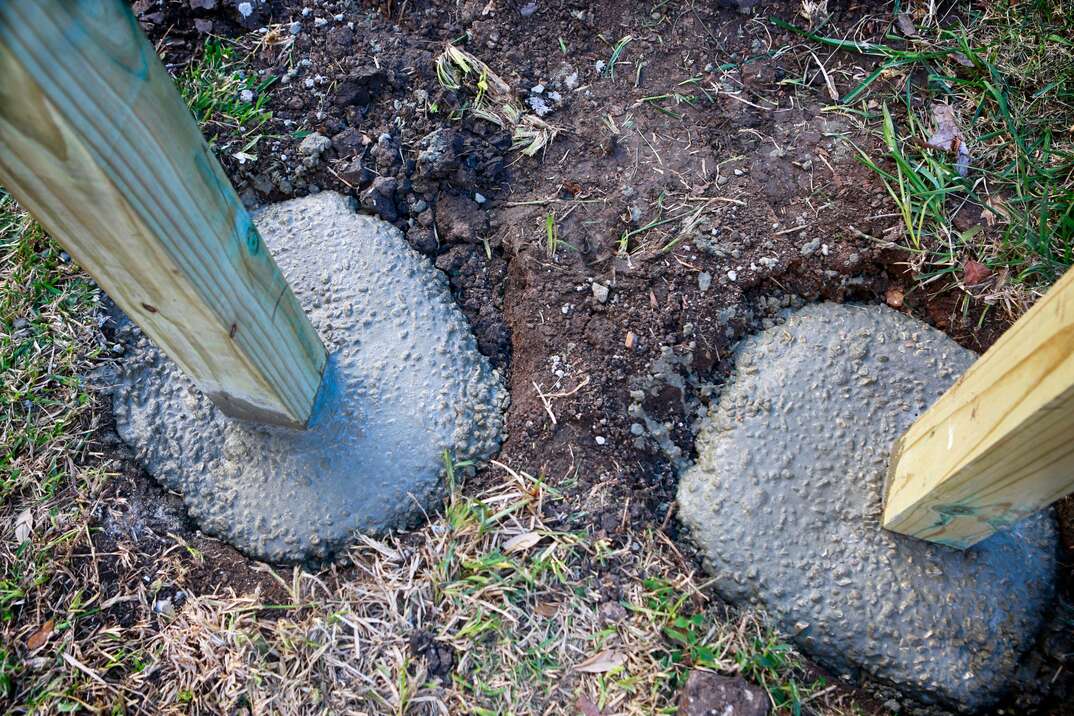
Pour 6 inches of gravel into each hole and fill the holes with quick-set concrete.
6. Post Up
Starting with the main posts, insert a post into each hole and tap it down until it reaches the level of the gravel. Make sure each post is level and plumb before moving on to the next.
7. Attach Hardware
Once the concrete has fully set, you can begin to install the hardware that supports the fence panels. First, attach the rail brackets to each post, then slide the vinyl panels onto the brackets and fasten them using the appropriate screws.
8. Don’t Forget the Gate
Install the gate and any additional accessories — such as solar lights or post toppers — according to the manufacturer’s instructions.
If you get stuck, your best bet is to check the manufacturer's instructions that came with your fencing materials. Most manufacturers also have hotlines or websites where DIYers can get additional guidance.
More Related Articles:
- Good Fences Make Good Dogs: How to Install an Invisible Electric Pet Fence
- How Much Does an Invisible Electric Pet Fence Cost?
- How Much Does It Cost to Build a Deck?
- How to Stain and Seal Your Deck
- How Much Does It Cost to Install Outdoor Lighting?
Vinyl Fence FAQs
Here are the answers to some frequently asked questions about vinyl fence installation:
How Much Does It Cost to Install a Vinyl Fence?
Vinyl fence installation costs vary depending on the amount of fencing you need, the style of fence you choose and the inclusion of gates, post toppers or other decorative elements. The cost may also be impacted by the location. Installing a fence on uneven ground can be substantially more expensive than installing the same fence on flat ground.
According to HowMuch.net, standard materials may range from about $12 to $18 per linear foot for a simple picket fence, to around $35 to $45 per linear foot for a shadowbox design. Privacy fences fall somewhere in the middle, with a price range that’s usually between $25 and $35 per linear foot. Costs may be higher if you opt for a woodgrain appearance or a color other than white.
If you hire a professional installer, expect to pay $3 to $6 more per linear foot for installation. This doesn’t include site prep costs such as clearing away rocks and trees or grading the land.
Do Vinyl Fence Posts Need Wood Posts?
If you’re installing a vinyl fence, you’ll want to ensure stability and longevity. This can be done by reinforcing corner posts, end posts and gate posts. Many manufacturers recommend reinforcing your posts with metal inserts or using concrete with rebar. Wood inserts are typically not recommended due to their susceptibility to water damage and dry rot. This is true even for pressure-treated lumber. If you’re not sure what you should use to reinforce your fence posts, check out the manufacturer’s guidelines or consult a company representative.
How Far Apart Should Fence Posts Be?
Accurate post spacing is one of the most important aspects of vinyl fence installation. If your posts aren’t spaced properly, they won’t adequately support the fence. The distance between fence posts varies depending on the length of the vinyl panels. It’s important to consult the manufacturer’s guidelines for the exact spacing needed for your chosen materials.
Since we’re all home now more than ever, being prepared for unexpected home repairs with a plan from HomeServe is important. Having a plan in place gives you peace of mind knowing that you can simply call our 24/7 repair hotline for covered breakdowns. See what plans are available in your neighborhood.

