How to Install Vinyl Siding: A 7-Step Overview

Installing Vinyl Siding at a Glance
- Tools and Materials: Siding panels, corner pieces, trim, nails, hammer, level, tape measure, zip tool, angle grinder
- Step 1: Remove old material
- Step 2: Attach sheathing and flashing
- Step 3: Install starter strip
- Step 4: Install inside corner pieces
- Step 5: Install outside corner trim
- Step 6: Add siding panels
- Step 7: Install J-trim
Vinyl is one of the most common siding materials for a reason. It’s low-maintenance, cost-effective and incredibly durable. It’s also one of the easiest types of siding to install.
This May Also Interest You: Deciding on Siding? Here’s How Much Siding Installation Costs
By installing vinyl siding yourself, you can save a lot of money on what can otherwise be an expensive home project. The only cost is the material itself. That said, the process for installing vinyl siding is no walk in the park. It requires a ton of patience and some level of carpentry experience.
If siding your own house sounds like the kind of project you want to tackle, read this primer before you dive in.
Materials You’ll Need
While vinyl siding tends to come in 12-foot panels, specific trim material is used for corners and the areas around windows and doors. You will also need fasteners. Usually, these are nails made of either galvanized steel or aluminum, both of which are corrosion resistant.
Apart from the materials, tools for the job include:
- Hammer
- Laser level
- Tape measure
- Zip tool (if you need to remove siding)
- Angle grinder
Things to Know About Installing Vinyl Siding
Constantine Anest, who owns and operates Ethos Roofing & Restoration, suggests you start from scratch. Even if parts of your existing siding are still in decent shape, it's best just to remove all of it down to the layer of sheathing. Then, put protective house wrap all around the exterior. Add foam, and then you can start to apply the vinyl siding.
While this guide covers how to install vinyl siding on your own, the whole process is much easier if you have a friend or two with you. It doesn't matter how experienced you are at DIY home improvement projects — a work buddy will help the process run much smoother. You'll be standing on ladders all day and dealing with lengthy and unwieldy pieces of siding. The extra set of hands can help ensure that nothing goes wrong with the installation process.
To end up with an aesthetically pleasing result, you should do your best to hide the siding seams. An excellent way to do this is to start from the back of the house and work towards the street. This tactic will help ensure most of the seams are facing the backyard and that they won’t affect the curb appeal of your property. You'll also want to make sure that you overlap where you have a joint. Use the factory edge at the seams to ensure a proper overlap.
One crucial rule to follow is always to measure things twice before you cut. Anest explains that you don't want to waste your siding materials by cutting them to the wrong lengths. Take your time and double-check your measurements.
How to Nail Vinyl Siding
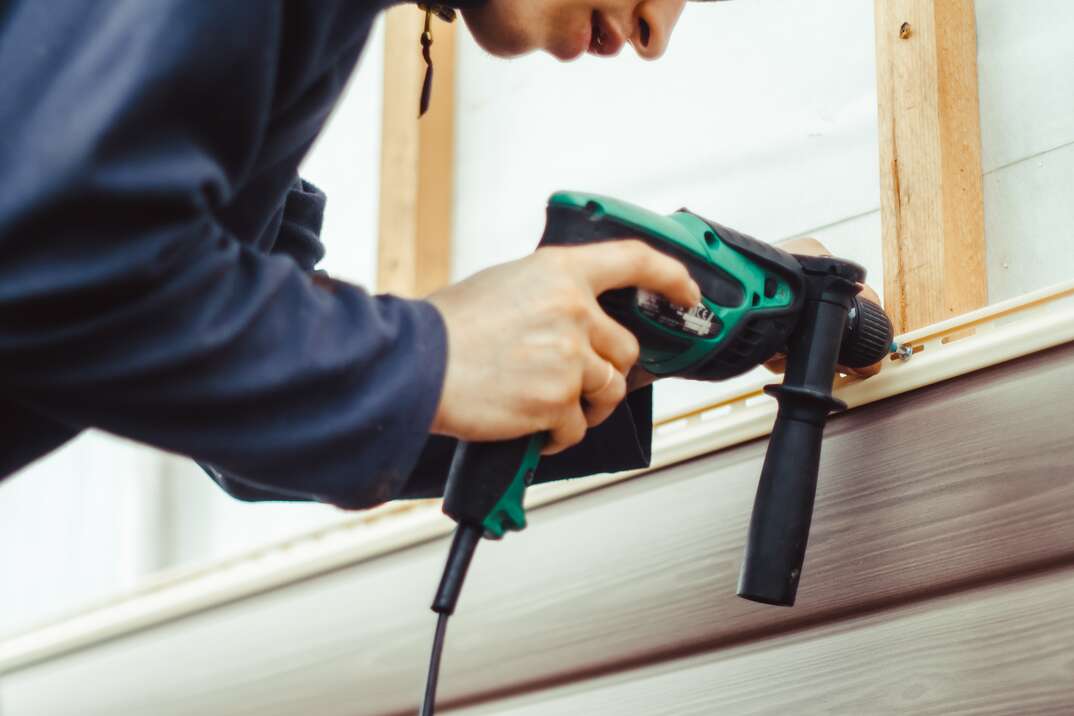
Always nail in the middle of the nail slot and work your way to each end. Ensure the nails are level to one another and also loose enough so the panel can shift around. Ralph Severson, owner of Flooring Masters & Professional Remodelers, warns not to drive the nail head tight against the siding. He recommends leaving a 1/32-inch gap between the head of the nail and siding to give everything enough space to expand and contract.
 -------------------------------------------
How to Cut Vinyl Siding
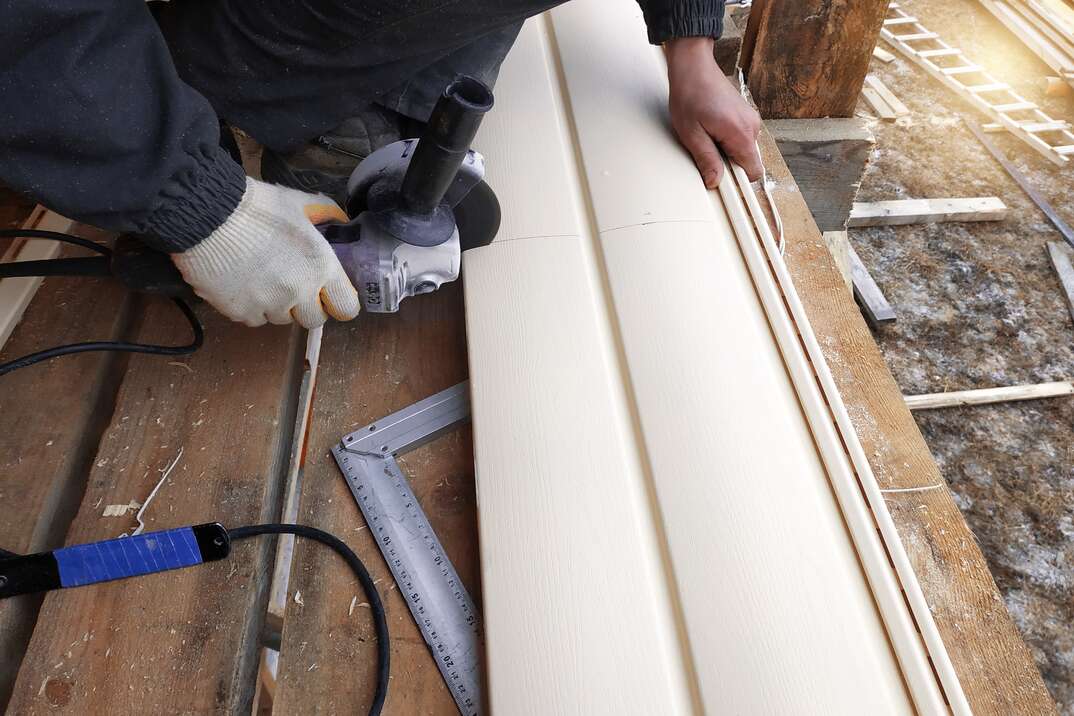
Cut your siding short as a rule of thumb. Anest explains that whenever you have to cut your vinyl siding, you're usually cutting it to squeeze it into a corner. You need to account for temperature changes with your measurements just as you would when nailing it. In the summer heat, your vinyl siding will likely expand, which may cause it to buckle if it doesn't have some space to spread out. So, make sure you leave at least a 1/4-inch allowance on both edges of your siding material to allow the panels to slide back and forth.
To cut vinyl siding, use a 12-inch square to mark it for cuts and to get a straight line. After marking it, use an angle grinder to cut it.
More Related Articles:
- Hardie Board: When Vinyl Siding Just Won’t Do
- How Much Does Cedar Shake and Shingle Siding Cost?
- How Much Does It Cost to Paint a House?
- How to Install Roof Shingles
- How Much Do Roof Shingles Cost?
Step by Step: How to Install Vinyl Siding
Below is a step-by-step overview to help guide you through the vinyl siding installation process.
Step 1: Remove the Old Material
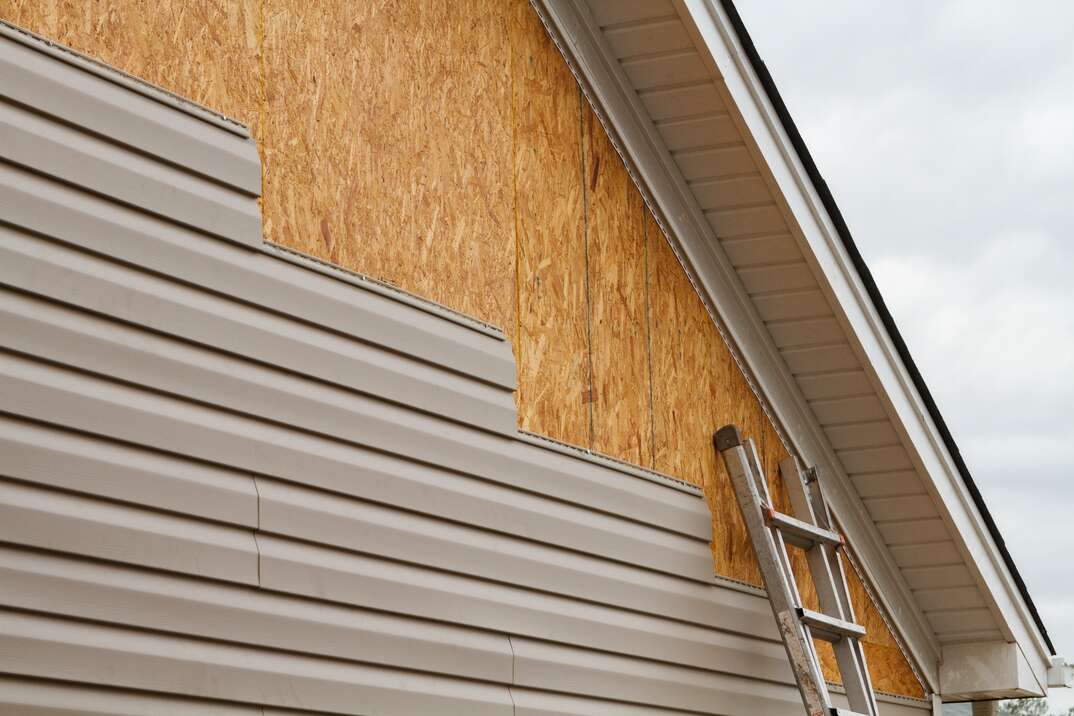
Before starting the process, you need to remove all the old material from the house. This is true particularly if you’re installing vinyl siding on an older home due to the possibility of uncovering multiple layers of material. Use a zip tool to easily unhook the current vinyl siding panels from each other.
Step 2: Attach Sheathing and Flashing
Once you have a clean slate, the next thing to do is attach the sheathing. Severson said you should not attach your siding directly to studs. The sheathing offers a smooth surface to attach siding to. It may also serve as insulation if you opt for a foam plastic option over plywood or OSB. A water-resistant barrier will have to be installed after sheathing, as well as flashing around corner posts, doors and windows.
Step 3: Install the Starter Strip
After attaching the sheathing, you will install the starter strip. You should level your starting strip, so everything else you install above it is in the correct position. The starting strip is nailed to the bottom wall, and the siding attaches to one of the pieces that stick out from it. Anest suggests that you should use a laser level; if your starting point is wonky, it’ll throw off the rest of the installation. And nothing will be more disappointing than realizing halfway through your siding project that the siding is not level, he explains.
Start out strong by snapping a level line around your house and double-checking that it is perfectly level. Then, as you progress and hang additional siding panels, be sure to check your level every few courses to make sure you're on track. Mark the places where the laser tells you, and then nail the starter strip.
Step 4: Install Inside Corners
You’ll need to have inside corner trim pieces for places where the walls meet on the inside. Ideally, you’ll want the inside corner to extend 3/4 of an inch past the bottom of the starter strip. Hold the inside corner trim in place — or if you have a buddy, have them help you hold it —and nail it in place. Nail one side entirely, spacing out the nails every 12 to 14 inches, and then work on nailing the other side of the trim.
Step 5: Install Outside Corners
The process for installing the outside corners is about the same as installing inside corner pieces. You’ll also want the material to go 3/4 of an inch past the bottom of the starter strip.
Hold the outside corner trim in place and nail one side, spacing out the nails every 12 to 14 inches. Then, nail the other side.

Step 6: Install the Vinyl Siding Panels
Once you have the starter strip and inside and outside corner pieces installed, you can add your very first siding panel. Chances are, you will need to cut the panel so it will fit. It’s important to cut short and leave space at the ends due to expanding and contracting during the summer and winter. Don’t forget to leave a 1/32-inch gap between the nail head and wall.
Before installing a second panel, make sure that it clips to the first one. Check that each panel clips to the one below it. It might not be possible to clip these later, which would mean that you’d have to uninstall all of them and start over.
Install all the necessary siding panels for the area from top to bottom.
Step 7: Install J-Trim On Doors and Windows
Next, you’ll install the J-trim — also called the J-channel — around doors and windows. First, measure the J-trim by placing it against the door or window, mark it and cut. For the sides, hold the trim in place (or have someone else do it for you), then nail it end to end to keep it up. Space out your nails 12 inches.
When installing the top J-trim, make a 3/4-inch cut on both ends, similar to what is shown here. Then, when you place it above the doors or windows, fit it into the J-trim on the sides. Once that’s done, simply nail the J-trim to the top of the window or door, following the same procedures as the other pieces.
Since we’re all home now more than ever, being prepared for unexpected home repairs with a plan from HomeServe is important. Having a plan in place gives you peace of mind knowing that you can simply call our 24/7 repair hotline for covered breakdowns. See what plans are available in your neighborhood.


