How to Install a Water-Softening Showerhead

Are you tired of dry, brittle hair or itchy skin? Chemicals and minerals in your hard water supply could be the culprit. Removing these contaminants from your water supply can help you achieve relief from dryness and irritation, but it comes at a price. According to This Old House, installing a whole-house water softening system costs around $500 to $6,000 (CAD 678 to CAD 8,136), so it's hardly surprising if you want a cheaper alternative.
This May Also Interest You: What Is a Water Softener?
Water-softening showerheads claim to remove minerals and chemicals from your water at a fraction of the cost. While these devices have limits, they could be a good option if you want healthy hair and skin on a budget. Below, we'll explain how water softener showerheads work and how to install one in your home.
What Is a Water-Softening Showerhead?
Water-softening showerheads contain filters that remove minerals from hard water. If you live in a hard water area, your water supply has a high concentration of dissolved minerals, such as magnesium and calcium. Research shows that the minerals in hard water can exacerbate eczema. Washing your hair with hard water could also make it more prone to breakage.
Most water-softening showerheads consist of a compact kinetic degradation fluxion water filter and an integrated showerhead. KDF filters contain granular zinc alloys. When the water flows through the filter, electron exchange converts certain contaminants into harmless substances. KDF filters can remove chlorine and minerals from your water supply, but they won't eliminate minerals entirely. Therefore, these filters aren't as effective as a whole-house water softener.
Other products may contain activated carbon or vitamin C filters. However, these filters don't truly soften water because they can't eliminate scale-causing minerals. On the other hand, they may have other benefits. For example, the American Council on Science and Health says vitamin C filters can help boost collagen and prevent dry hair and skin.
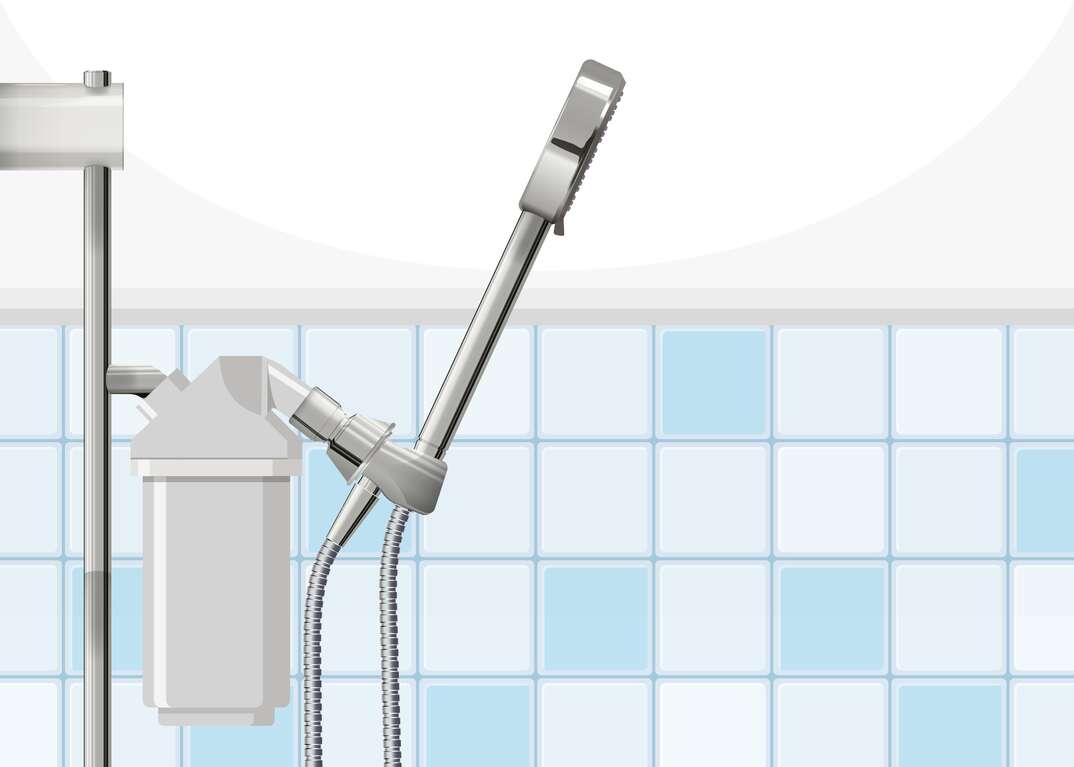
Alternatively, you could consider installing a shower filter for hard water. These in-line filters attach to your shower arm or hose below your existing showerhead and perform similarly to water-softening showerheads.
Bear in mind that a water-softening showerhead won't protect your plumbing system against mineral buildup. Over time, calcium and other minerals found in hard water can accumulate inside your pipes, increasing the risk of clogs. Installing a whole-house water softener protects your plumbing and can help solve issues caused by showering with hard water.
More Related Articles:
- How Much Does a Water Softener Cost?
- How to Know if Your Bathtub Has Hard Water
- Installing a Water Softener Isn’t So Hard: A 6-Step Guide
- How Much Do Home Water Filtration Systems Cost?
- How to Replace a Showerhead
How Do You Install a Water Softener Shower Head?
Installing a water-softening showerhead is usually straightforward, even if you have limited DIY skills. Standard wall-mount and handheld showerheads are typically the easiest to install because they screw onto the existing threads.
However, some showerheads have alternative installation mechanisms, such as sliding bars. Ensure any water-softening showerhead you purchase is compatible with your existing shower arm or hose — if you're unsure, ask a plumber to help you choose the correct model. The following instructions explain how to install a screw-on-mounted or handheld water-softening showerhead.
Things You’ll Need
- Water-softening showerhead
- Teflon tape
- Cleaning cloths
- Adjustable wrench
- Slip-joint pliers
- Cleaning vinegar
Step 1: Remove the Existing Showerhead
You can often remove your existing showerhead manually by turning it counterclockwise. If you can't unscrew the showerhead by hand, wrap the joint between the showerhead and the shower arm or hose with a cloth and hold the pipe in place with your slip-joint pliers. Next, screw the showerhead base counterclockwise with an adjustable wrench until it detaches from the shower arm.
Step 2: Clean the Hose or Shower Arm
Cleaning the end of the hose or shower arm helps remove limescale and debris, improving water flow and removing grime. Starting with a clean shower arm can also make it easier to install your new showerhead. Use a damp rag and cleaning vinegar to remove any visible dirt and buildup from inside and outside the arm or hose.
Step 3: Apply Teflon Tape
Locate the threads on the end of your shower arm or hose. The threads feel like tiny grooves and enable you to screw on a replacement showerhead. Wrap the threads in two to three layers of Teflon tape and press the tape down firmly. Teflon tape improves the seal between the shower arm and showerhead to prevent leaks.
Step 4: Screw on the Water-Softening Showerhead
You can now attach your new water-softening showerhead by screwing it clockwise into the threads on the shower arm or hose. Turn the shower on and check for leaks around the joint between the showerhead and the arm. If you see water escaping, remove the showerhead and apply another layer of Teflon tape to improve the seal.
All CAD conversions are based on the exchange rate on the date of publication.


