Don't Throw Money Out the Window: Here's How to Fix Your Windows Yourself

Windows are one of the essential components of your home. Not only do they fulfill important aesthetic purposes, but they’re also incredibly functional — offering cross-ventilation and maintaining your home’s energy efficiency.
This May Also Interest You: How Much Does Window Replacement Cost?
That said, old, worn-out windows can create problems that can affect the rest of your home. When your windows begin exhibiting any warning signs, a house window repair or replacement may be on the horizon.
4 Signs You Need to Repair or Replace Your Windows
1. Foggy Windows
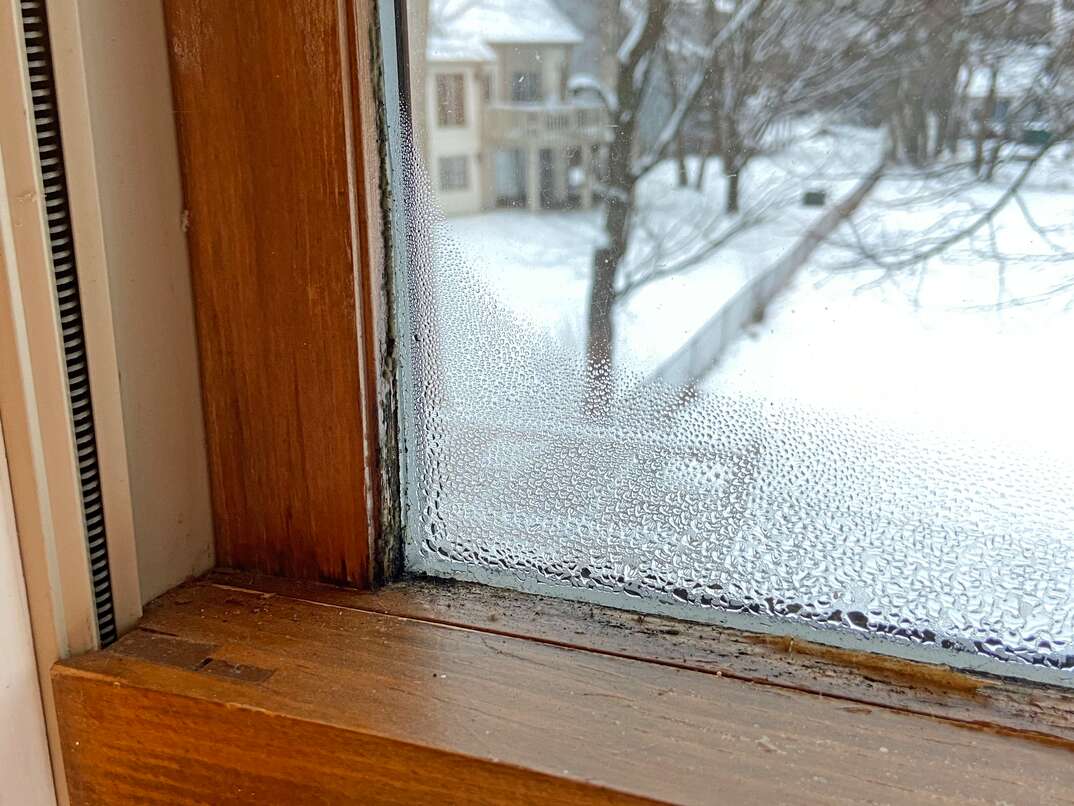
While it’s perfectly normal for windows to get foggy every now and then, having windows that are constantly fogged up is an indication that something is wrong. Typically, a consistently foggy window has a seal that is failing in some way.
2. Windows are Leaking
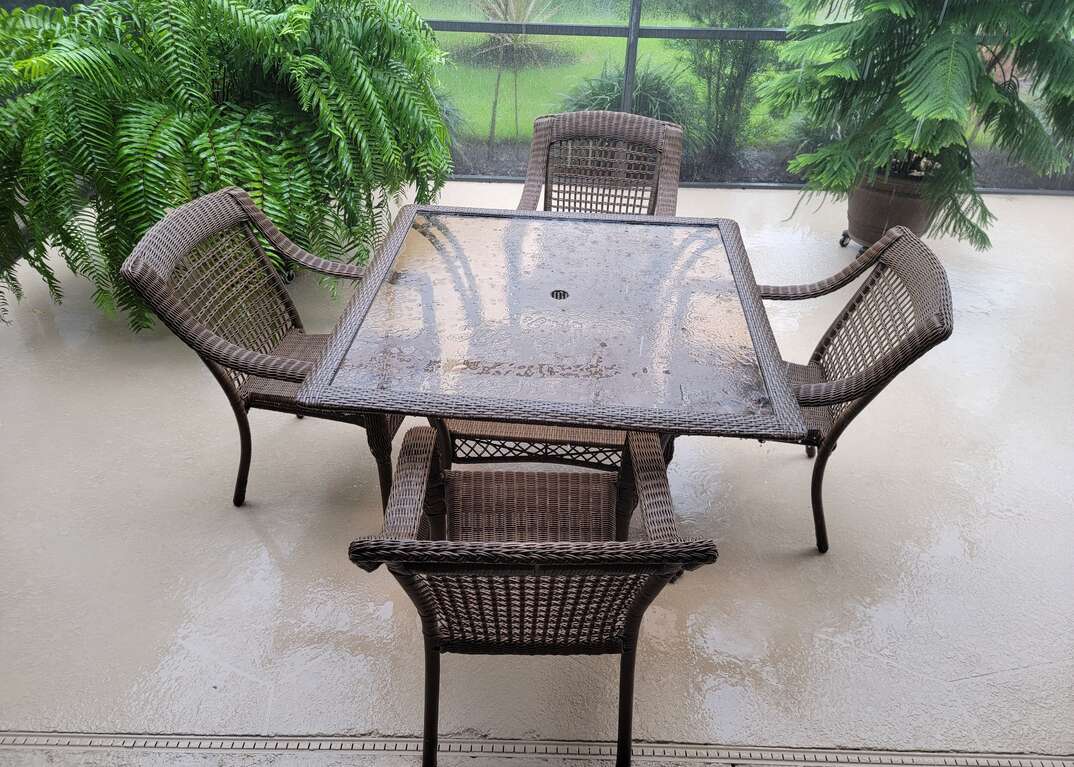
If you notice any water coming in through a shut window when it rains, that’s a strong signal that you need to act immediately. If you don’t already know, consider this a warning: Water damage can occur from even the tiniest of leaks — and quickly, too. A leaking window could have a number of different causes, like cracked glass or deteriorated seals.
3. More Bugs
Noticing a bug or two in your home isn’t normally enough to signal that there’s an issue with your windows. After all, bugs can enter your home in a variety of ways. However, if you notice more bugs than usual are getting inside your home, or if you witness a trail of ants coming inside from a window, there’s a good chance that there’s a problem.
4. Increasing Energy Bills
Have you noticed that your energy bills seem inordinately high? If you determine that you’re spending more money heating or cooling your house than seems normal, you may have an issue with your windows. Windows play a larger part in insulating homes than you might think.
How to Repair a Window
The integrity of your windows is important for a variety of reasons. If the glass is broken or the seals are failing, it can allow pests, air and moisture to enter and damage your home. If you’re experiencing one of these issues, you may need to hire a professional window company to repair or replace your windows.
However, there are some problems that you can fix yourself. Before you call in the pros, take a look at this window repair guide to see if you can get your windows back in working order yourself, saving some money in the process.
How to Repair Window Glass
If you notice a crack in your window glass, it’s important to repair or replace the glass as soon as possible. No matter what caused it, window glass cracks will get worse over time, so it’s important to act quickly when you notice them.
Before attempting any window glass repair, you should first take a moment to examine what type of glass you have. You’ll also need to inspect the crack to determine its severity. Single-pane glass repair can be a simple DIY project. However, cracked double-pane glass will require you to call in a professional. A severe crack or break in your window glass might require you to hire a pro to replace the window glass entirely.
If you’re only dealing with a small crack, you can follow these steps to fix it:
Step 1: Clean the Glass
Begin by cleaning the glass with a small amount of dish soap on a damp cloth to remove any dirt, dust or oil on the glass. Use another damp cloth to wipe away the soap, and then let the glass completely dry afterward.
Step 2: Mix Epoxy
Mix a two-part epoxy on a disposable surface like a paper plate or piece of cardboard. Be sure to follow the manufacturer’s instructions for the specific brand of epoxy you’re using. Most brands use a simple half-and-half mixture of the resin and hardener. Keep in mind that once the elements are mixed together, you’ll have roughly 10 minutes to act before the mixture is too hard to spread into the crack.
Step 3: Spread Epoxy
Use a putty knife to press and spread the epoxy into the crack. Take special care to work the epoxy into the crack without pressing too hard. After the crack is filled, let the epoxy cure for five minutes. Once it’s had time to cure, take a razor blade to scrape away any excess epoxy and use a rag or paper towel with a few drops of acetone on it to remove any epoxy that’s rising out of the crack. Then, let the glass cure for at least 24 hours.
More Related Articles:
- How to Remove a Window
- How to Measure for Replacement Windows
- What Are ‘Plantation Shutters’ … and What’s Up With That Name?
- How Much Does It Cost to Install Plantation Shutters
- Here’s How to Apply Plastic Film to Insulate Your Windows
How to Repair Rotten Wood Around a Window
Due to their constant exposure to the elements, window frames will fall prey to wood rot over time. Similarly, if your windows are leaking or moisture is entering your home, window sills can incur similar damage.
You'll want to act immediately when you discover an issue with your window frame or window sill. Once wood begins to rot, it will spread quickly, potentially damaging other structural elements of your window. When caught early, epoxy wood filler is all that’s needed for this window fix.
Before you try to repair your window frame, inspect the damage closely. If more than 10% of the frame is damaged, it’s recommended that you replace the frame entirely.
Use Wood Filler
For smaller areas of detected rot, use an epoxy wood filler. This will only work for areas of rot that extend roughly an inch or so into the wood. You can use a screwdriver or a knife to determine the depth of the rot. Then, using a chisel, putty knife or hammer, remove all of the rotten wood. Once the rotten wood has been removed, mix and apply the epoxy wood filler into the empty space in the wood. Please note that while similar, different brands of epoxy have slightly different mixing and application directions. Be sure to consult the manufacturer's instructions before using the wood filler on your window frame. When the wood filler has had time to cure, sand and paint the patch until it matches the rest of the wood.
Use an Insert
For instances where the scope of the rot is more than an inch or two, you won’t be able to use a wood filler. Instead, the best idea is to replace the section of rotten wood completely. Be aware that this method requires some basic carpentry skills and equipment, so if you feel the least bit unsure of your abilities here, hire a carpenter or a window repair professional to complete the repair for you.
Just like any instance where wood rot is present, you’ll first want to remove the rot from the frame completely. Use a chisel and hammer to ensure the area is clear of rot, nails, screws or other items. Once the area is clear, measure your gap. To create a new piece to insert, begin cutting as accurately as possible, as the fit needs to be precise. After you’ve made your necessary cuts, fit the piece in the gap to see how it fits. The fit should be tight, but not so tight that it’s a struggle to fit into place. When your insert has been cut correctly, use paint and primer over the entire surface to protect it from absorbing any of the moisture and rot that might be present in your window frame.
When the paint is dry, place the insert in the space and fasten it using exterior-grade screws or large galvanized nails. Keep in mind that you’ll want to drive one screw or nail for every foot of insert. After you’ve fastened the new piece, use wood filler to cover any nail or screw holes. Make sure to use exterior-grade caulk over the seams around the new piece to prevent any moisture from entering your repaired areas.
Stay on Top of Window Maintenance
If properly taken care of, your windows can last for decades. By always keeping an eye out for window warning signs and jumping on those window repairs when you notice them, you’ll keep the rest of your home safe and protected as well.


