How to wire a Light Switch in your Home

Wiring a light switch is one of the most useful home electrical projects a person can do, and it's a simple enough process if you do it right. The information in this article will help you understand how to wire a light switch in your home. The process requires a bit of know-how and just a few tools. The first thing to determine is whether you are wiring a three-way light switch or wiring a single-pole switch.
What’s the difference between single-pole and three-way light switch
Once they are installed, it's hard to see the difference between single-pole and three-way light switches. Some single-pole switches have markings that read "on" and "off." Three-way switches typically do not. They look nearly the same installed in the wall, but single-pole switches are designed to simply work with one light and no other switches. Flip it on, and it turns the light on; flip it off, and it turns the light off.
A three-way switch is more complicated. They are designed to work with more than one switch so a single light can be turned on or off in more than one location, such as at the bottom of the stairs and the top. A single-pole switch has two terminals and a ground; a three-way switch has three terminals and a ground.
How to wire a light switch, single-pole
1. SAFETY FIRST: Before you begin performing any electrical work, be sure to turn off the power to the switch in the breaker box or fuse box.
2. Unscrew and remove the plastic switch plate covering the original switch.
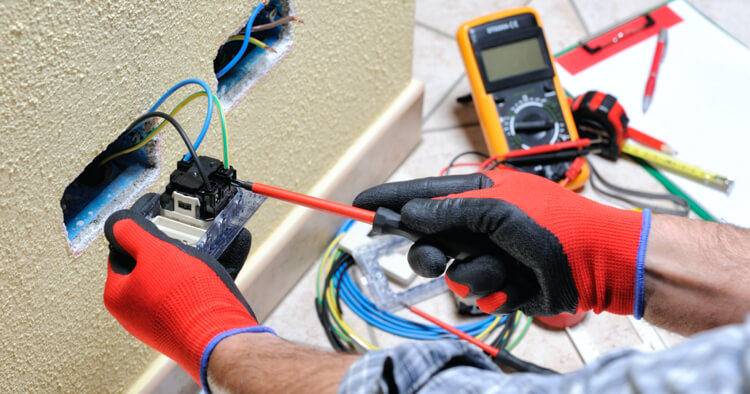
3. Use a voltage meter to test and make certain that the circuit does not have power running through it.
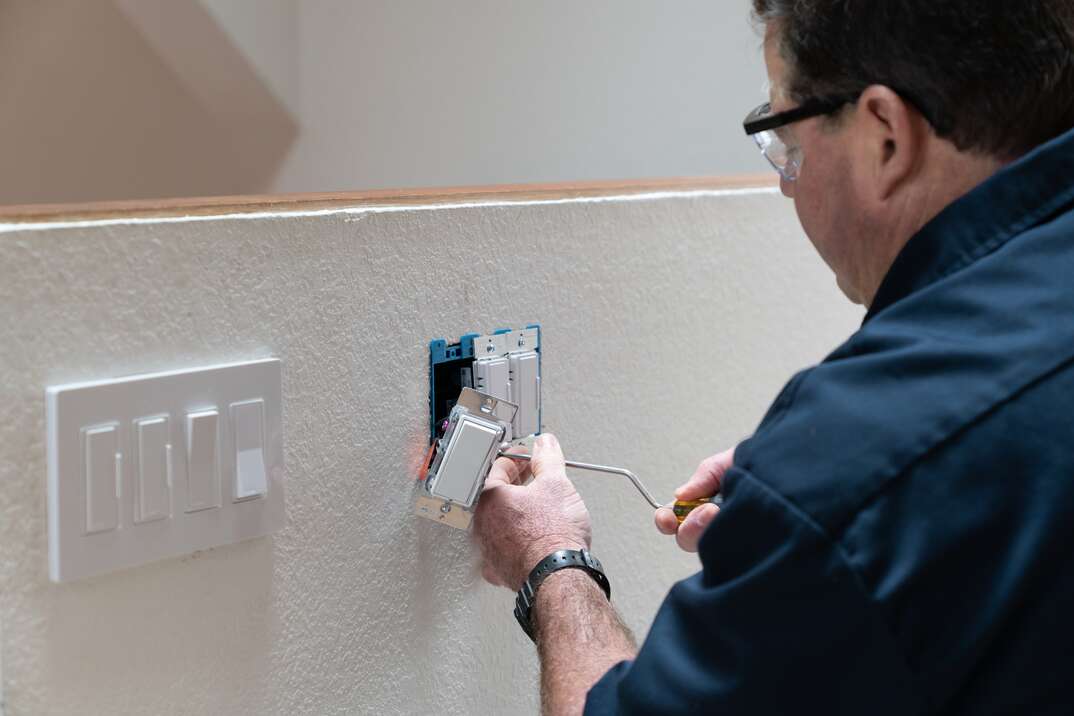
4. Unscrew the switch from the box and pull it out; the wires should still be attached.
5. Disconnect the switch wires. These may be white, red or black. Any of these may be hot, but the hot wire is usually black. Make sure the power is off to the switch, and disconnect all the wires using a screwdriver. Remove the switch.
6. The wire ends should have around half an inch of bare wire exposed. If there is less than that or the wire ends are in poor condition, use a wire stripper to strip off around half an inch of insulation.
7. Connect the ground wire to the green screw on the switch.
8. Connect the hot wires to the two remaining screws on the switch.
9. Replace the light switch in the electrical box. Replace the plastic switch plate.
10. Go to the breaker box or fuse box and turn the power on.
How to wire a three-way light switch setup
1. SAFETY FIRST: Before you begin performing any electrical work, be sure to turn off the power to the switch in the breaker box or fuse box.
2. Pull the screws from the switch plate and remove it.
3. Using a voltage meter, test the circuit to make sure there's no power.
4. Pull the original switch from the box by unscrewing it. The wires will still be attached to the switch.
5. Three-way light switch wiring involves three terminals and a ground. Two of the terminals are for the hot wire that the switch interrupts. The third is for the common wire that runs between the two switches. Remove all of the wires from the original switch, noting their positions.
6. Examine the wires that were attached to the original switch. The ends of the wires should be exposed for about half an inch each. If the wires are damaged or there is not enough exposed, use a wire stripper to prepare them by stripping off about half an inch of insulation.
7. The green screw on the switch gets the ground wire, which is typically bare copper.
8. Connect the hot wire, usually black, to the traveler terminal on one side. You'll also connect the other hot wire to the other traveler terminal.
9. Connect the red wire to the common terminal. This wire runs between the switches in a multi-switch setup, so you can use two or more three-way light switches to control the same light source.
10. Use the screws to replace the light switch in the electrical box. Put the plastic switch plate back on.
11. Turn the power back on at the breaker box or fuse box.
Tips for how to wire a light switch
Whenever you're attempting to perform electrical work on your own, safety is the most important thing. Before you start, please make sure that the power to the circuit is off.
Typically, when replacing an existing switch, you can rely on the previous placement of the wires. Simply note how the light switch wiring ran initially (maybe take a few pictures with your smartphone), disconnect carefully and replace the wires where they were on the new light switch.
If for any reason you feel that DIY electrical work is beyond your skills or home repair comfort level, having a plan in place can help. See which Electrical plans from HomeServe are available in your area.


