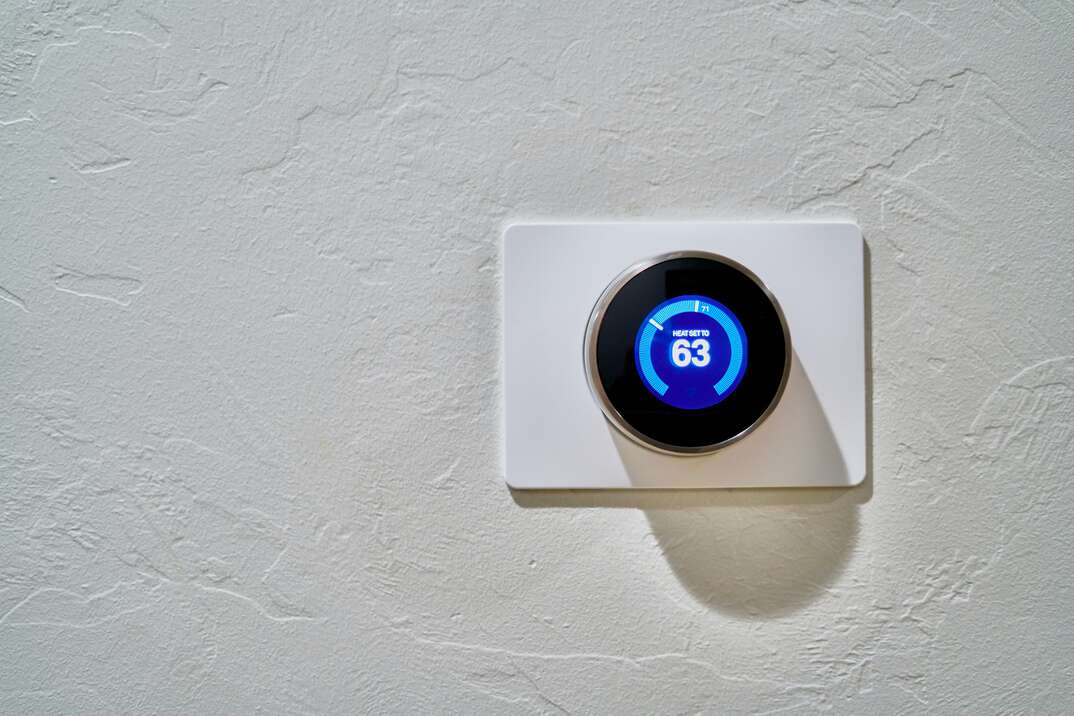
How Much Does It Cost to Install a Google Nest Learning Thermostat?

Is your old thermostat leaving you out in the cold? If you're considering a thermostat replacement, the Google Nest Thermostat is a versatile option that's easy enough to install on your own.
This May Also Interest You: How to Install a Nest Thermostat
Even so, you might feel more comfortable leaving the Google Nest Thermostat installation to the professionals. In that case, here's a cost breakdown.
How Much Does an Electrician Charge to Install a Nest Thermostat?
Electricians often handle smart thermostat installations because they’re attached to wiring in the wall. If you hire an electrician to install your Nest Thermostat, they might charge a flat rate or an hourly rate. According to Fixr, you should expect to pay around $210 to $430 (CAD 280 to CAD 580) to have a Google Nest Thermostat installed. This price includes the unit itself and the installation.
Do I Need to Hire an Electrician to Install a Nest Thermostat?
You usually don't have to hire an electrician to handle your Google Nest Thermostat installation. It's an easy process that most people can handle on their own as long as it's compatible with your system and the existing wiring.
A handyman can often handle the installation as well. The charge is usually around $100 (CAD 135) for small jobs like this one, or an hourly rate between $60 and $90 (CAD 80 and CAD 120).
Does the Geek Squad Install Nest Thermostats?
The Geek Squad offers in-home smart thermostat installation for $129.99 (CAD 175). The service includes removing the old thermostat, installing the new smart thermostat and connecting it to your mobile devices with the app. The Geek Squad also offers other smart device installations for items like doorbells, cameras, lighting and locks.
More Related Articles:
- How to Take Advantage of Time-of-Use Rates and Lower Your Electricity Bill
- Heat Check: The 5 Best Smart Thermostats for Your Home
- How Much Do Thermostats Cost to Replace or Install?
- Smart AC Not a Dumb Idea If You’re Looking to Cut Climate-Control Costs
- 15 Ways to Save on Your Electric Bill
Google Nest Thermostat Installation Process
As long as your current wiring works with the Google Nest Thermostat, the installation process is simple. The Nest Thermostat is not compatible with high-voltage thermostat wiring. Thick wires connected with wire nuts are an indicator of a high-voltage system. Another sign is a thermostat that's labeled as 110, 120 or 240 volts. You shouldn't connect a Google Nest Thermostat to those high-voltage wires. Use this tool to check whether your HVAC system is compatible with Google Nest Thermostat.
Curious whether you may be able to complete the installation yourself? For the top-to-bottom instructions, check out our how-to guide. Here are the general installation steps, assuming your HVAC system and wiring are compatible:
1. Shut off the breaker to the HVAC system and thermostat.
2. Remove the front of the old thermostat. They usually pop off, but some are screwed in place or have clips that you have to release.
3. Photograph the wiring of the current setup so you can reference it when you connect the wires of the new thermostat.
4. Attach the wire labels provided with the Nest Thermostat to the existing wires to make it easier to reconnect them.
5. Disconnect the wires.
6. Remove the backplate from the old thermostat.
7. Pull the wires through the hole on the Google Nest backplate, being careful not to remove the labels.
8. Attach the plate by placing one of the screws through the top hole.
9. Make sure the base is level by using the built-in level on the base. Secure it with the top and bottom screws once it's level.
10. Check the ends of the wires to make sure they're straight. If they're not, cut and strip the wires.
11. Push each wire into its corresponding connector by pressing down on the connector button and inserting the wire. If done correctly, the button should stay down after you insert the wire and release it.
12. Push the thermostat cover onto the base with the Nest logo at the top. It clicks in place if it's attached securely.
13. Turn the power back on at the breaker box. Follow the on-screen instructions to set up the thermostat.
14. Test the thermostat and connect it to your Nest app.
These steps provide a general guide for installing the thermostat. If you do choose to install it yourself, reference the instructions that come with your thermostat. If you don't feel comfortable handling wiring or the wiring doesn't seem right, contact an electrician to do the installation for you.
All CAD conversions are based on the exchange rate on the date of publication.


