How to Install or Replace a Bathtub
Installing a Bathtub at a Glance
- Step 1: Measure existing tub
- Step 2: Disconnect water supply and drain
- Step 3: Remove old tub
- Step 4: Install new tub
- Step 5: Secure new tub
Splish splash, you were taking a bath … when you noticed the chipped enamel, moldy crevices and long-settled soap scum stains. Yep, it’s time to replace your bathtub. If you opt to do the installation yourself, your new bathtub could be ready to use in a day’s time.
This May Also Interest You: How Much Does It Cost to Replace or Install a Bathtub?
With a little planning, the right tools and some good ol’ fashioned elbow grease, installing a new bathtub can be a DIY project. Below is our step-by-step guide.
Step 1: Find Your Dimensions
The first step in any bathtub installation or replacement is to select the right size tub for your bathroom. Start by measuring your existing bathtub’s alcove from wall to wall. The standard size for bathtubs is around 5 feet long and 30 or 32 inches wide. Purchase the size that’s closest to your previous tub.
After you’ve measured, you’ll need to figure out what type of tub you need. Face the alcove. If the drain is on the right-hand side, you’ll need a right drain tub. If it’s on the left, get a left drain tub. Easy enough, right?
Step 2: Disconnect the Water Supply and Drain Assembly
Before you can start on your removal, make sure that you turn off the tub’s water supply. Some bathrooms have a shutoff valve, but if you don’t see one, you’ll need to turn off the supply at your house’s water main. Once the water’s off, open the valves to release any remaining air in the supply lines.
Then, disconnect the tub drain flange. This process varies based on the type of drain you have, but in most cases, you’ll need a drain flange removal tool to perform this task. If you’re feeling handy, you might be able to use a pair of needle-nose pliers to twist and pull the flange.
Now comes the fun part. In order to disconnect the drain assembly, you’ll need to be able to get to the space underneath the tub. You might need to access the tub drain from a crawlspace or a basement. Don’t forget to take a pipe wrench with you, as you’ll need it to loosen the pipe at the connection.
Step 3: Cut Out the Old Tub
After removing the drainpipe assembly, you can take out the old bathtub. Cut a strip above the tub edge in the wall surrounding the bathtub that's about 6 inches in height. The tools you need here may vary depending on the type of wall surround you have in the alcove. If you’re cutting drywall, use a drywall saw and remove the section of the wall all the way down to the studs. If you have tile, you’ll need to use a grinder with a diamond blade to cut through the grout line. Then, use a chisel to remove the individual tiles. Take care here not to cut through any studs.
Find the tub flange. Remove the screws that attach the flange to the studs in the wall. At this point, the tub should be freed from the wall.
Once you’ve removed the flange, use a utility knife to cut away the caulk between the tub and the floor. When this is done, you should be able to lift the tub up and out of the alcove. Keep in mind that, depending on what it’s made of, the old tub could be tremendously heavy. You should plan to have a friend help you move it just in case.
More Related Articles:
- How Much Does It Cost to Install a Whirlpool Bathtub?
- Scrub-a-Dub-Dub: How to Clean Your Bathtub
- Making It Rain: How Much Does It Cost to Install a Shower?
- How to Remove a Bathtub Stopper
- How to Clean a Jetted Tub: 6 Steps to Bath-Time Bliss
Step 4: Install the New Tub
Before you make any adjustments to the area, place the new tub in the alcove to make sure it fits properly and that the tub drain lines up with the P-trap underneath the floor.
Remove it and install a 2 x 4 ledger board. Measure the tub’s flange, then mark that height on the wall. Screw the ledger board to studs in the wall. This will help to support the weight of the tub.
Once the ledger board has been installed, go ahead and secure the drain to the tub. For this step, you’ll need some plumber’s putty. Roll a small amount of putty in your hands and wrap it around the underside of the drain flange. Push the drain into the tub from underneath the tub.
When the drain has been attached, connect the overflow drain. To do this, you’ll place the gasket on the overflow elbow and move it behind the tub. Once that’s on, connect the overflow pipe and the drainpipe, but take care not to overtighten.
Step 5: Secure the Tub
After the connections are in, it’s time to set the tub in place. Before you start, make sure the flange lines up with the markings you made in Step 4. Because the ledger board holds the tub in place, it’s important that it matches up. If not, you’ll need to remove it and readjust.
Once your measurements line up, attach the flange to the studs on all three sides of the wall. Please note that you should not screw the flange to the wall. Instead, you should use roofing nails because they won’t rust over time. When the tub is in place, install the baseboard and the molding in front of and around the tub.
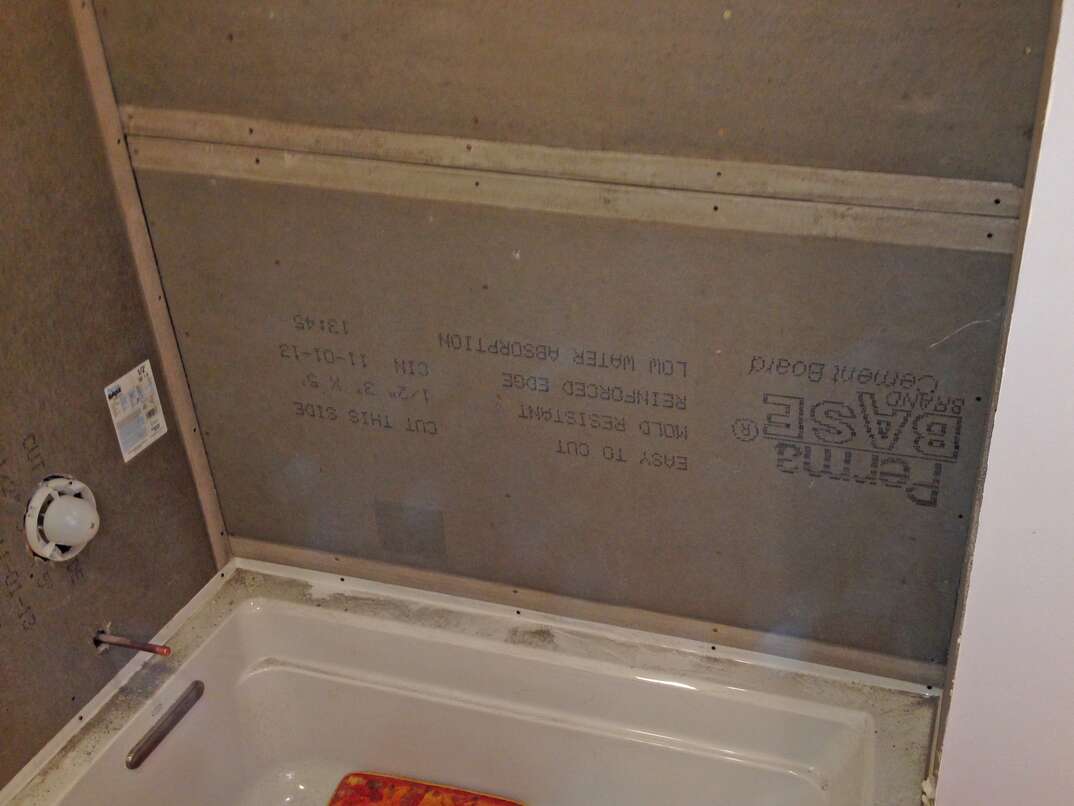
Repair and finish off the drywall or tile that you cut in Step 3. If you’re installing a fiberglass bath surround, now’s the time to adhere it to the alcove.
Then, enjoy your tub! While all these steps might seem intimidating, removing and installing a new bathtub is a relatively easy DIY project that can be completed in a single day. And now, when you settle in for your next bubbly soak, you can enjoy your bath without the distraction of a tub in disrepair.
Taking your first soak in your new tub feels as good as being prepared for unexpected home repairs with a plan from HomeServe. When you have a plan in place and a covered issue arises, you can simply call our 24/7 repair hotline. See what plans are available where you live.