How to Clean a Ceiling Fan
Ahhh. After a long day cleaning and straightening your home, you take a well-deserved break and lay down with your hands behind your head, proud of what you've accomplished. But wait! What's that? Your ceiling fan is filthy! Grime and dust have been accumulating up there since who-knows-when, and it's starting to look a little unsightly.
This May Also Interest You: What’s the Span of Your Fan? How to Measure for a Ceiling Fan
Turns out you're not quite done cleaning. It also turns out that you're not alone; ceiling fan cleaning is often one of the most neglected chores for many homeowners. Fortunately, getting your fan spic-and-span once again is really pretty easy, especially with this handy step-by-step guide.
Why Clean Your Ceiling Fan?
Aside from the fact that ceiling fans can look truly gross when there is buildup of grime on the blades and lights, fans that are caked in dust and other particles simply don't function as well as those that are smooth and clean. Also, a fan that is building up a layer of particles from the air can just as easily fling them off again, potentially spreading dust and allergens around the room in which they operate.
When to Clean Your Fan
You should, of course, clean your ceiling fans whenever there is a visible buildup of grime on the blades or if the bulbs and their shades look particularly dusty. Failing that, a good idea is to clean your fans at the change of seasons when you reverse their direction. Oftentimes you need to operate a small switch on the side of the fan's housing to accomplish this, so while you're up there, you might as well give the unit a quick clean.
Ceiling fans should be set to spin counterclockwise in the summer months because this is the direction that will force air downward and create a cooling breeze. In the winter, the fan should spin clockwise, which will help it circulate the hot air from your HVAC system that tends to accumulate near the ceiling in the colder months.
More Related Articles:
- How Much Does It Cost to Install a Ceiling Fan?
- 4 Ways to Clean Your Ceiling Fan (No. 3 Is Pretty Clever!)
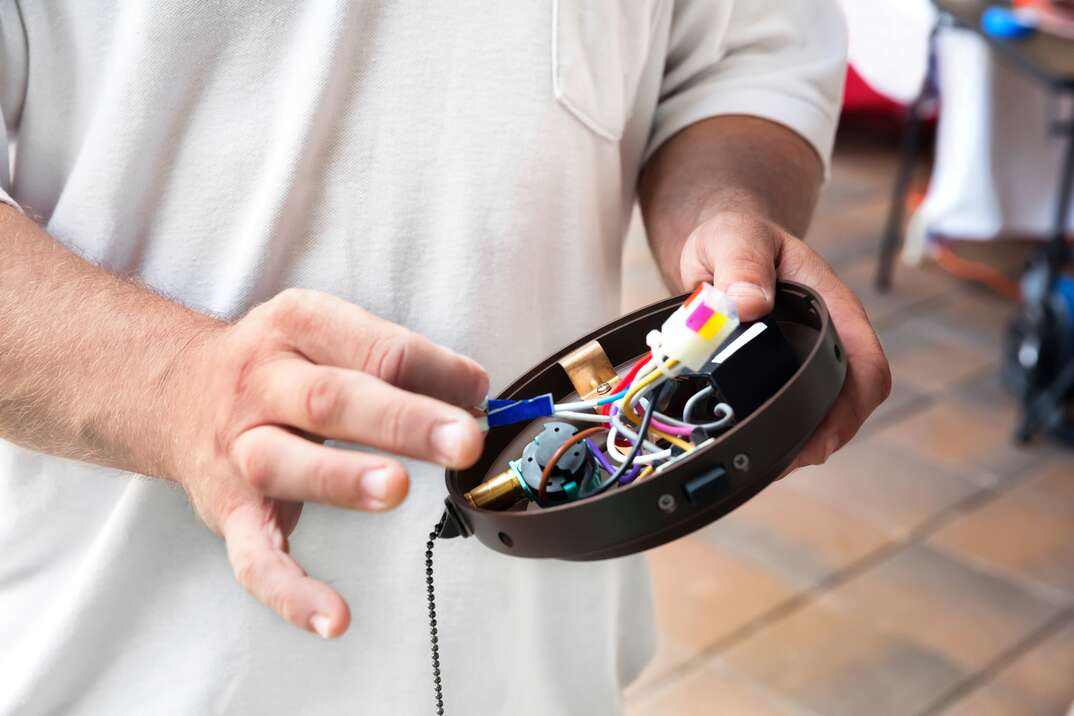
- How to Wire a Ceiling Fan
- Where There’s a Wobble, There’s a Way: How to Fix a Wobbly Ceiling Fan
- How to Remove a Ceiling Fan
How to Clean Your Ceiling Fan: Step by Step
Although obvious, before embarking on these steps, make sure that your ceiling fan is switched off. You may even want to cut the power to the fan at the breaker box.
What You'll Need
It's pretty easy to get your ceiling fan sparkling again with some combination of these simple tools and materials:
- Ladder or tall step stool
- Drop cloth
- Cleaning rags
- Extendable duster
- Pillowcase
- Microfiber cloth
- Cleaning solution
- Compressed air
Step 1: Lay Out the Drop Cloth
Spread a drop cloth that's about twice as wide as your ceiling fan on the ground beneath it. Depending on how dirty your fan is, as you clean it, clumps of dirt and dust can fall to the ground or on your furniture, so you'll want to make sure they are protected. If the fan isn't too dirty, you can skip this step and just vacuum up when you're done.
Step 2: Use a Pole Duster
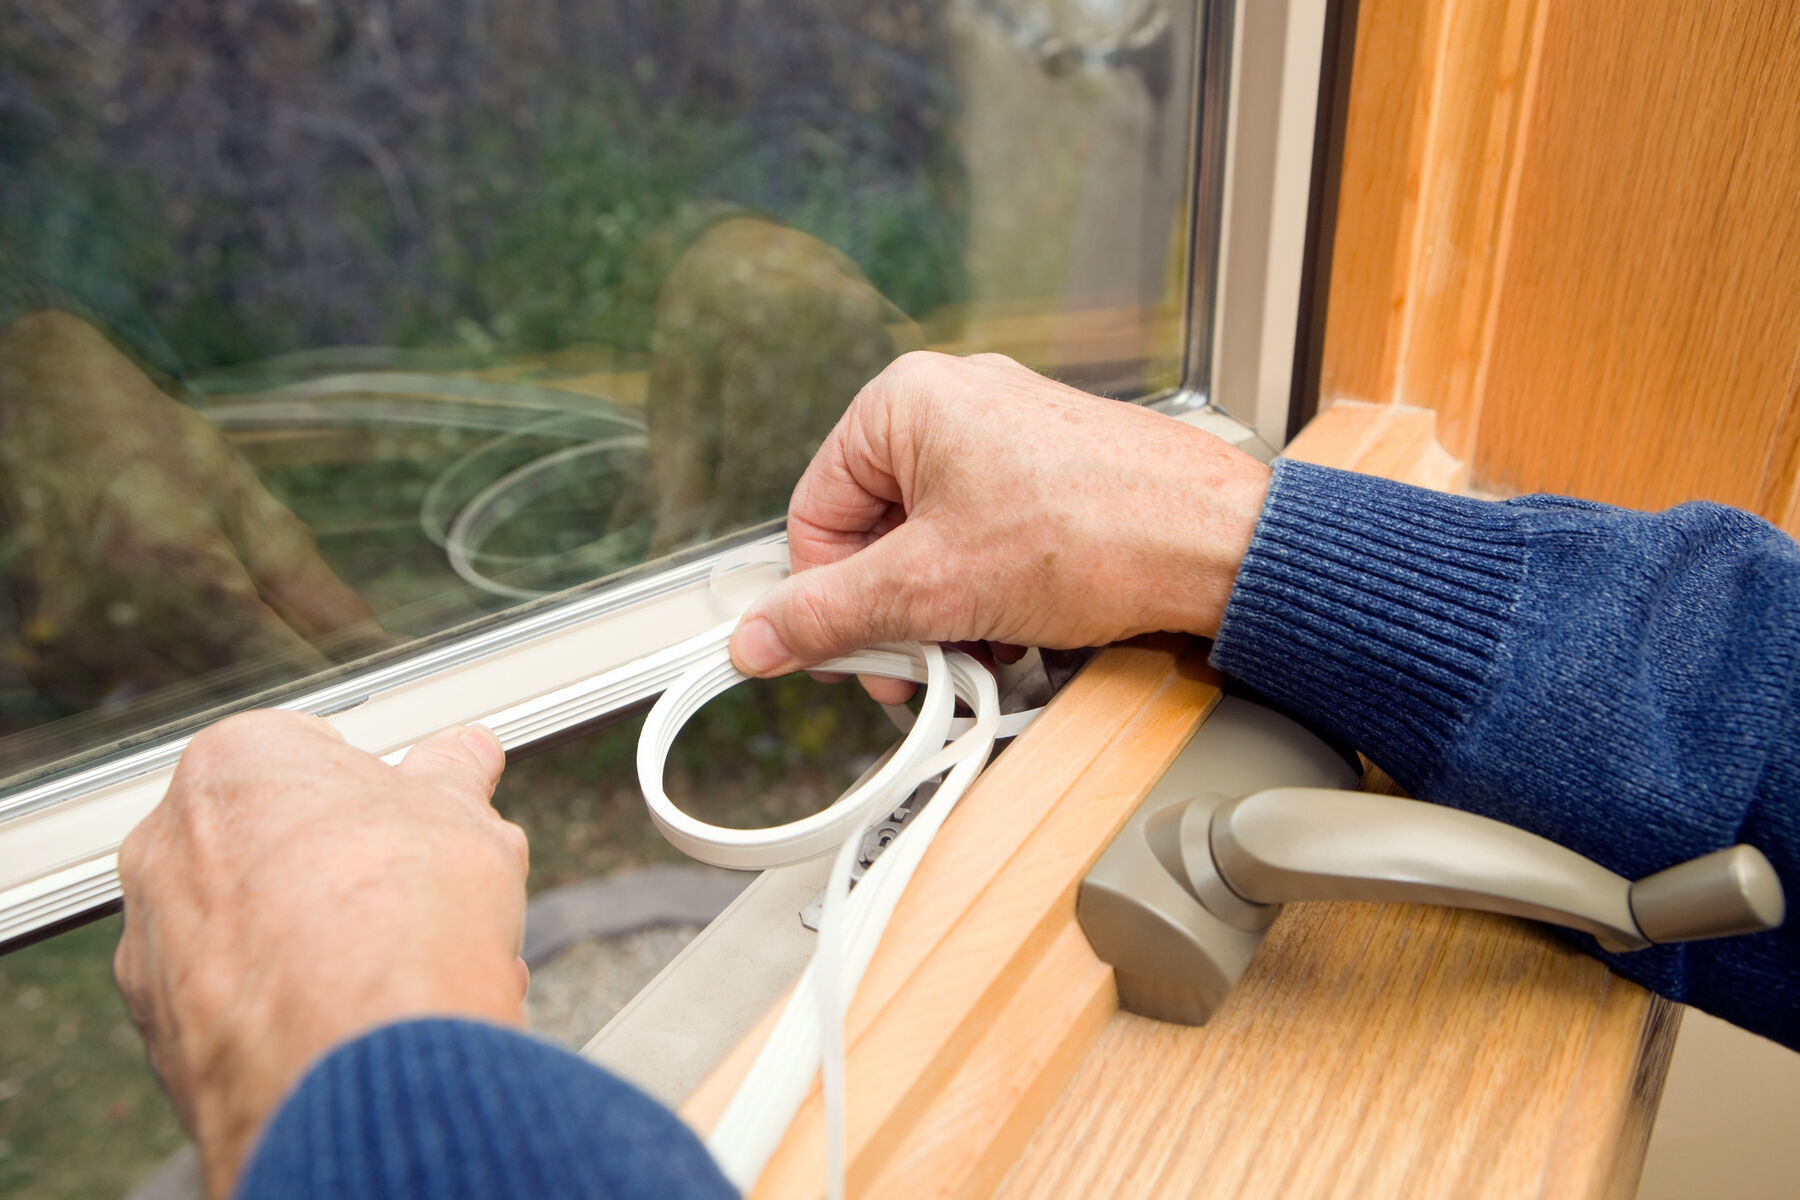
If your ceiling fan isn't too dirty, you might be able to get away with cleaning it using an extendable duster while standing on the floor. There are standard versions of this cleaning helper that can be used for reaching hard-to-access places like the tops of window frames, but there are also versions that can be shaped in a U that are specifically designed to clean ceiling fans, like this one.
Step 3: Set Up the Ladder
While you might be able to clean a ceiling fan fairly well from the ground using a duster on a pole, to give it a really good scrub, you'll want to get up close, so you'll need a ladder or a high step stool.
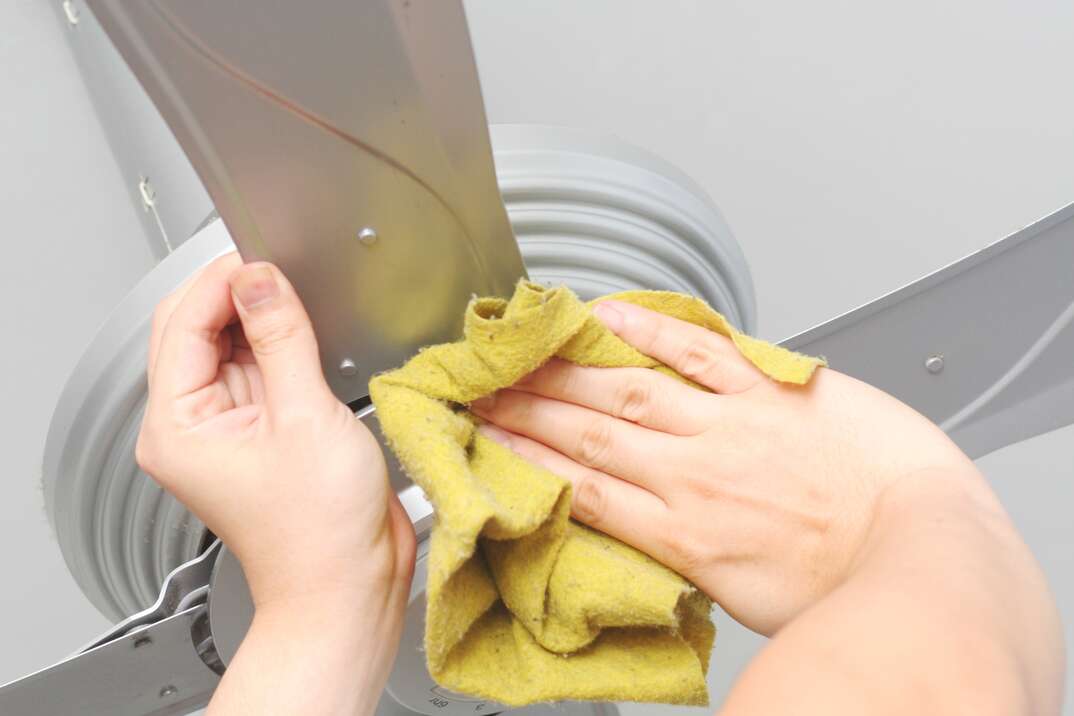
Step 4: Clean the Blades
You can use your duster here to clean your ceiling fan's blades working from the inside out. You can also use an old homeowner's trick and employ an old pillowcase. Simply put the case over the blade, clamp it around the blade with your hands and pull towards the outer edge. The dust and grime will drop into the pillowcase and save your rugs and furniture below. Depending on how dusty your fan blades are, you might need to shake out the pillowcase between the cleaning of each blade.
Step 5: Wash the Blades
After you get the bulk of the grime off your ceiling fan blades, get them looking really spiffy by wiping each with a cloth dipped into a cleaning solution. A mix of equal parts water and vinegar works well and is environmentally friendly.
Step 6: Clean the Bulbs and Shades
If your ceiling fan also has lights, you can use a microfiber cloth to clean the bulbs and shades. If it's been a while, it might be best to remove the shades and give them a good (but careful!) scrub in the sink with a mild soap-and-water solution. Never use anything wet to clean the bulbs and shades attached to the fan to avoid electrocution risk.
Step 7: Clean the housing
As a final step, use a can of compressed air to blast away any dust particles that might have accumulated inside or around the motor housing.
Get Back to Relaxing
Now you can truly take that break you deserve while looking up at your sparkling clean ceiling fan!