Effort Down the Drain: How to Sanitize Your Sink Hole
Cleaning Your Sink Drain at a Glance
- Tools: Pliers, bucket, drain brush
- Step 1: Unscrew P-trap
- Step 2: Unscrew pivot rod
- Step 3: Clean pipes and stopper
- Step 4: Remove sludge
- Step 5: Pour boiling water, baking soda and vinegar
- Step 6: Test
Although it’s not always at the top of the chore list, cleaning a sink drain is an absolute must-do. By routinely cleaning a sink drain, you can help prevent grime and debris from building up. This buildup is often responsible for slow-draining or clogged sinks.
This May Also Interest You: Snake’s in a Drain! How to Unclog Your Sink With a Drain Snake
There’s more than one way to clean a sink drain, especially if you want the method to be as efficient as possible. While baking soda and vinegar are effective cleaners, if it’s been a while since you last cleaned the sink, they might not be enough. You may actually need to physically remove the gunk from the pipes. Here’s our guide to deep-cleaning your drain.
 ----------------------------------------
Can You Use Baking Soda and Vinegar to Clean a Drain?
While this method might be popular, a common question is whether it's safe for your drain. You can certainly use baking soda and vinegar to clean a drain; there aren’t any harmful side effects of using this combo if done correctly.
Ryan Thompson, a plumber from Plumbing Informer, advises that while the baking soda and vinegar method can clean a drain, other methods are more efficient. If you’re just doing a routine clean, using baking soda and vinegar is quick and sufficient. But if it’s been months since you last cleaned your drain, you will want a more in-depth method. However, you can always use baking soda and vinegar as an extra step to your cleaning procedure.
Thompson also mentions that while there is no standard answer on how often to clean a drain, you’ll get great results if you do it at least once a month. If it’s been a little longer than that, your drain might be in need of a deep clean.
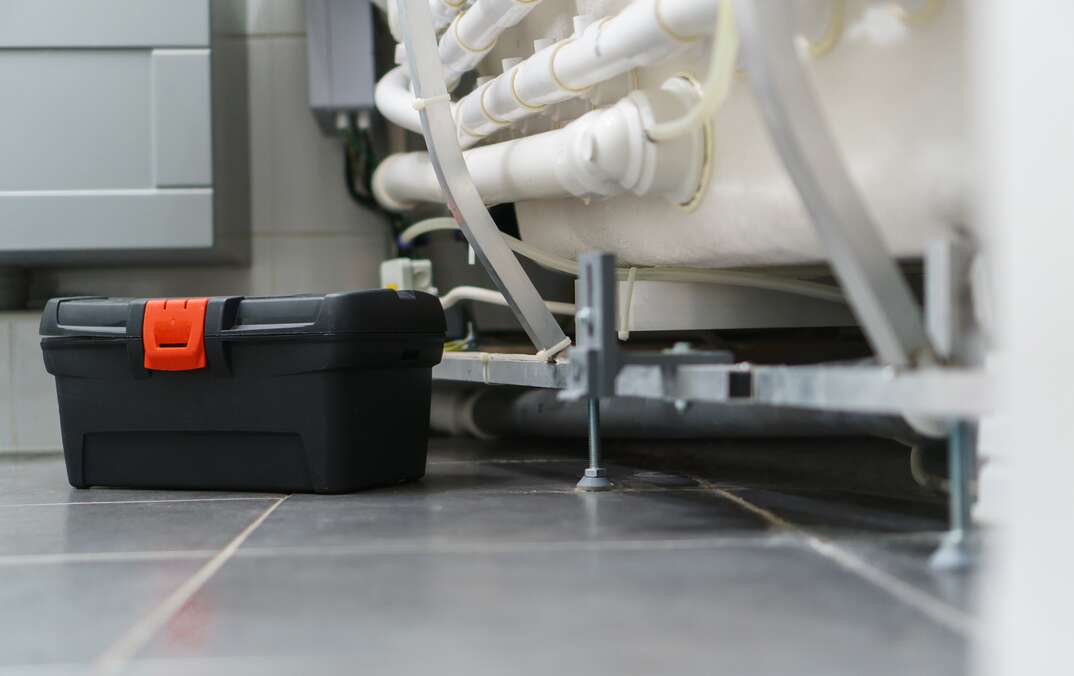
Tools for the Job
There aren’t too many tools you’ll need for this. A set of pliers, a bucket and a drain brush are sufficient.
6 Steps to Properly Clean a Sink Drain
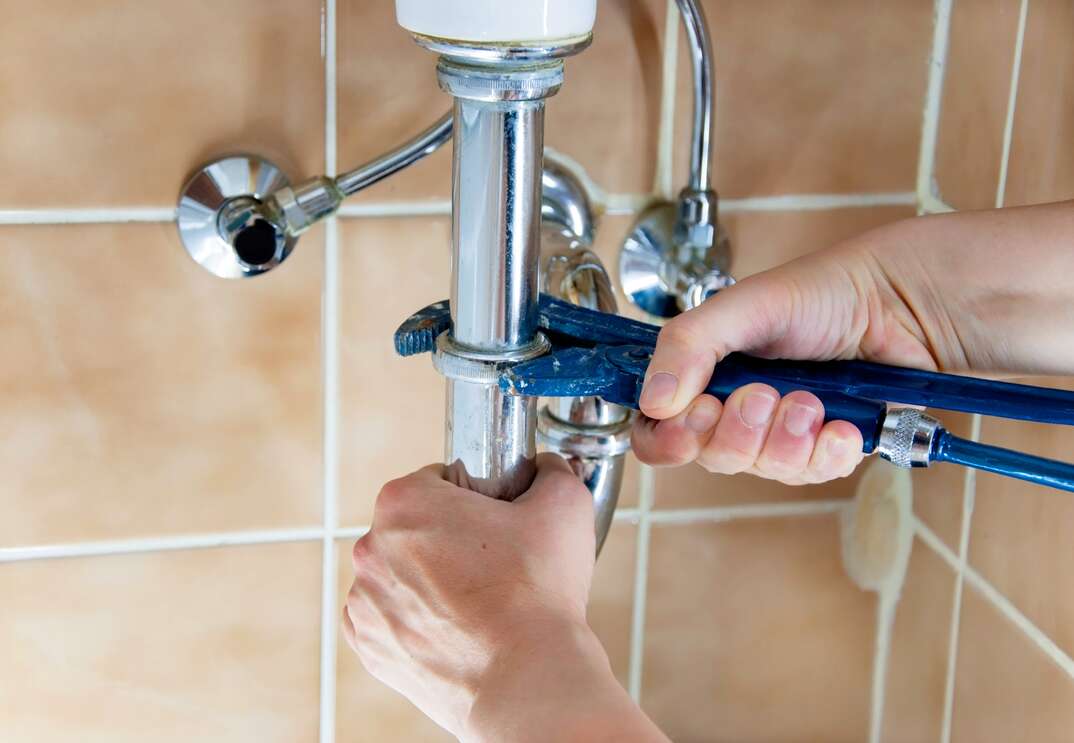
Step 1: Unscrew the P-Trap
The first step is to disconnect the plumbing fixtures. The P-trap is a pipe below the sink, and it directly connects the sink with the house plumbing system. You will want to disconnect the P-trap since you will need to clean it.
Before you begin to remove and unscrew anything, you’ll want to place a bucket below the P-trap. Often, there will be leftover water inside it, which you definitely don’t want spilling out. To avoid any mess, place a bucket right underneath the area.
Use pliers to unscrew the top nut of the P-trap that connects with the sink’s tailpiece. Then unscrew the nut on the other end of the piece. As you start to unscrew, you’ll begin to notice water coming out. Slowly continue to unscrew, holding onto the P-trap so it doesn’t fall once you remove the nuts. Empty any other leftover water inside the P-trap.
You should also remove the pipe attached to the wall drain since you will want to clean both the pipe and the insides of the wall drain.
Step 2: Unscrew the Pivot Rod
Just like the P-trap, you’ll also want to unscrew the pivot rod from the drain. Turn and loosen the knob that connects to your sink, then it should easily come off. By removing the pivot rod, you can now remove the pop-up stopper, which also collects all sorts of gross debris. With the pop-up stopper now removed, shove a drain brush down the drain and use it to clean the inside of the pipe. Scrape the sides of the drain with the brush to get rid of all the built-up debris.
More Related Articles:
- How to Remove a Sink Stopper
- How to Clear a Clogged Drain
- Can You Pour Cooking Grease Down the Drain? No. Here’s Why.
- How to Retrieve Your Wedding Ring From the Sink Drain
- Everything ‘Bout the Kitchen Sink: A 5-Step Installation Guide
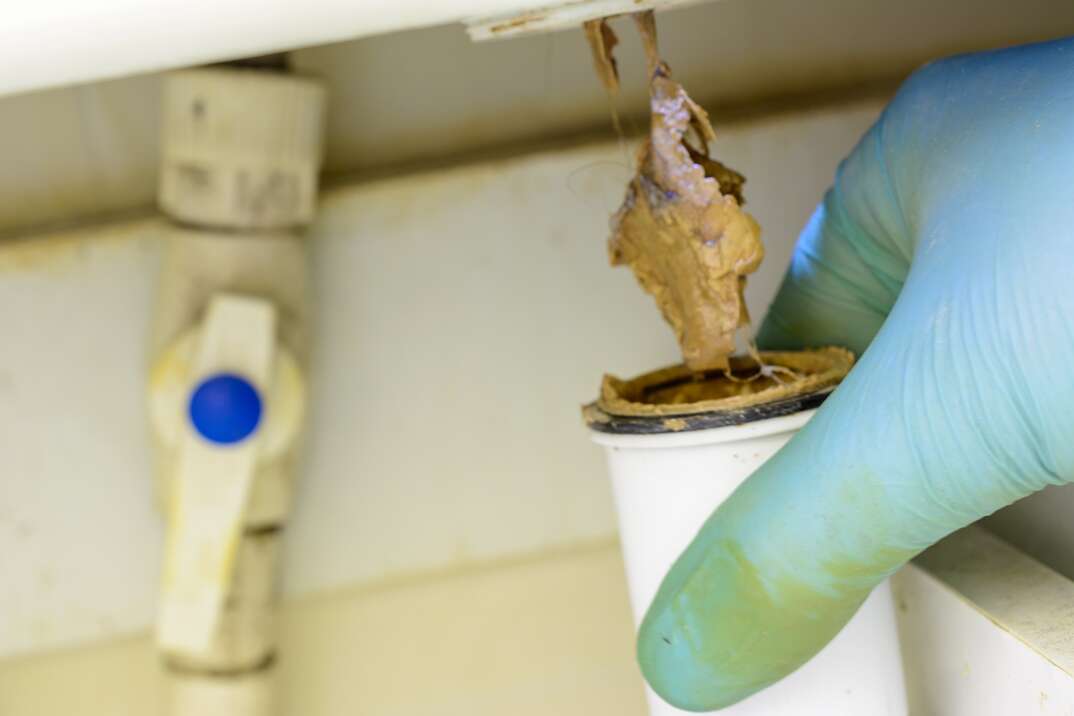
Step 3: Clean the Pipes and Pop-Up Stopper
If you look inside at the contents of the p-trap, pipes or pop-up stopper, you’ll notice all sorts of slimy, nasty sludge near the openings. This is often buildup consisting of leftover food, toothpaste and other gooey things that can block the openings.
To clean the insides of the pipes, run a paper towel through the middle and shift it around so it removes as much buildup as possible. Then, place all the contents in either a different sink or another bucket and add water to it. Add 1/4 cup of bleach to the bucket and let everything sit for around 10 to 15 minutes. Then, just take them out and clean them again with another paper towel.
Step 4: Remove Sludge From the Drain
The wall drain will also have sludge on it, so use a spoon or a drain brush to clean the inside of it. Once again, be sure to have a bucket below you. You don’t want this nasty material sticking to anything under the sink.
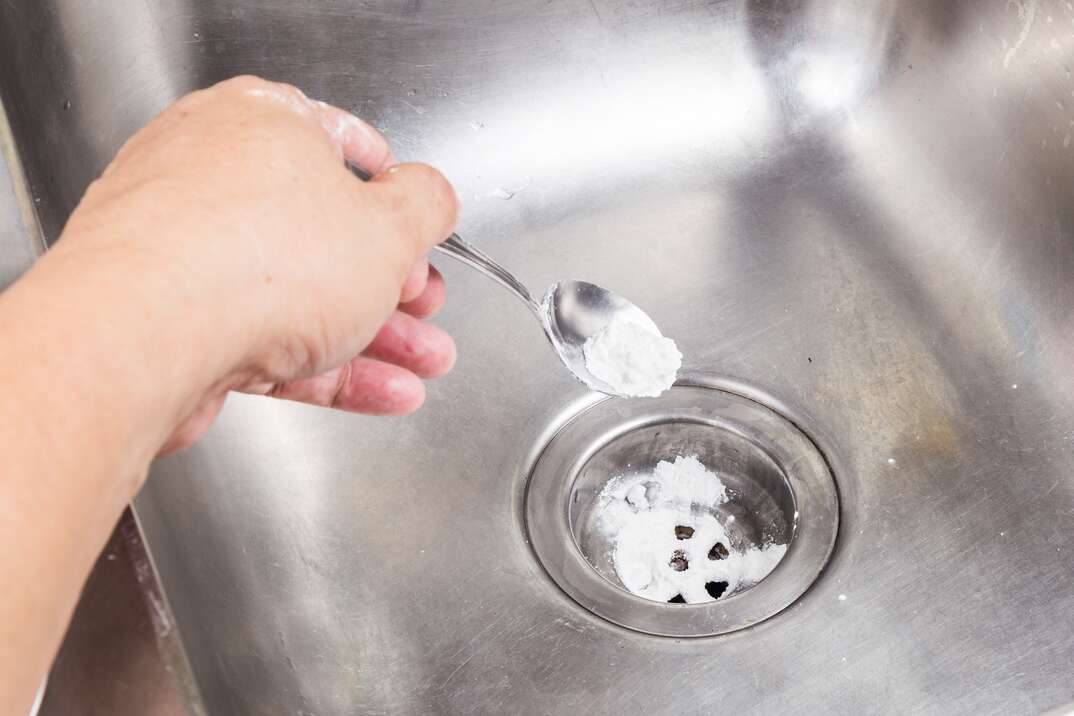
Step 5: Pour Boiling Water, Baking Soda and Vinegar
For maximum effect, you can combine the baking soda and vinegar method with this one.
Put all the pipes back in their original place. Then, start by pouring hot water down the drain. After that’s done, pour a ½ cup of baking soda down the drain, followed by 1 cup of vinegar. Let the mixture sit for at least 10 minutes. Once the 10 minutes are up and the two substances have reacted, pour boiling water once again to help flush them out.
Step 6: Test It Out
After you’ve finished cleaning everything, it’s time to test the drain and ensure your hard work wasn’t in vain. If water was previously slow to drain, that should no longer be an issue. You should see the water in the sink immediately go down the drain.
While it might be easy to call it a day at this point, it’s essential to check the piping and ensure there are no water leaks. If you didn’t tighten the pipe enough, it’s possible you might have a minor water leak which you will want to fix now rather than later.
Since we’re all home now more than ever, being prepared for unexpected home repairs with a plan from HomeServe is important. Having a plan in place gives you peace of mind knowing that you can simply call our 24/7 repair hotline for covered breakdowns. See what plans are available in your neighborhood.