How to Perform a Generator Load Bank Test
Performing a Generator Load Test at a Glance
- Step 1: Turn generator off and connect load bank
- Step 2: Locate indicators, switches and toggles
- Step 3: Turn generator on
- Step 4: Perform tests
- Step 5: Remove load bank
You don’t want a generator to fail when you need it the most. A generator load test is a great way to verify that your generator will work in the most crucial moments. Plus, you can also analyze its performance and test its efficiency at different levels.
This May Also Interest You: Home Backup Generator Maintenance Checklist
A generator load test is a routine task that needs to be done to ensure a generator is still in good condition and will perform adequately. Here’s how to perform one.
What’s a Generator Load Test?
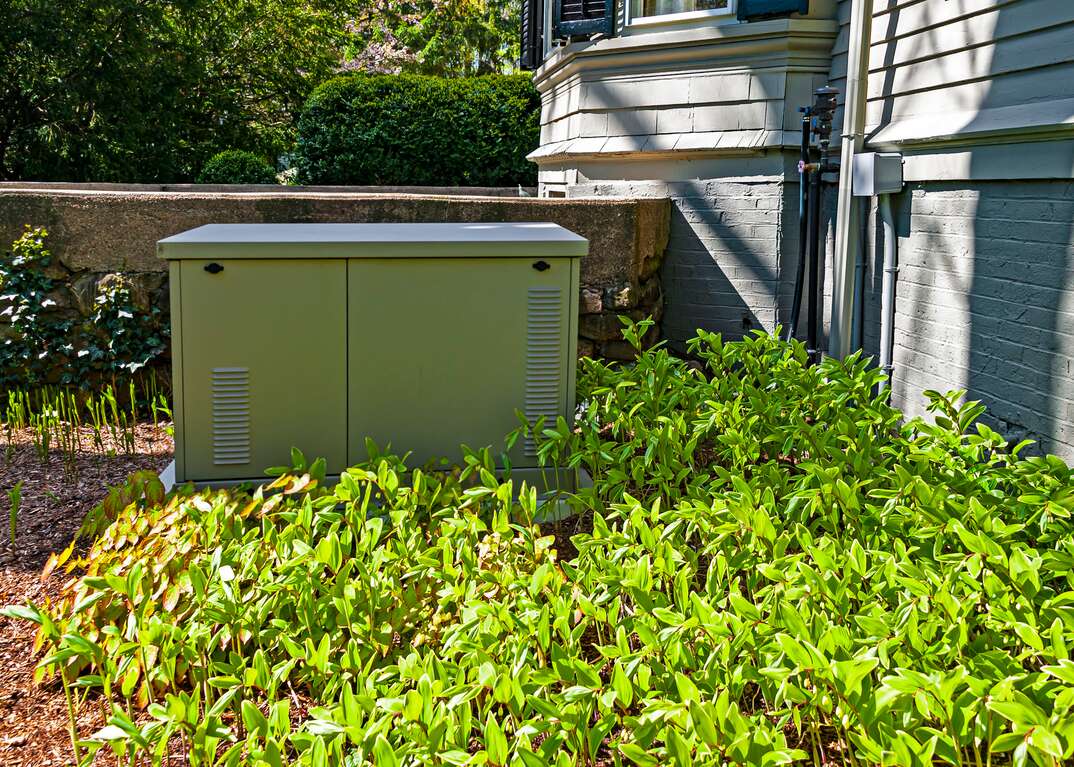
A generator load test checks how a generator handles specific load situations by using a load bank. A load bank is a tool that can simulate electrical loads. The load test helps ensure that the generator can perform throughout its entire operating range without issues.
This basically requires connecting the generator to a variable dummy load that can be increased incrementally from 25% load to 50%, 75% and ultimately 100% load. It’s used as a form of preventative maintenance so that when you actually need a generator to work, it will do its job correctly.
Why You Should Perform a Load Test
Generators usually serve as backup power in the case of a shortage. However, they need to be able to operate when called upon without any hassles. A load bank test provides proof that the installed generator will work when needed. However, it’s not just checking whether the generator works, but whether it will work at high levels.
When a generator has been on-site for a while and isn’t used too often, it won’t burn fuel as much. Mogale Modisane, an electrical engineer and founder of ToolsGaloreHQ, said that, as a result, you often get an excess of carbon being trapped within the rings, turbos, injector and exhaust system. This phenomenon is called “wet stacking.” Running the generator often via a load bank test at different loads can help reduce this overall effect.
How Often Should You Load Test a Generator?
Once the generator has been commissioned, it’s imperative to run load bank tests in accordance with the manufacturer's guidelines and local regulations. How often you need to do a load test will also vary on the place where the generator is installed.
According to the National Fire Protection Association standards, generators tend to fall under two category levels — Level 1 and Level 2. Level 1 generators supply backup power to life-critical applications and are expected to have the highest level of availability when called upon. Hence they also have the most stringent load bank testing requirements. Level 2 generators are those that carry loads being less critical to human life and safety.
Generally speaking, preventative maintenance should take place on a monthly basis. Modisane says a weekly physical inspection and a monthly load test form the backbone of most preventative maintenance plans. It’s important to remember that ultimately, generator testing should meet all requirements as per the local regulations. In some states, like Minnesota, health care facilities must put their generators under load at least once a month.
For less mission-critical generators (Level 2), an annual test at 75% to 80% is typically what is expected. However, some local governments, manufacturers and even insurance companies might have stronger requirements.
More Related Articles:
- How Much Does a Home Generator Cost?
- How Much Does a Whole-House Generator Cost?
- How Much Do Electrical Repairs Cost?
- Socket to Me: How Much Does It Cost to Install or Replace Electrical Outlets?
- How Much Does It Cost to Replace an Electrical Panel and Ground Outlets With GCFI?
How to Perform a Generator Load Test: 5 Steps
Step 1: Perform Proper Setup
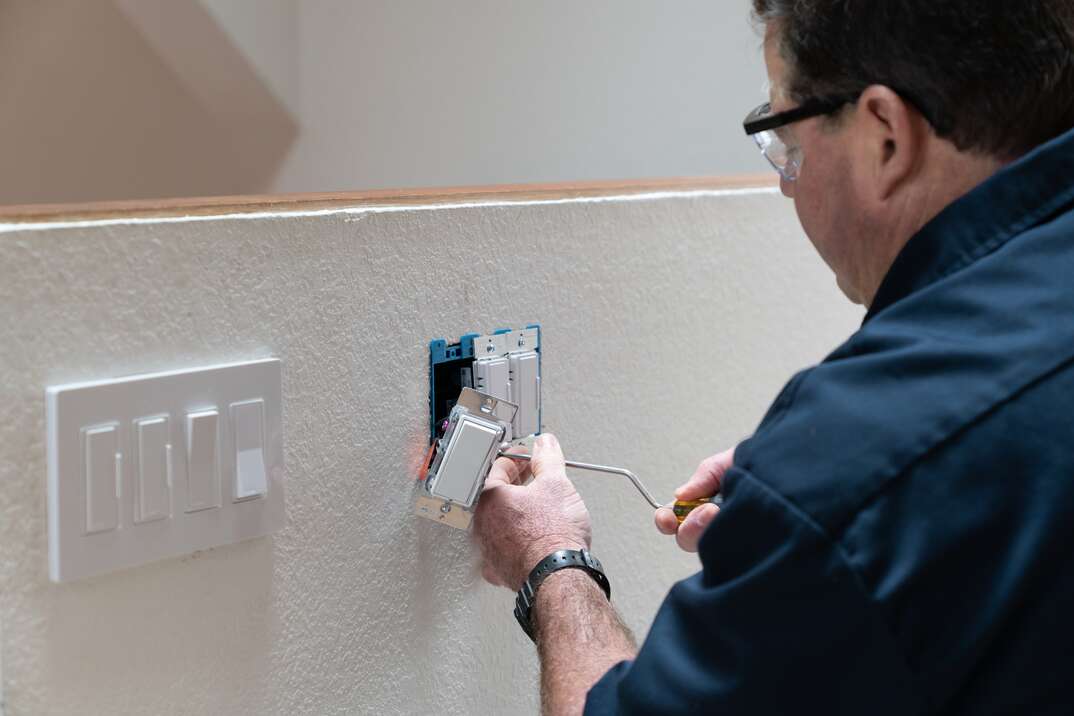
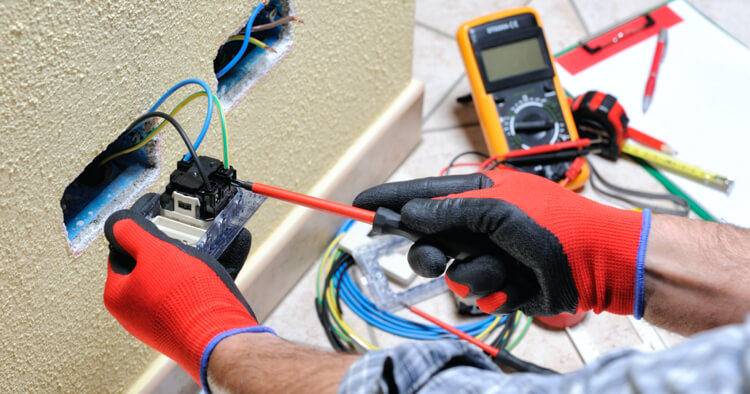
First, you need to ensure that your generator is turned off and the breaker is in an open position. You will need to open up the generator panel and expose the breaker. There are generally three phases: red, yellow and blue. Connect the three phase-cable runs on the output side of the breaker to your portable load bank.
One essential check at this stage is to ensure that your blower fans are operating correctly on your portable load bank. This is especially true if it is a resistive load, which can get really hot. The blowers help prevent the load bank from overheating. Many popular load banks require an auxiliary transformer to provide adequate power for the blower fans, especially at full load.
Step 2: Learn the Load Bank Indicators, Switches and Variable Load Toggles
Before turning on the generator, ensure you understand the various indicators on your load bank’s user interface. One of the most important indicators you should keep an eye on is the overheating light. Also, find the toggle switches that allow you to move from a 25% load all the way to a 100% load.
Step 3: Turn on the Generator
Once the generator has been turned on successfully, the key is to ensure that your generator's temperature is stabilized before continuing with any testing. Instructions for this can typically be found on the user interface and user manual.
Once a stabilized temperature has been reached, write down the initial measurements at 25% loading. Modisane mentions that this is also a perfect time to ensure that the load bank is connected and functioning correctly and that there are no negative indicators on the load bank's user interface.
Step 4: Perform the Tests
This step involves the actual step-through testing at various loading percentages. The specifics of the test are determined by the manufacturers or facilities specifications. The NFPA’s testing procedure lasts 2 hours (25% for 30 minutes, 50% for 30 minutes, 75% for 1 hour). You can then run the generator at full load for 10 to 30 additional minutes to ensure that it can operate throughout its entire operating range.
Modisane says that for every step, record the following parameters:
- Frequency (Hz)
- Battery Voltage (DC)
- Voltage (AC-L1, L2, L3)
- Oil Pressure (PSI)
- Amperage (AC-L1, L2, L3)
- Coolant Temperature
- Power Factor (should be 1 for resistive load)
- Ambient Temperature
- Power (kW)
- Exhaust Temperature
- Load Percentage
Step 5: Remove the Load Bank
Ensure the breaker is in an open position (i.e., open circuit). Disconnect the three phases from the output of the generator's breaker and allow the generator and load bank to cool down for at least 5 minutes.