Exhaust Options: A DIY Bathroom Fan Installation Overview
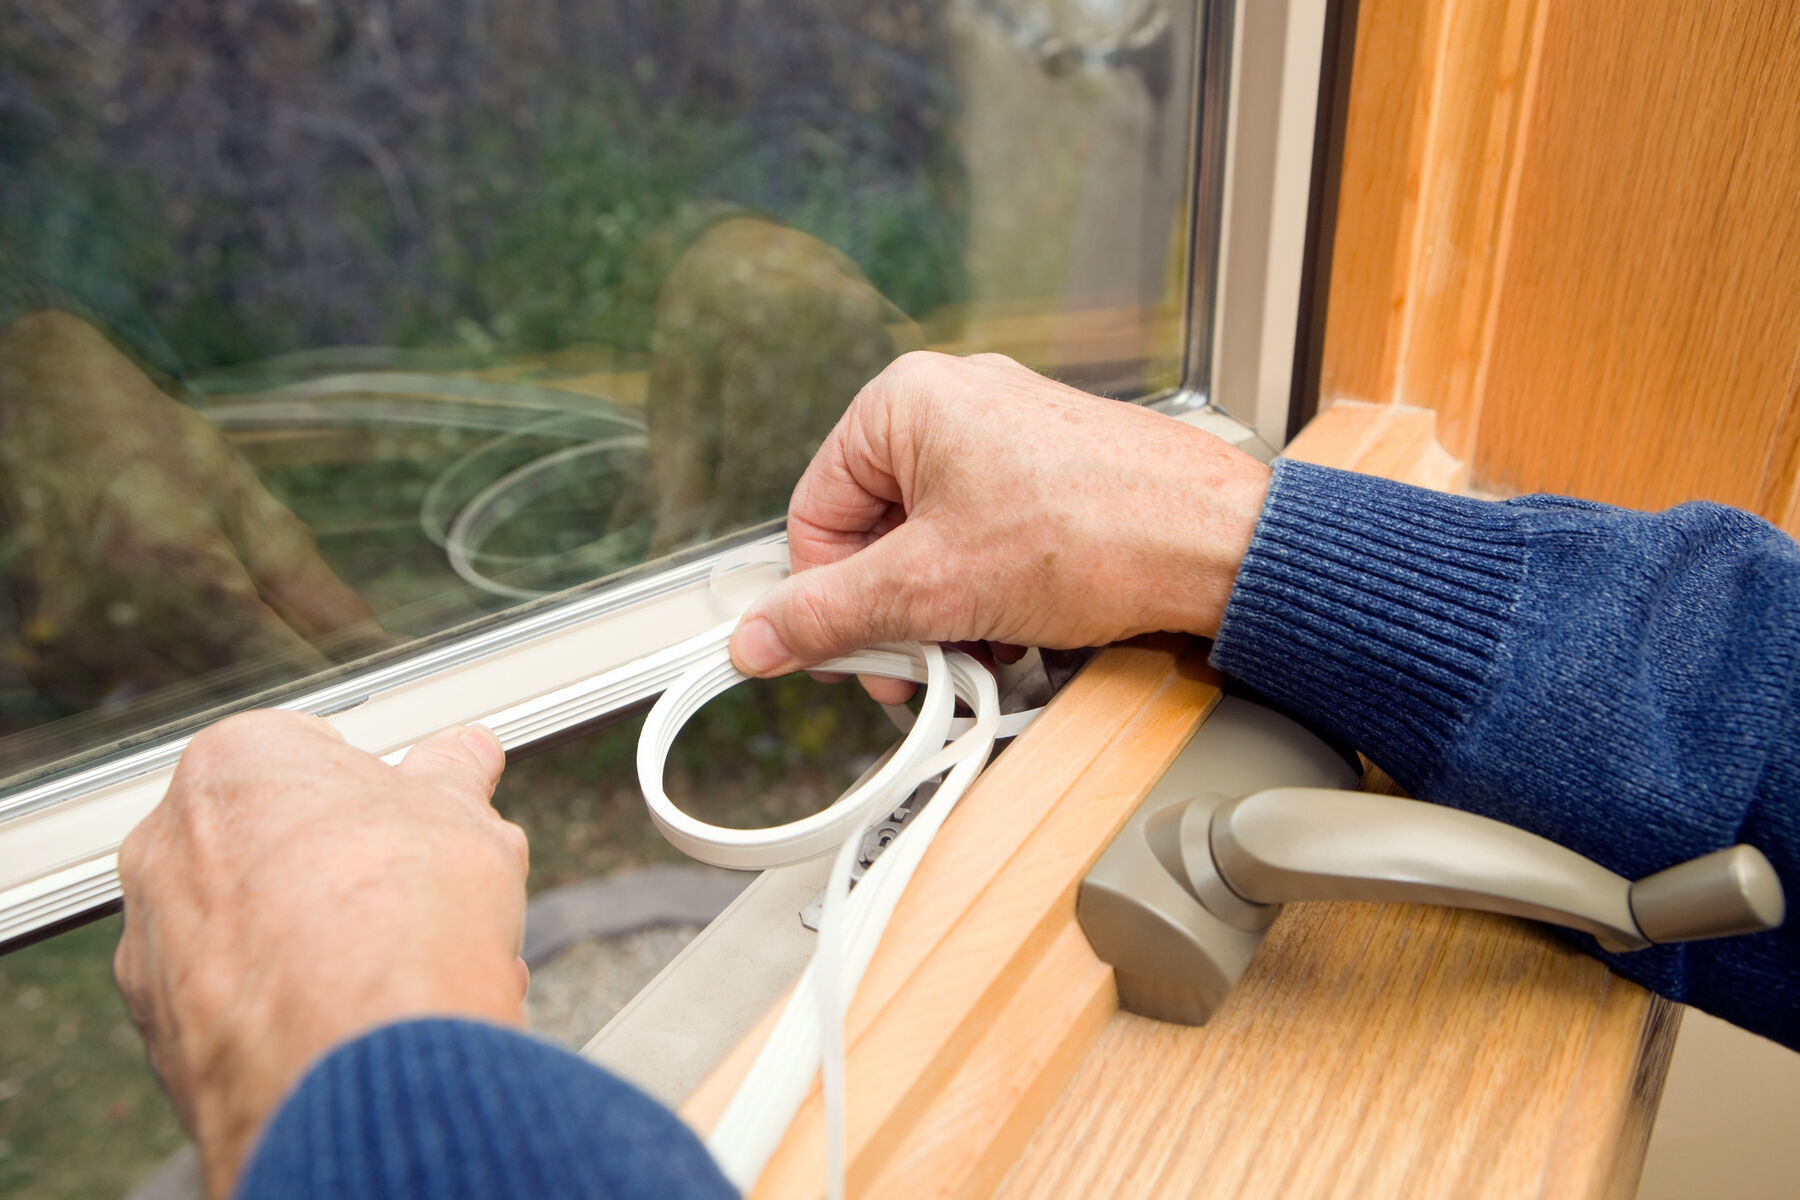
There’s no way around it: Moisture issues can put a damper on the charm of your bathroom quicker than you can say “rub-a-dub-dub.” Uncontrolled moisture can lead to mold and mildew, which, in addition to being unsightly, can adversely affect your health, and leave your bathroom feeling far from spic-and-span. Left unchecked, prolonged moisture can lead to peeling wallpaper, crumbling grout, loose tile and even rotting walls. Air sealing and insulation can be helpful in controlling moisture, but without proper ventilation, the battle against the damaging effects of warm, humid air will be a lost cause. Installing a bathroom exhaust fan is critical to moisture management.
This May Also Interest You: As the Seasons Change, So Should the Direction of Your Ceiling Fan
Flipping on the fan can quickly get rid of fogged-up windows and undesirable odors while protecting your home from potential damage. If you don’t currently have a bathroom exhaust fan, or if the one already in your bathroom needs replacing (i.e., it sounds like a Soviet-era helicopter), consider the following guide to help you gear up to tackle this do-it-yourself installation project.
What Type of Fan Do I Need?
Before you get started, it’s important to determine what type of exhaust fan you need for your bathroom. Vent fans are categorized by CFM, or cubic feet per minute, which refers to how much air they can move in 60 seconds. Generally speaking, the larger the room, the higher you want your CFM rating.
A good rule to go by is to multiply the square footage of the room by 1.1 to determine what your CFM rating should be. So that means, if your bathroom is 80 square feet, you should go with a vent fan rated at 88 CFM. The Home Ventilating Institute also recommends that, for every additional toilet, bath or shower, another 50 CFM is required for adequate ventilation.
While you’re fan shopping, it’s also a good idea to make sure the fan you purchase is certified by the HVI. The HVI independently tests and certifies fans to ensure they meet certain performance standards. Buying a fan certified by the HVI certifies that it will operate effectively. You can start by investigating the assortment of bath fan products listed on the HVI website.
In addition to CFM ratings, vent fans also are rated in terms of sound, using units called sones. Fans with a low sone rating — say, at 1 or 2 sones — are fairly quiet, often making no more noise than a refrigerator. However, as the sone rating increases, the fans get progressively louder. You’ll probably want to stay away from fans with a sone rating of 6 or more — unless you’re partial to the cacophonous drone of a thousand tiny Harley-Davidsons. OK, that may be a slight exaggeration, but it’s safe to assume that most of us prefer quieter fans.
Aside from CFM and sone ratings, vent fans also include a variety of features that can be considered based on your budget and personal preference. These include features such as integrated lighting, timer controls, and humidity and moisture sensors. While these aren’t critical to the performance of the fan, they can certainly be nice perks.
3-Step Installation
Use the following steps as a guide to your bathroom exhaust fan installation.
Step 1: Cut Your Hole
The first step in installing a bathroom vent fan is determining the spot in the ceiling where you’d like to place it. As you figure this out, keep in mind that, for the best performance, the fan should be positioned somewhere between the toilet and the bath or shower.
- When you’re ready to start cutting, begin by marking a spot on your bathroom ceiling in the area you plan to install the fan.
- Drill a hole into the ceiling using a long, three-eighths-inch bit; this hole serves as a reference point for the fan.
- After drilling the hole, crawl up in your attic and determine whether there are any pipes or other obstructions in the way of your prospective fan duct.
- While you're at it, clear any insulation that might be directly overhead.
- If possible, try to position your fan between two ceiling joists. Although vent fans are not overly heavy, you need to ensure that you attach them to joists for the extra support.
- If you can’t get up in the attic, you can use an electronic stud sensor to locate your joists. If you don’t have joists where you need them, the fan should come with a set of suspension brackets that will attach directly to the drywall.
- After you’ve found the best spot, measure the dimensions of the vent fan’s intake port and, using a layout square, create cutting lines by drawing the outline on the ceiling with a pencil.
- Then, use a saw to cut the intake hole in the bathroom ceiling. If you have one, an electric jigsaw or reciprocating saw is most efficient for this purpose. If not, don’t worry: The job can be also accomplished using a simple drywall saw — just go heavy on the elbow grease.
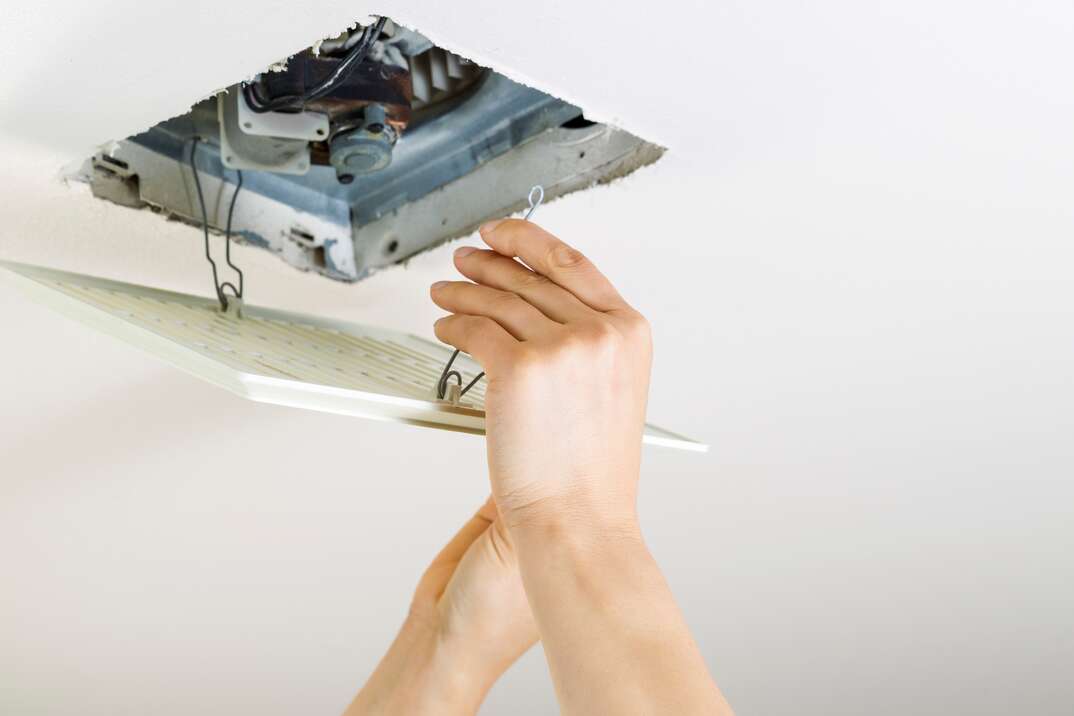
Step 2: Install the Housing
- From inside your attic, pull the fan housing in the hole you’ve cut, making sure that the bottom of the fan is flush with the bottom of the ceiling’s drywall. (Of course, you’ll need another pair of eyes here to make sure your housing is flush with the drywall.)
- With the fan pulled into the hole, screw the fan to the sides of the ceiling joists, or install the brackets as directed in your fan's instruction booklet.
- After you’ve attached the fan, pull approximately 7 inches of electrical wiring through the fan housing.
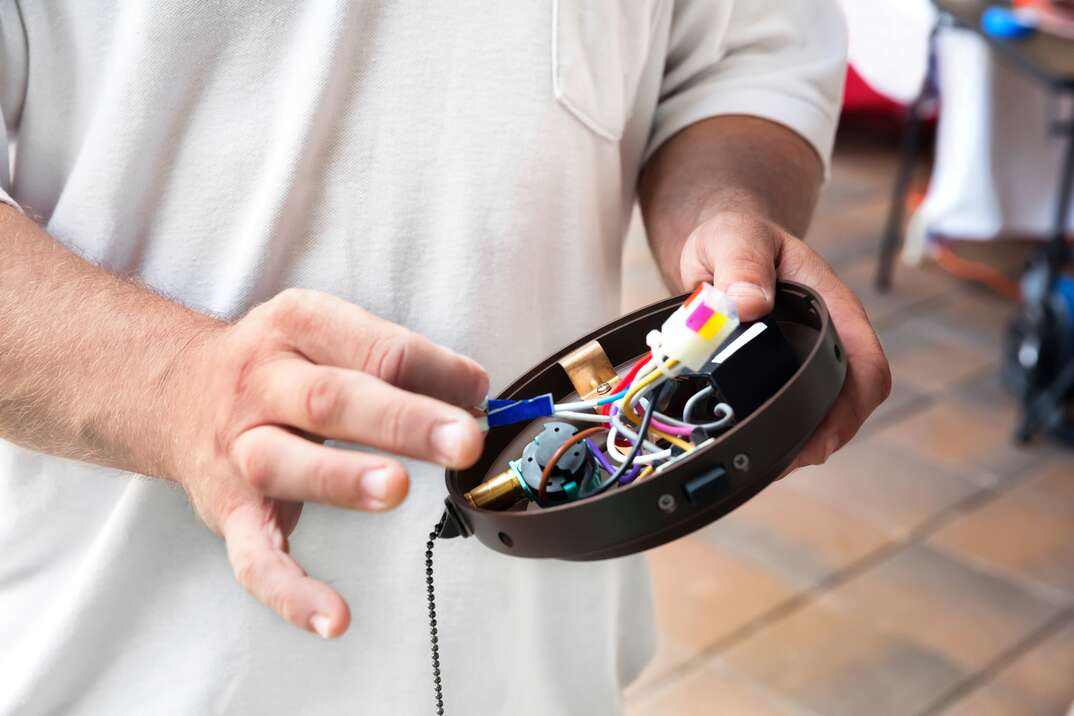
Step 3: Connect the Wiring
- Before you start connecting electrical wiring, you’ll want to make sure the circuit breakers that service the bathroom are turned off. Also, before you make any attempt at connecting the power to the fan, you should consult the manufacturer’s instruction manual.
- When the vent fan is inserted into the unit, you’ll need to strip the ends of the wires that you'll be using to power your fan, which should originate in your circuit breaker box; then, connect them to the fan following the wiring guide in your instructions.
- Make sure you also connect a green wire, or a bare copper wire, to the side of the metal housing for grounding purposes.
- After the lines are connected, fasten the vent fan grill to the housing.
- Now, turn the circuit breaker back on and test your new bathroom vent fan.
More Related Articles:
- How to install a Ceiling Fan
- How Much Does it Cost to Install or Replace a Ceiling Fan?
- Air Duct and Ventilation Maintenance Tips
- 10 Tips to Improve Indoor Air Quality in Your Home
- How to Properly Clean Your Toilet in 4 Steps ... and Don’t Forget No. 2!
FAQs
Here are the answers to some frequently asked questions about bathroom fans:
Is It OK to Vent a Bathroom Fan Into the Attic?
If the fan exhausts into an open attic space, moisture will eventually collect, adding to the possibility of mold and mildew problems. You’ll need to cut a hole in your roof and run a vent duct from the fan housing through your attic and outside your roof to ensure this doesn’t happen.
Do Bathroom Exhaust Fans Need to be Vented Outside?
All bathroom exhaust fans need outside ventilation to work properly. That said, vents don't always have to go through your roof. You can safely install a vent fan through your outside wall following the above methods.
What Can I Use Instead of a Bathroom Fan?
In lieu of a bathroom fan, one of the simplest solutions to controlling moisture is keeping the bathroom door and window open while you bath or shower. But if you’re still running into issues with moisture control in your bathroom, you can purchase a dehumidifier for your bathroom at a relatively low cost. This should keep the majority of your moisture in check.
Don’t Hate ... Ventilate!
Without proper ventilation, your bathroom is at risk for some serious, long-term damage. But don't fear: Installing a bathroom exhaust fan is a relatively simple, straightforward way to help prevent moisture damage, and keep your bathroom smelling fresh and dry year round.
Speaking of damage from moisture, you can ensure that you are extra-prepared for many plumbing issues by getting a plan from HomeServe. Once you have a plan in place and a covered issue arises, you can simply call the 24/7 repair hotline. A local, licensed and highly trained contractor will be sent out to you to get the job done to your satisfaction.