How to Replace or Install a Bathroom Faucet
Replacing a faucet to match other fixtures in your bathroom is a great way to elevate the space. Or, maybe you’re installing a new faucet to combat leaks and drips. Either way, doing the project yourself can save you time and money.
This May Also Interest You: How to Install or Replace Your Kitchen Faucet: A Step-by-Guide
Don’t worry if you’ve never done it before; installing a bathroom faucet is a relatively simple DIY project because it doesn’t require any special skills or plumbing knowledge. You should be able to remove the existing hardware and install a new faucet in about an hour.
Here’s a basic step-by-step guide.
 ----------------------------------------
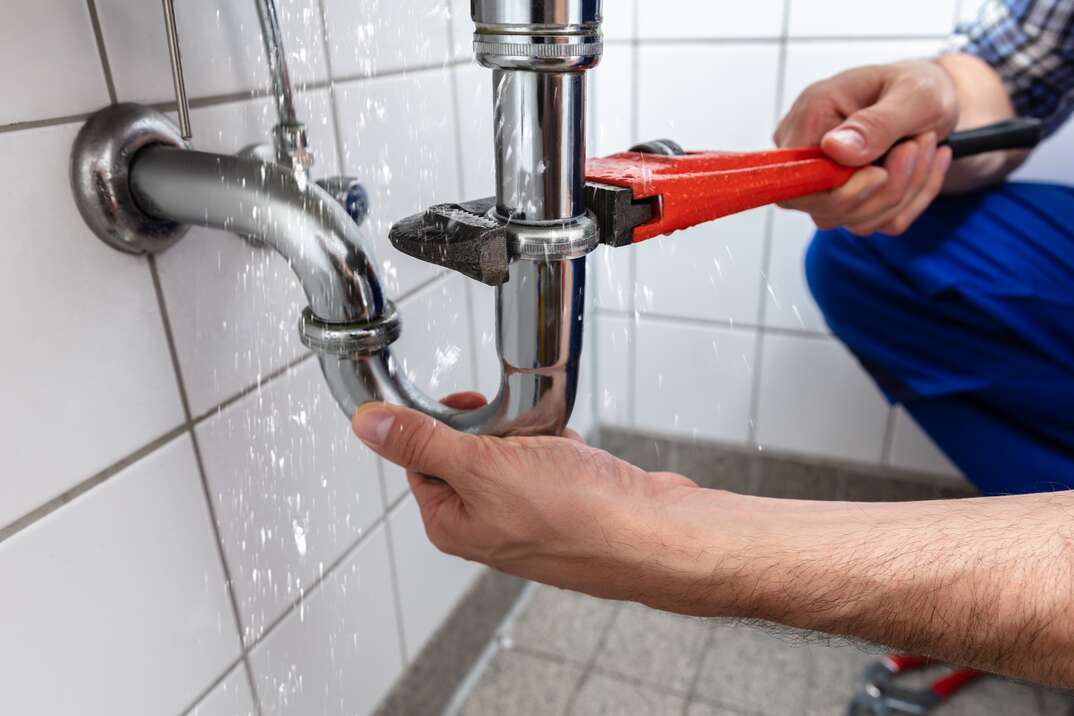
Tools and Materials Needed
The first step in any home improvement project is gathering tools and materials. Replacing bathroom faucets doesn’t require any special equipment, but you’ll want to make sure you have these tools ready before you start:
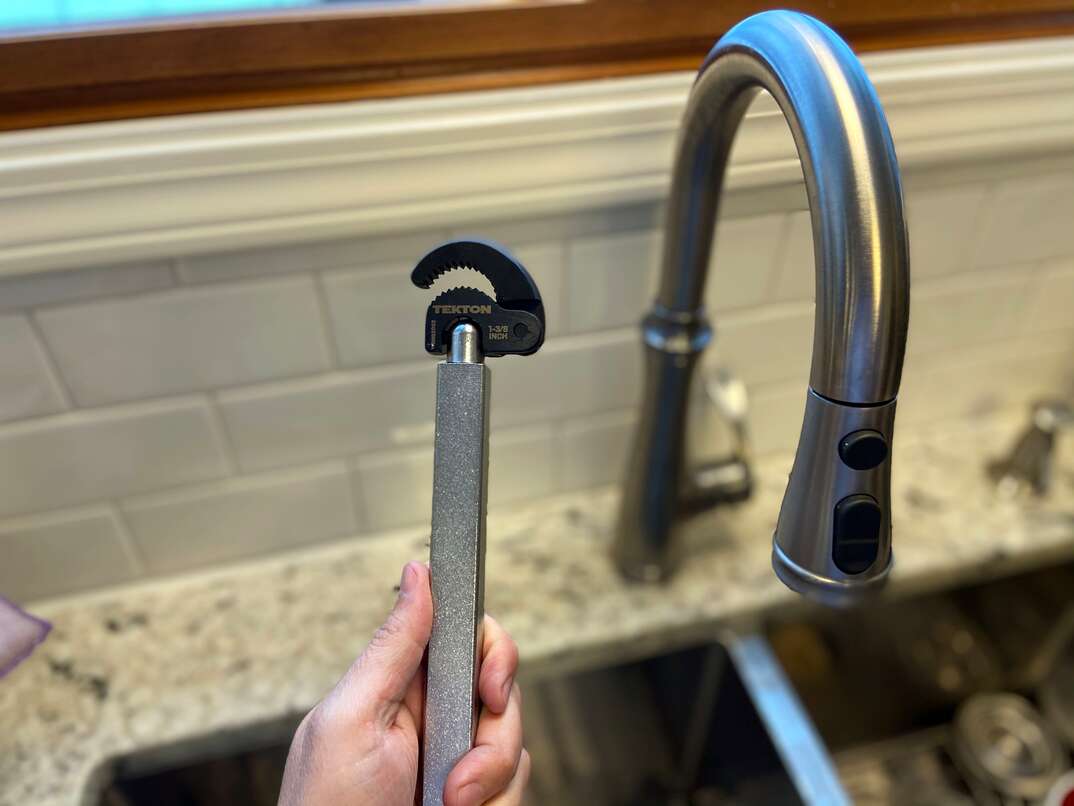
- Basin wrench
- Adjustable wrenches
- Plastic bucket
- Putty knife or trowel
- Optional: Hex wrench
Additionally, you’ll want to have these materials:
- Bathroom faucet (with manufacturer instructions)
- Supply lines
- Silicone caulk or plumber's putty
Find the Right Faucet
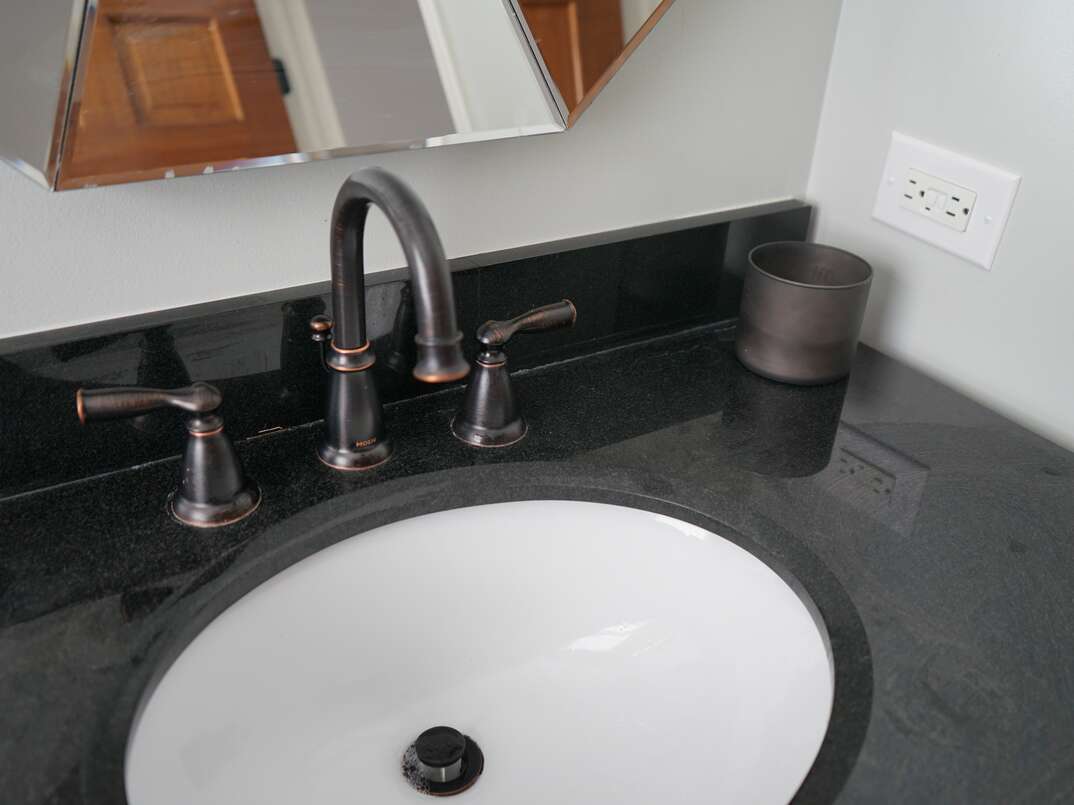
Bathroom faucets come in a range of materials, styles and finishes, but it’s important to pick a model that fits your sink.
Bathroom sinks typically have one or three holes to allow access for the feed lines. You’ll want to shop with this number in mind. Faucets for single-holed sinks usually have a lever on top of the faucet to control water temperature and flow. Three-holed sinks often have a faucet spout and two separate knobs.
Step 1: Remove the Old Hardware
The first thing you’ll want to do is to turn off your water. Look under the sink for a valve you can turn and twist it until it’s closed. Test the seal by turning on your faucet. A small amount of water may come out, but then the flow should stop.
You can also take this time to prep the area. Lay something absorbent on the floor in front of the sink and remove all items from under the sink.
Remove the Faucet
Start by disconnecting the supply lines from the underside of the faucet. There are usually two of these — one for hot water and one for cold. If you have trouble loosening the seals with your hands, you can use your basin wrench on the connectors. Watch for spills: Water may come out of these lines once disconnected.
Next, find the lift rod located near the back of the faucet assembly. Disconnect this, then remove the nuts from under the faucet hardware. Lift the faucet assembly free from the sink and set it aside.
Remove the Drain
Many faucets come with matching drains. To remove the old drain from the bottom of the sink, start by putting a bucket under the P-trap. It’s going to leak a bit when you remove it. This isn’t clean water, so you might want to wear gloves. Unscrew the slip nut from the joint and remove the trap. Let it drain.
After the trap is removed, you can find and remove the drain flange. This is located on the drain’s tailpiece. This assembly almost always comes off with a clockwise twist on the central screw.
Step 2: Install the Faucet
Once the old hardware is out, you’ll probably notice a lot of staining around the bare holes. It’s normal to have some rust and mineral deposits here. Take this opportunity to clean these with scale remover and rust cleaner. If your old faucet had silicone seals, you can use mineral spirits to clean it off.
Faucet designs vary enough that there is no standard set of steps to follow to install your specific bathroom faucet. Always follow the step-by-step instructions from the manufacturer. However, most faucets have a few things in common.
Prep the Drain Hardware
Many bathroom faucets come with a gasket you can install on the bottom of the assembly. Do this first, then check to see whether your model needs sealant or plumber's putty. Apply either as directed and create a tight seal all the way around. Put the faucet through the holes in the sink and use the included nuts to tighten the hardware down with the basin wrench.
If your bathroom faucet came with separate handles or knobs, you’ll need to install them. With most models, you simply set the handles down over a threaded post and tighten them with an included hex wrench. If the package didn’t come with a hex wrench, you might need one of your own. It is important to form a solid seal with the handles, but do not overtighten. Too much pressure might cause damage.
Connect the Drain
Once the faucet hardware is installed, you can install the matching drain. To do this, screw the slip nut all the way down the body of the drain and push the gasket over the top. Your drain might have a threaded gasket, in which case you can just screw it on with your hand.
Apply a small amount of silicone or putty — whichever the manufacturer recommends — under the flange to make a waterproof seal. Hold this section under the bottom of the sink with the pivot hole facing away from you, toward the back of the drain. Screw on the flange from the top, through the drain hole in your sink basin. Tighten up the gasket and nut while you have them in this position. Use mineral spirits on a rag to wipe away any excess silicone gel or putty from around the flange.
Once the main part of the drain is in place, it’s time to install the drain rod. To do this, unscrew the pivot nut on the body of the drain and insert the rod through the hole in the drain stopper. Replace the nut. Push down the horizontal rod assembly and secure the lift rod to the strap. Use the provided lift screw. Once it’s in place, give the system a few tugs to test it.
More Related Articles:
- Tips for Fixing Leaky Faucets
- Replacing Faucets: What You Should Know
- 15 Common Plumbing Problems Every Homeowner Needs to Watch Out For
- Prevent Frozen-Pipe Problems by Knowing These Things Down Cold
- What is a Shower Diverter Valve (and Why Should You Care?)
Connect the Supply Lines
Reconnect the feed lines in reverse order from the way you disconnected them earlier. Lift the hoses to the corresponding intake valves under each intake port. Screw the fasteners into place with your hands, then use the wrench to tighten them down. Slowly twist the shutoff valve back open, listening for any leaks as water flows back into the system.
Flush the System
Once water is flowing back into the faucet, test your connection and flush out the new fixture. Remove the aerator from the faucet mouth to allow minerals and other debris to exit the spout. Run the water until it seems to be totally clear. Try running hot and cold water to make sure both lines are properly feeding the sink.
Since we’re all home now more than ever, being prepared for unexpected home repairs with a plan from HomeServe is important. Having a plan in place gives you the peace of mind knowing that you can simply call our 24/7 repair hotline for covered breakdowns. See what plans are available in your neighborhood.