How to Install a Bathroom Sink: 5 Steps to a Restroom Refresh
Installing a Bathroom Sink at a Glance
- Step 1: Disconnect water supply
- Step 2: Remove existing sink
- Step 3: Measure and install new sink
- Step 4: Install faucet
- Step 5: Connect plumbing components
Perhaps the powder room is in need of an upgrade and you’re kicking your outdated vanity to the curb. Maybe you’re ready to swap an existing pedestal sink for a vanity with some more storage. Or, it could be that you plan to install new bathroom tile and just need the existing sink to exit stage left temporarily. Whatever the reason, installing a bathroom sink seems like quite the undertaking — especially with all that plumbing involved. Some may opt to call in the pros without a second thought. But if you know your way around a toolbox and have some basic plumbing knowledge, there’s no need to call for backup.
This May Also Interest You: How Much Does It Cost to Replace a Bathroom Sink?
Installing a bathroom sink is a project even the most novice DIYers can take on themselves, provided they have a little patience and preparedness. Below is a basic overview of the steps involved in a standard bathroom sink installation that’ll help get you started on the project. Hopefully, it’ll save you both money and the hassle of calling in a plumber for the job.
 ----------------------------------------
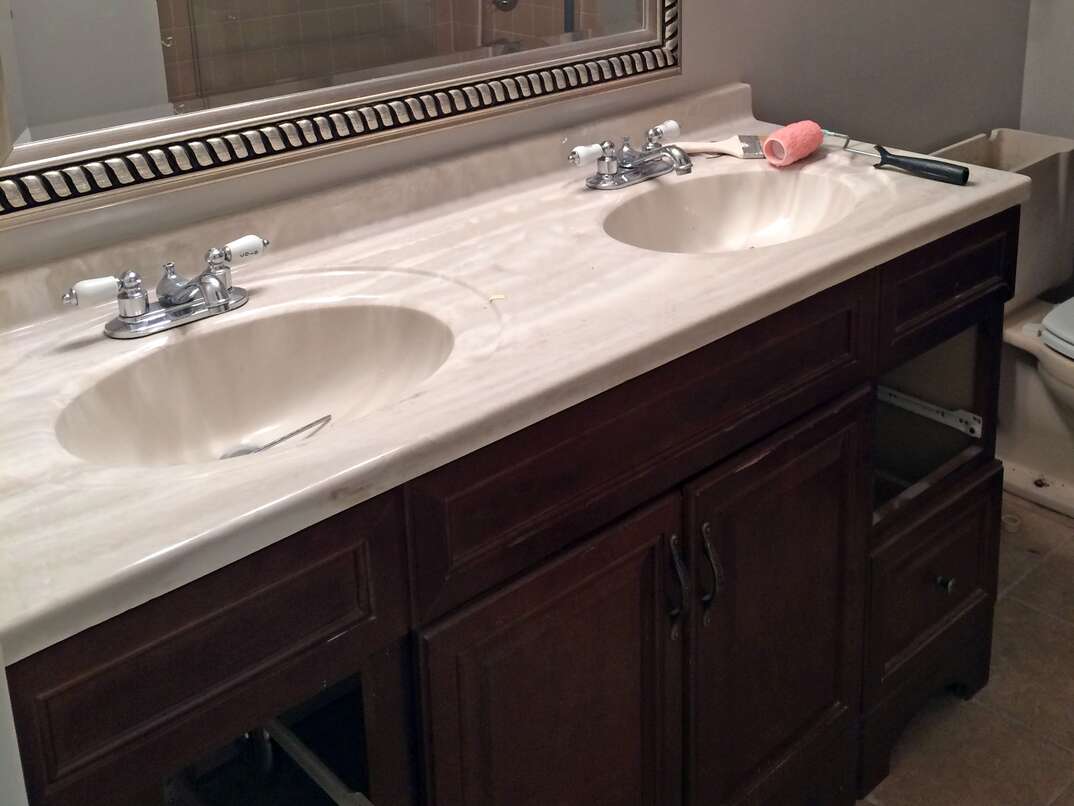
Step 1: Disconnect the Existing Sink
The first step to replacing your bathroom sink is to disconnect your existing sink. Before disconnecting it from the wall, make sure you’ve adequately turned off the water supply valves under the sink. After closing both valves, open the sink faucet to release any remaining pressure in the waterline, then use a wrench or a pair of pliers to loosen and disconnect the supply lines from the valves.
Before disconnecting, make sure that the valves have completely stopped dripping water. Even if it’s just a little trickle, water escaping from a closed valve is a sign that the valve itself needs to be replaced before you continue with your installation. And while a valve replacement can be a DIY project, unless you have plumbing experience, it might be best to hire a pro to ensure it’s done properly.
Once the valves are turned off, use a wrench to remove the water lines that connect the shutoff valves to the faucet. After you’ve removed the lines, be sure not to discard them. Chances are, they can be reused when the new sink is installed.
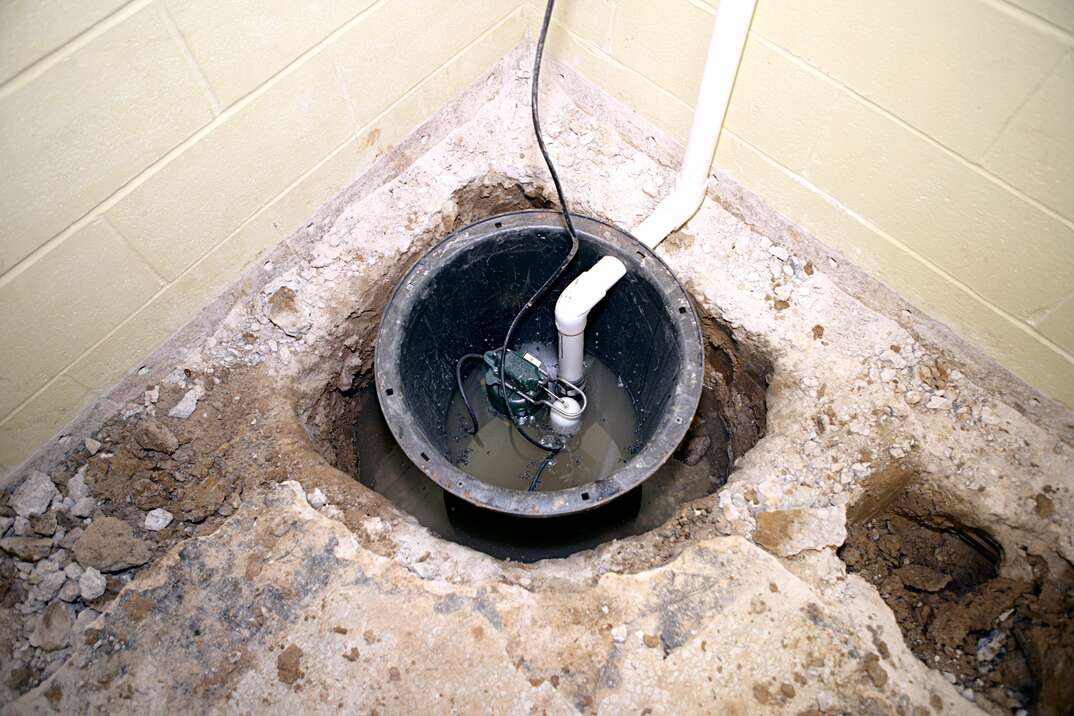
After disconnecting the water supply lines, disconnect the P-trap underneath the sink. Unfamiliar with a P-trap? No need to fret; it’s really easy to spot. The P-trap is the curved (U-shaped) portion of the drainpipe that’s connected to the underside of the sink drain. You should be able to loosen the nut at the top of the P-trap by hand, but if you need to, you can use a plumber’s wrench to loosen it. Just remember to be careful: The P-trap is likely made of PVC and can break if you exert too much force.
Once the nut is loosened, disconnect the pipe from the sink. Keep in mind that some residual water may be sitting in the P-trap, so it’s best to place a towel or small bucket under the sink to catch any spillage.
 -------------------------------------------
Step 2: Remove the Vanity or Pedestal
The next step is to unfasten the existing vanity or pedestal that held the sink in place. First, remove any screws holding the unit to the wall. Often, extracting these screws can damage the drywall, so take some time to patch any unsightly holes or scratches in the wall before moving on. Most small holes can be patched in a few minutes using a simple spackle kit, but larger holes might require a bit more effort.
Step 3: Measure the New Vanity or Pedestal
A pedestal sink is simply a sink basin atop some kind of base. Vanity sinks are usually connected to a countertop and have a cabinet below the sink itself for storage.
No matter which type you're installing, you’ll first need to measure the dimensions of the materials and transfer those measurements to the wall. For added accuracy, use a level to create a line at the correct height. Make sure the new sink’s drain will be in line to connect to the old drain line. If not, you may need to rework some of the plumbing to make sure it can connect.
Place the vanity or pedestal into the marked position. Then, attach the equipment to the wall. If you’re installing a vanity, you should plan to use 2-inch drywall screws to attach the mounting strip found in the back of the cabinet to the wall studs. Pedestal sinks generally have two holes under the sink that will allow you to screw the unit directly into the wall. If you aren’t able to screw directly into a wall stud, make sure that you use a drywall anchor to secure it properly.
 -------------------------------------------
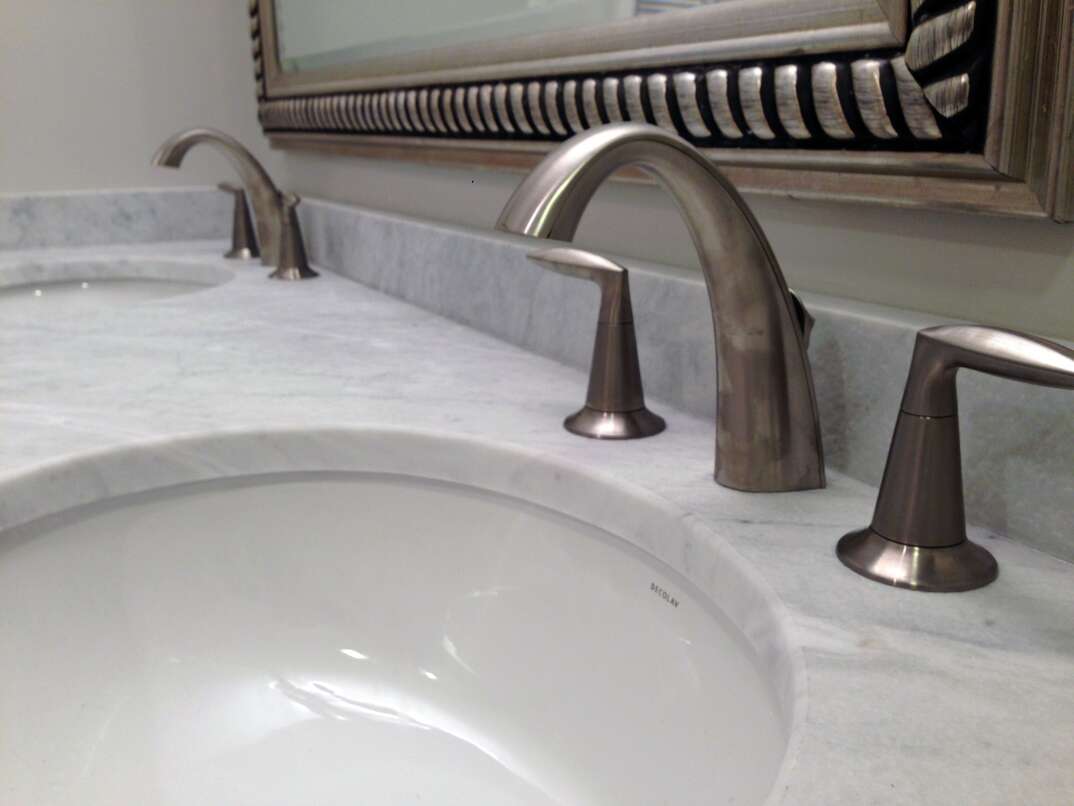
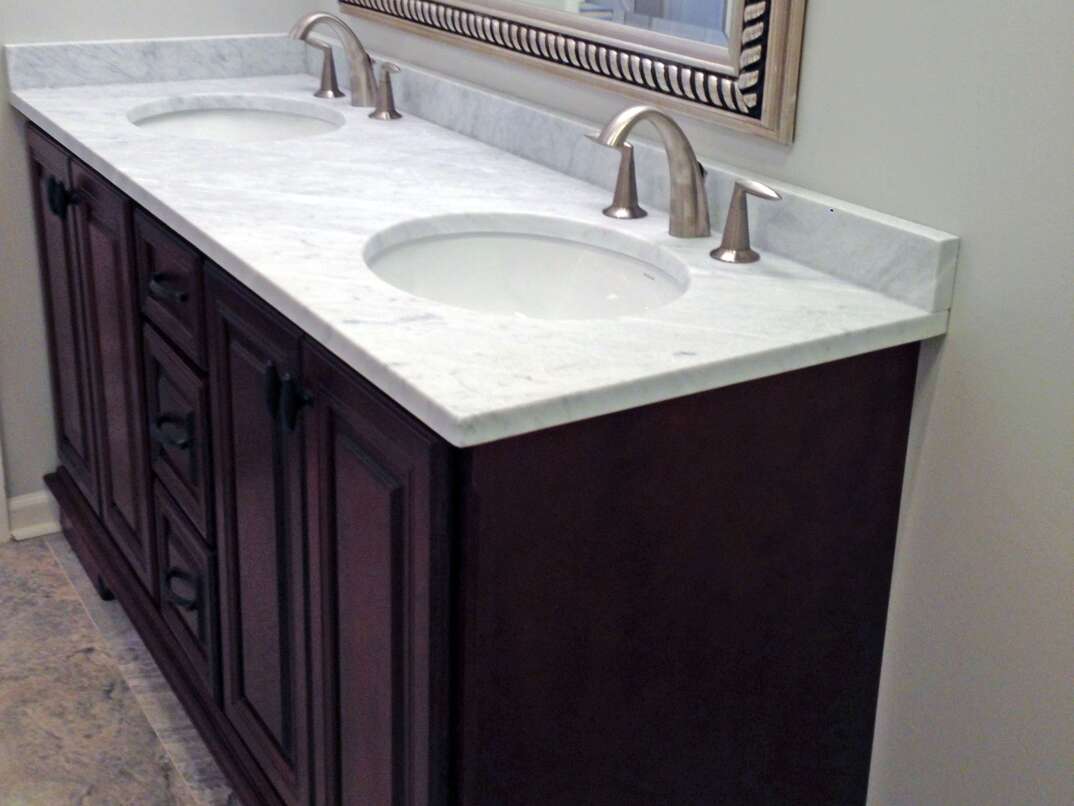
Step 4: Install the Faucet
Once the pedestal or vanity is properly secured, you can begin to install the faucet. It’s important to keep in mind that faucets vary from manufacturer to manufacturer. Be sure to follow the instructions that are included with your particular model. Depending on the type of sink you’re using, it might have anywhere from one to three holes. So, make sure you purchase a sink that has matching holes to the type of faucet you have.
In most cases, you’ll want to put the gasket on first. Then insert the faucet through the matching mounting holes and begin tightening the nuts underneath the sink. You may also want to add a small line of plumber’s putty around the gasket for added protection against any leaks. Place the drain assembly in the drain hole and apply some silicone caulk between the rubber washer and the bottom of the sink.
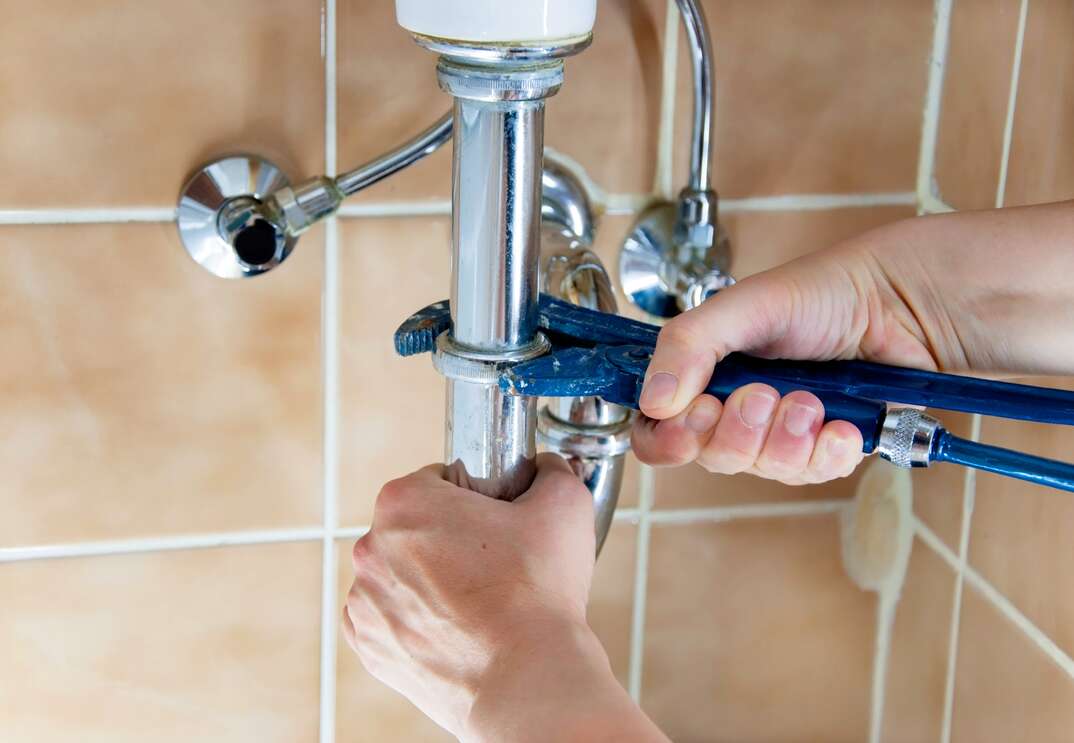
Step 5: Connect the Plumbing Components
After your faucet and drain assembly are installed, you can then connect all components to the bathroom plumbing. Start by attaching the P-trap, then reconnect your supply lines to the shutoff valves and attach them to the proper connections under the new faucet. Make a note of which water line goes to each faucet valve. In general, the left water line supplies hot water, while the right water line connects the cold water.
Once the supply and drain lines are connected, it’s time to test your new bathroom sink. Open your water supply valves and turn on your bathroom faucet. Inspect your connections for leaks. Test out the drain by stopping it up. Let the sink basin fill and then drain completely.
And there you have it. Your sink should now be ready for everyday use. Congratulate yourself on a job well done. Now, that commode isn’t going to replace itself ...
Small jobs like this are easy to take care of yourself, but when unexpected issues arise, it’s important to be prepared with a home repair plan from HomeServe. Once you have a plan in place and a covered issue arises, you can simply call our 24/7 repair hotline. See what plans are available in your area.