No Hogwash: How to Install a Farmhouse Sink in 9 Steps

Farmhouse Sink Installation at a Glance
- Step 1: Gather tools materials, including tape measure, safety glasses, four two-by-four wood pieces, drill, Sharpie marker, waterproof sealant, PVC cutter, jigsaw, sandpaper, knife
- Step 2: Get correct measurements
- Step 3: Turn water off
- Step 4: Uninstall existing sink
- Step 5: Cut front side of cabinet
- Step 6: Add support to cabinets
- Step 7: Put sink in place
- Step 8: Install countertops (professional assistance recommended, here)
- Step 9: Reconnect plumbing
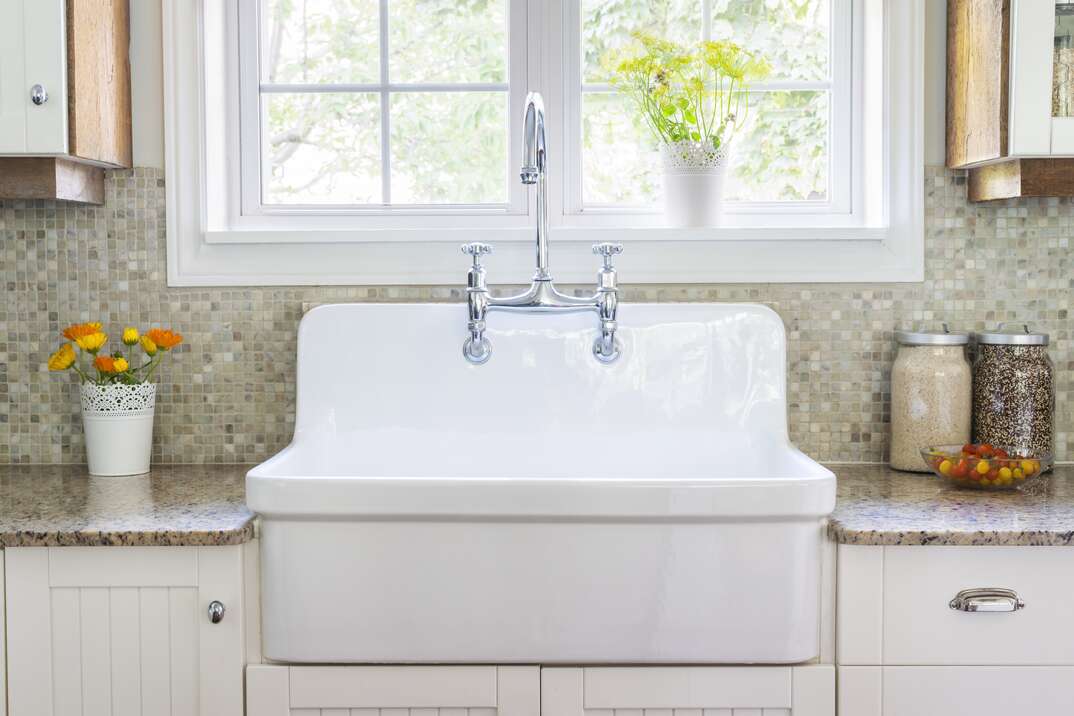
Farmhouse sinks are popular for their stylish look and character. These sinks, also known as apron-front sinks, have a timeless appeal. They’re considered an older-style sink that still complements modern kitchens. There are three different types of farmhouse sinks — top-mount, flush-mount, and under-mount sinks — installed in different ways and composed of varied materials from which you can choose, including stainless steel, ceramic, stone and fireclay.
This May Also Interest You: Snake’s in a Drain! How to Unclog Your Sink With a Drain Snake
Top-mount sinks are installed like regular sinks and can be paired with just about any countertop. Flush-mount sinks share the same level as the countertop and often the same build material as the countertop. Under-mount sinks sit just below the counter, and require a new countertop customized to their dimensions.
Can You Install a Farmhouse Sink on an Existing Countertop?
Depending on the type of farmhouse sink you decide to go with, you might be able to use your existing countertop and cabinet. Top-mount sinks typically can be installed on any countertop and cabinet without modifications. Flush-mount sinks might require a custom countertop, depending on which one you buy. Meanwhile, under-mount sinks require their own specialized countertop and alterations to existing cabinets; the countertop needs to be waterproof and correctly sized to match the under-mount sink dimensions.
Farmhouse sinks can be very heavy and weigh several-hundred pounds at times. That means the cabinets won't necessarily need to be replaced, but adjustments may need to be made to further support the sink above it.
Steps to Install a Farmhouse Sink
The following instructions cover how to install an under-mount farmhouse sink, which tend to be the most complicated of the three types.
Step 1: Gather Tools & Materials
The tools you’ll need for the job include a tape measure, safety glasses, four two-by-four wood pieces, a drill, a Sharpie marker, waterproof sealant, a PVC cutter, a jigsaw, sandpaper, a knife and a partner to help lay the sink down.
Step 2: Get the Correct Measurements
When you first buy the farmhouse sink, it should come with instructions that highlight the dimensions you will need for the cabinet it will be installed on. You need to measure the cabinet’s width and the distance of the top of the cabinet to the doors. You’ll also need to provide the sink measurements to the person installing your countertops.
Step 3: Turn Off the Water
Whenever you’re doing any type of plumbing work, the very first step should always be to turn off the water. Water-damage repairs are among the costliest issues to fix, and that’s a risk you want to avoid taking. Disconnect any plumbing features connected to your current sink, such as the drain. Be sure to place a bucket underneath it in case there’s any water leftover, and also remove the garbage disposal if you have one.
Step 4: Uninstall the Existing Sink
To uninstall the current sink, follow the instructions laid out in the manual for doing so — but, chances are, you’ll only need to loosen up the sink clips below it. Then, use a sharp knife to cut through the caulk sealant between the rim of the sink and countertop.
Use some force to push up the sink from below in order to loosen it up and make it easier to pull out from the top. From above, grab the sink from the middle portion and current faucet or, otherwise, from the two sides with both your hands and then just pull it upward.
Step 5: Cut the Front Side of the Cabinet
Before you do any cutting, make things easier by removing the cabinet doors and shelf drawers using a drill to remove any screws. Now, measure the cabinet front width where you’ll place the farmhouse sink. Sometimes a sink will come with a cutout template that you can place against the front of the cabinet for reference, as seen here in this video from Lowe’s. Mark the entire square area you need to cut using your Sharpie and then use a jigsaw to cut around your outline. Sand the area after you cut it to ensure a clean installation.
Step 6: Add Support to Cabinets
Because farmhouse sinks are pretty heavy, you’ll need to add support to the inside of the cabinet to be able to hold the weight. You can do this by adding two two-by-four pieces of wood to the sides horizontally. The sink installation instructions should tell you how far from the top they should be placed to match the sink’s sides. To ensure they hold up for a long time, add wood glue to the pieces of wood before you secure them with screws to the side of the cabinet. Then add two more two-by-four pieces of wood vertically below the horizontal wood pieces to help support them.
Step 7: Put the Sink in Place
At this point, the area should be ready to put the sink into place. It’s always a good idea to have someone else help you lay the sink down slowly. Once in place, verify that it’s leveled correctly and, as Lowe’s recommends, add shims if you need to lift it any higher.
More Related Articles:
- Everything 'Bout the Kitchen Sink: A 5-Step Installation Guide
- Kitchen Sink Not Draining? Here Are 6 Ways to Unclog It
- How to Install or Replace Your Kitchen Faucet: A Step-by-Step Guide
- How to Clear a Clogged Drain
- How Much Does It Cost to Install or Replace a Garbage Disposal
Step 8: Install the Countertops
Once the farmhouse under-mount sink is set, it’s time to install the countertops above. For this step, professional help is recommended; you’ll need to have precise measurements of the sink’s dimensions, as the countertop might need to be adjusted and cut to fit in perfectly. You should also use a waterproof sealant on the sink’s edges to prevent water leakage into your cabinets.
Step 9: Reconnect the Plumbing
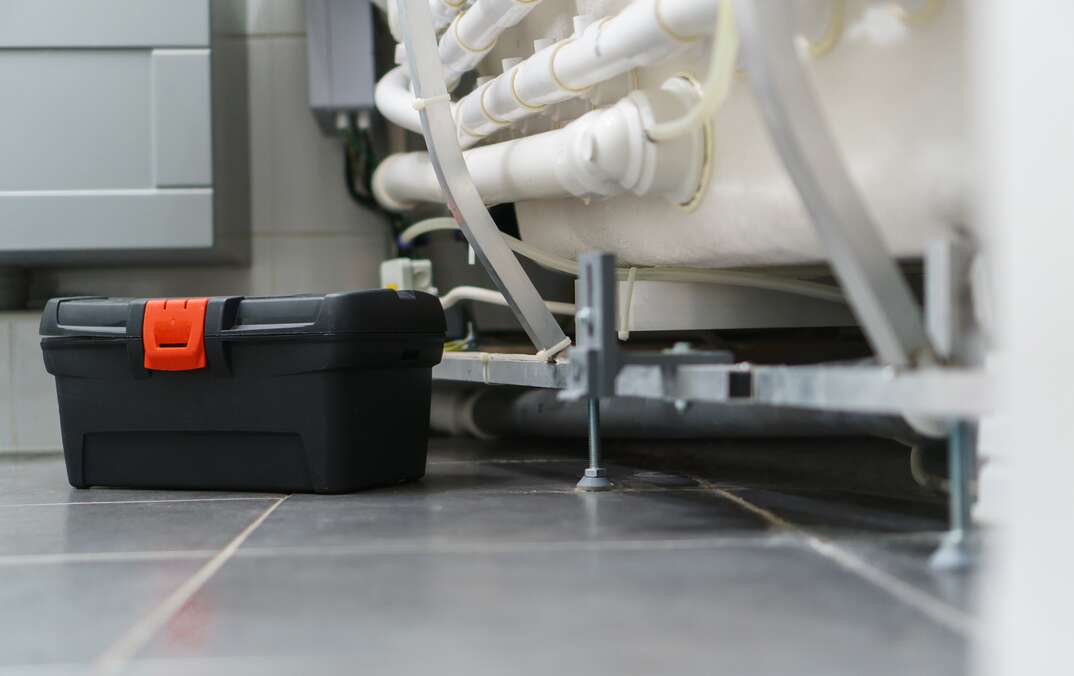
Once that’s all been completed, you now need to reconnect the plumbing. Depending on your previous sink, you might need to make adjustments to some of the pipes to make them shorter. Farmhouse sinks tend to be lower than the typical sink, so you’ll need to cut the pipes with a PVC cutter or other tool, depending on what the pipe is made out of. Be sure to ask the contractors installing the countertop how long to wait before you can use the sink, since you might need to wait until the countertops cure first.
Since we’re all home now more than ever, being prepared for unexpected home repairs with a plan from HomeServe is important. Having a plan in place gives you the peace of mind knowing that you can simply call our 24/7 repair hotline for covered breakdowns. See what plans are available in your neighborhood.


